
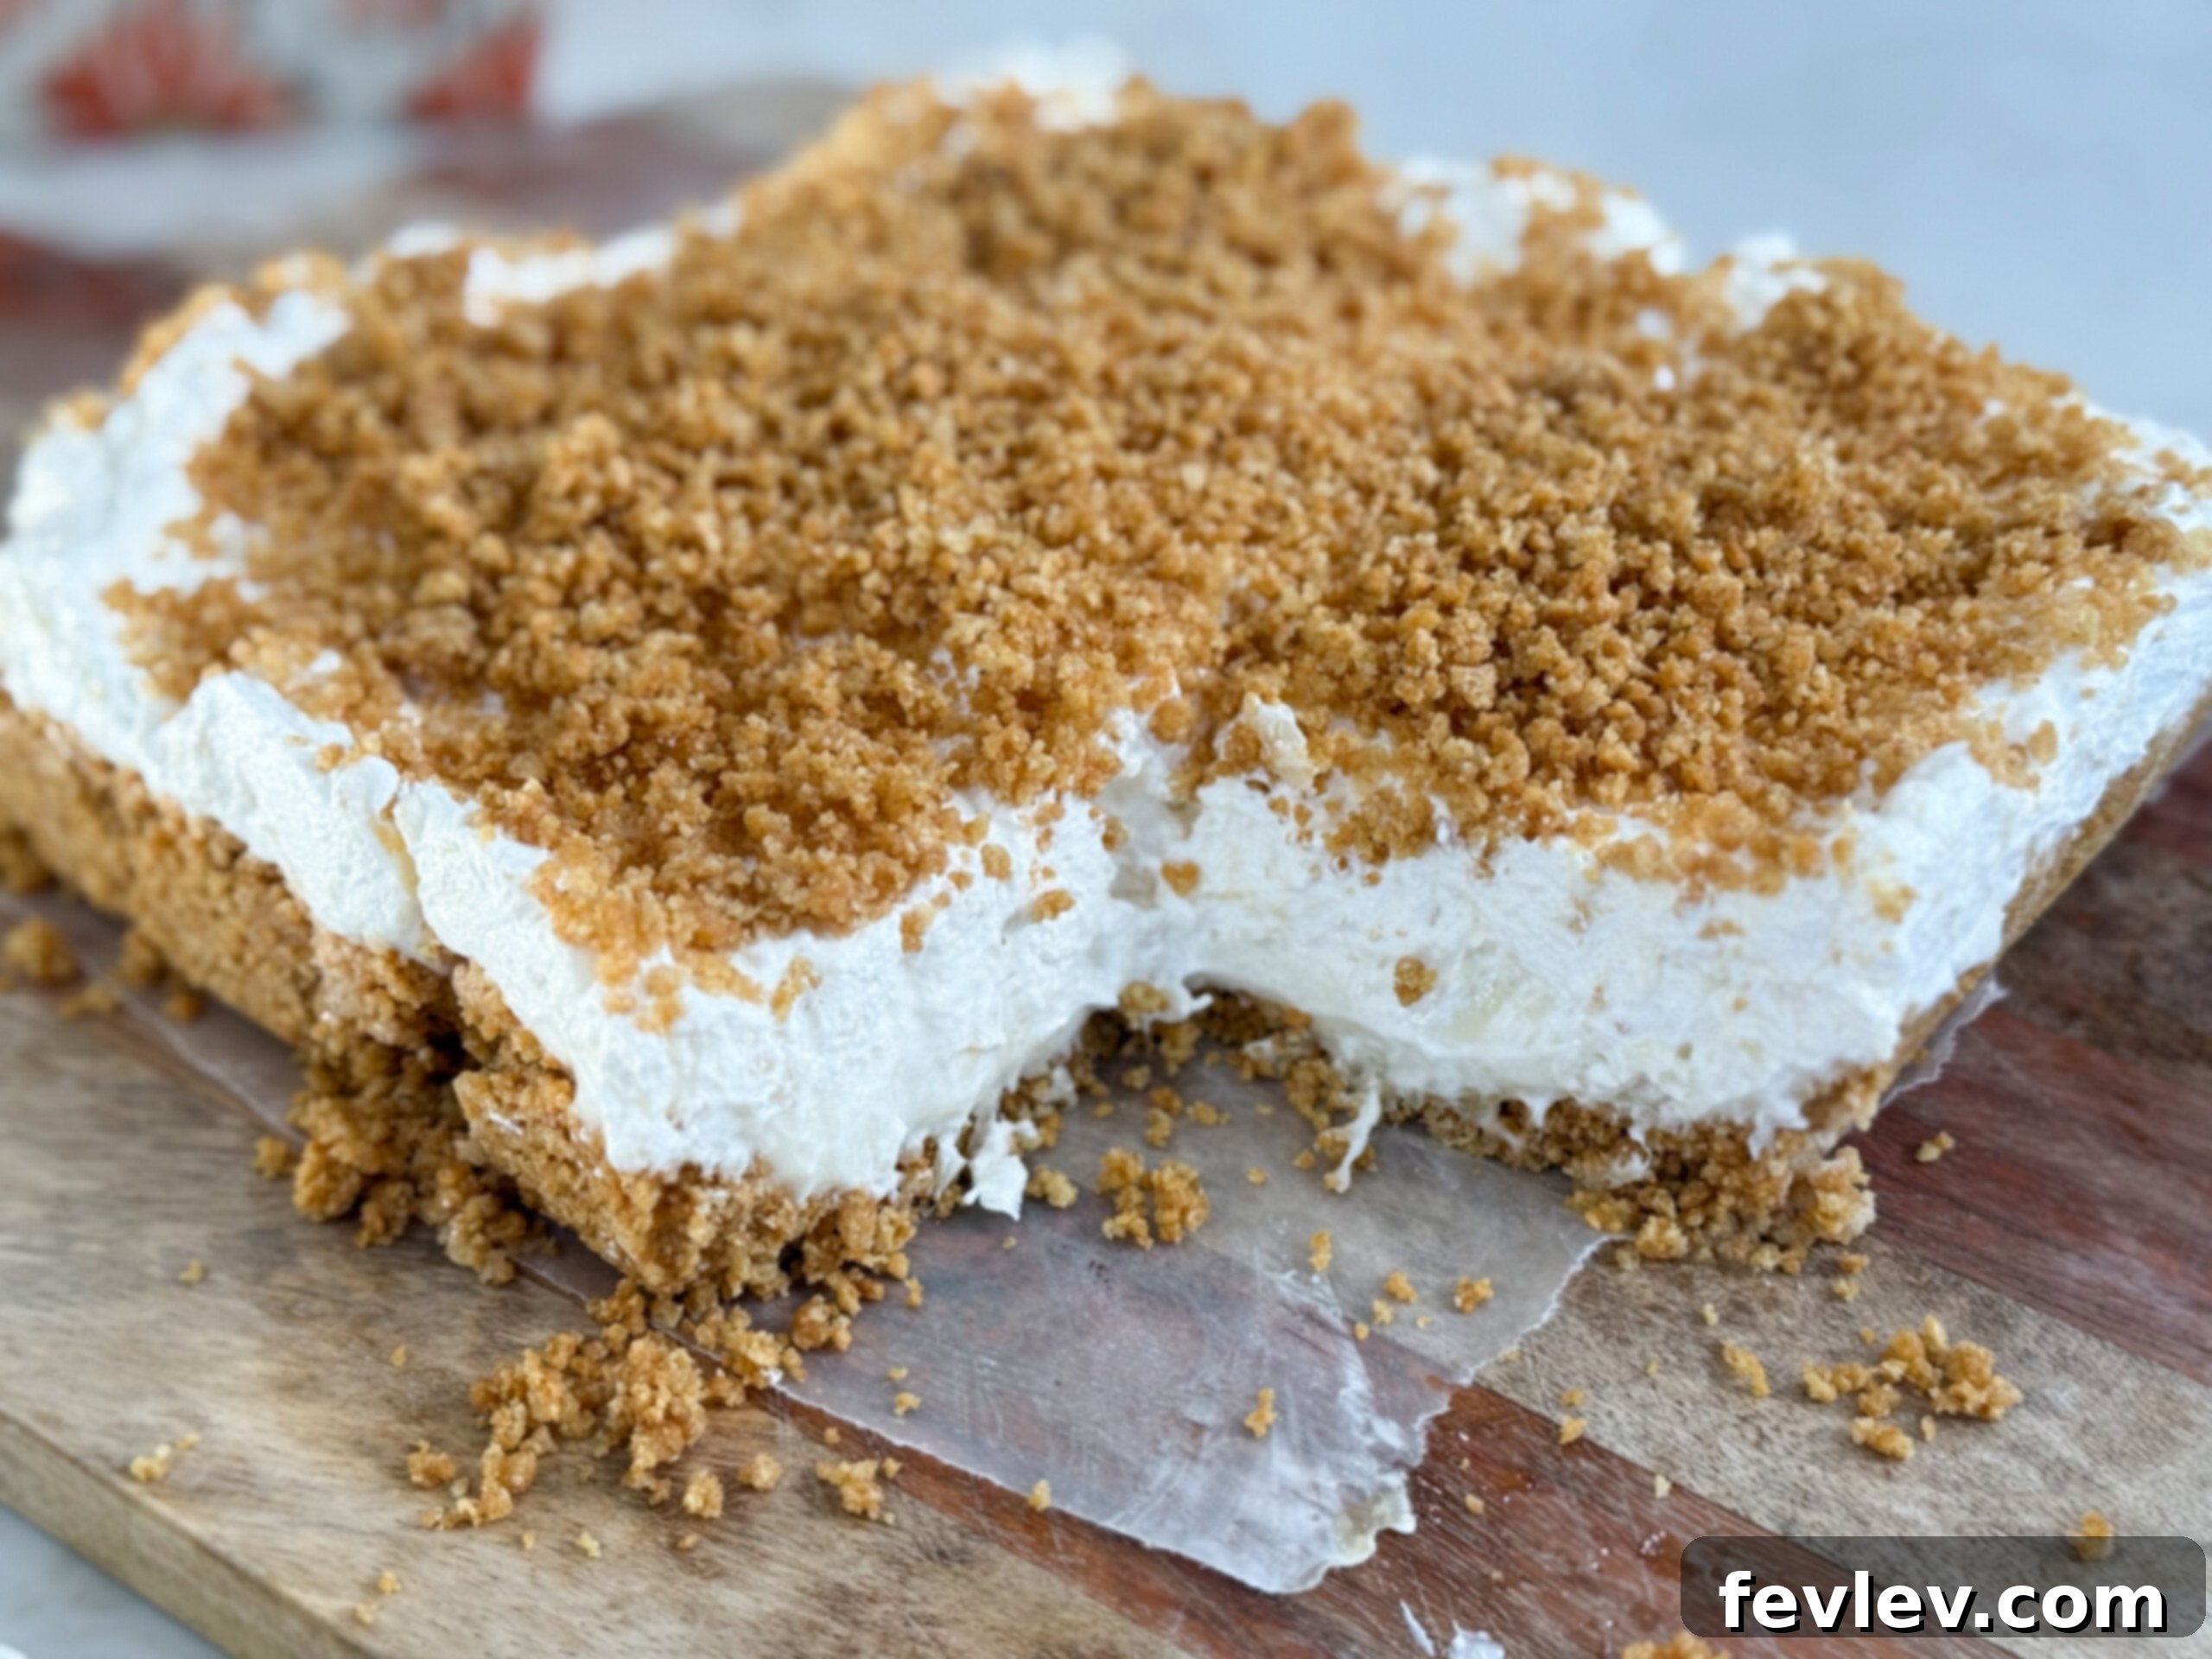
Indulge in the ultimate summer delight with our No-Bake Pineapple Layered Dessert. This is arguably the best dessert recipe to grace your table, boasting an irresistible combination of fresh, creamy, and delightful textures. Imagine sunshine in every bite, a perfect symphony of flavors that will transport you to a tropical paradise.
The beauty of this luscious dessert lies in its simplicity – absolutely no baking required! This means you can effortlessly whip up this delightful holiday treat or a casual weeknight indulgence without the need to turn on your oven, making it ideal for scorching summer days. Say goodbye to kitchen heat and hello to cool, refreshing sweetness.
Your taste buds are in for an extraordinary experience with the harmonious blend of tangy cream cheese, rich, buttery graham cracker crumbs, and the vibrant, fresh flavor of pineapple. Each layer contributes to a symphony of taste and texture, creating a dessert that is both sophisticated and incredibly easy to make. Get ready to impress your family and friends with this show-stopping, yet simple, creation.
Why You’ll Adore This Easy No-Bake Pineapple Dessert!
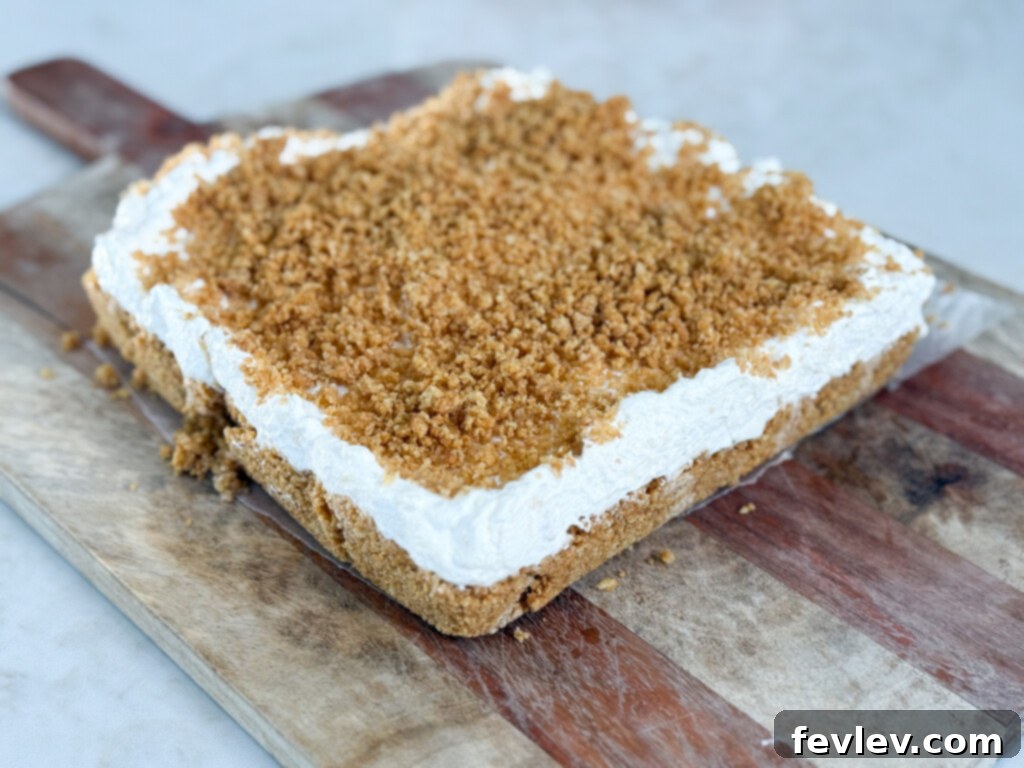
This no-bake pineapple layered dessert quickly became a family favorite in my home, and I know it will in yours too. What makes it so special?
- Effortless Preparation: You’ll be amazed at how simple it is to create such an impressive dessert with just a handful of common ingredients. It looks like it took hours, but it comes together in minutes.
- Unforgettable Flavors: The combination of sweet pineapple, rich cream cheese, and a hint of butter is truly “out of this world.” It’s a balanced blend that’s both comforting and exciting.
- Delightful Textural Contrast: Every bite offers a wonderful crunch from the graham cracker crust and topping, perfectly complemented by the silky-smooth, creamy center layers. This dynamic contrast keeps you coming back for more.
- Perfect for Any Occasion: Whether it’s a backyard BBQ, a holiday gathering, or just a treat after a long day, this dessert fits right in. It’s light enough for summer but indulgent enough for celebrations.
- Cool & Refreshing: Since it’s served chilled, it’s the ideal dessert to cool you down when the temperatures rise, offering a refreshing escape with its tropical notes.
This no-bake pineapple lush is more than just a dessert; it’s an experience that brings smiles and satisfaction without the stress of complex baking techniques.
Essential Ingredients for Your No-Bake Pineapple Layered Dessert:
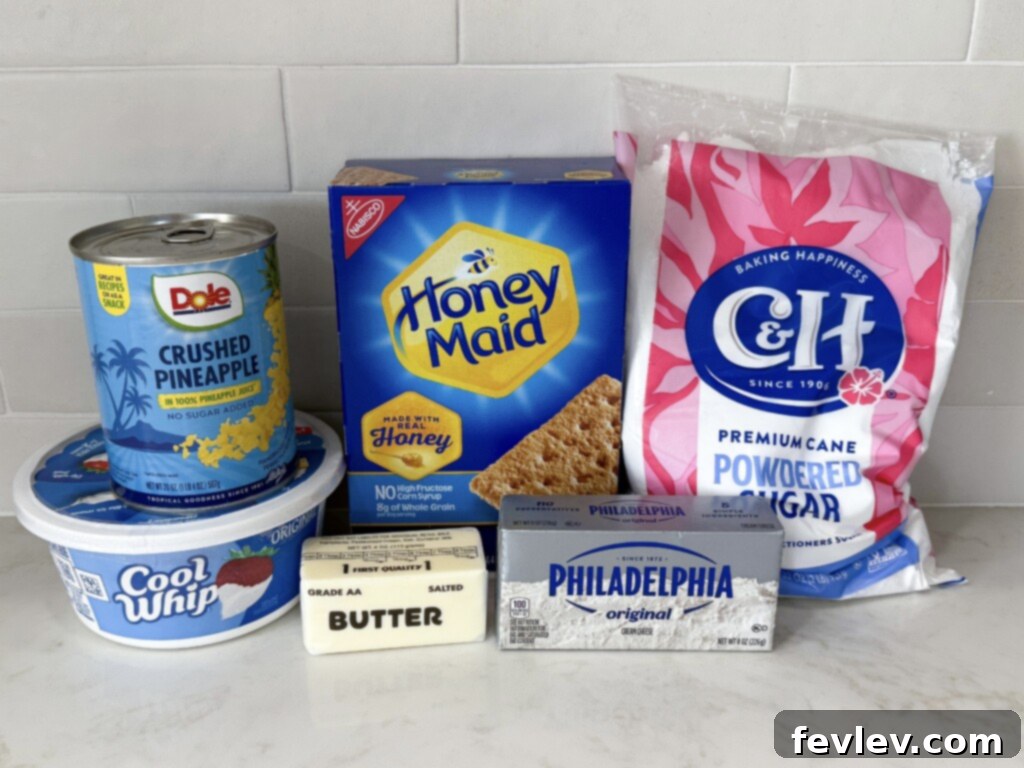
Crafting this easy no-bake dessert requires only a few key ingredients, each playing a crucial role in creating its iconic flavor and texture profile. Here’s what you’ll need to gather:
For the Buttery Graham Cracker Crust:
- Graham Crackers: We recommend using honey graham crackers for their classic, slightly sweet flavor, which perfectly complements the pineapple and cream cheese. Ensure they are crushed into fine crumbs for the best crust.
- Unsalted Butter: Melted unsalted butter binds the graham cracker crumbs together, forming a sturdy and delicious crust. Using unsalted butter allows you to control the overall saltiness of the dessert.
For the Rich Cream Cheese Filling:
- Cream Cheese: Softened full-fat cream cheese is the heart of this creamy layer. Allowing it to soften at room temperature is crucial for a smooth, lump-free filling.
- Butter: For this layer, the butter should be carefully softened, not melted. This ensures it creams beautifully with the cream cheese and powdered sugar, creating a light and airy texture that holds its shape.
- Powdered Sugar: Also known as confectioners’ sugar, this finely milled sugar is essential for achieving the stiff peaks and velvety smooth consistency of the cream cheese mixture. It dissolves easily, preventing any grainy texture.
For the Fluffy Pineapple Topping:
- Crushed Pineapple: To keep things super simple and consistent, we use canned crushed pineapple. The most critical step here is to drain it exceptionally well. Excess liquid will make your topping runny, so press out as much moisture as possible.
- Cool Whip Topping: Thawed Cool Whip provides a light, airy, and stable base for our pineapple layer. Make sure it’s fully thawed but still cold for easy mixing and optimal fluffiness.
With these simple ingredients, you’re well on your way to creating a no-bake pineapple lush that everyone will rave about!
How to Prepare Your Irresistible No-Bake Pineapple Layered Dessert:
Follow these straightforward steps to create a show-stopping pineapple layered dessert that’s as easy to make as it is delicious.
Step 1: Create the Perfect Graham Cracker Crust
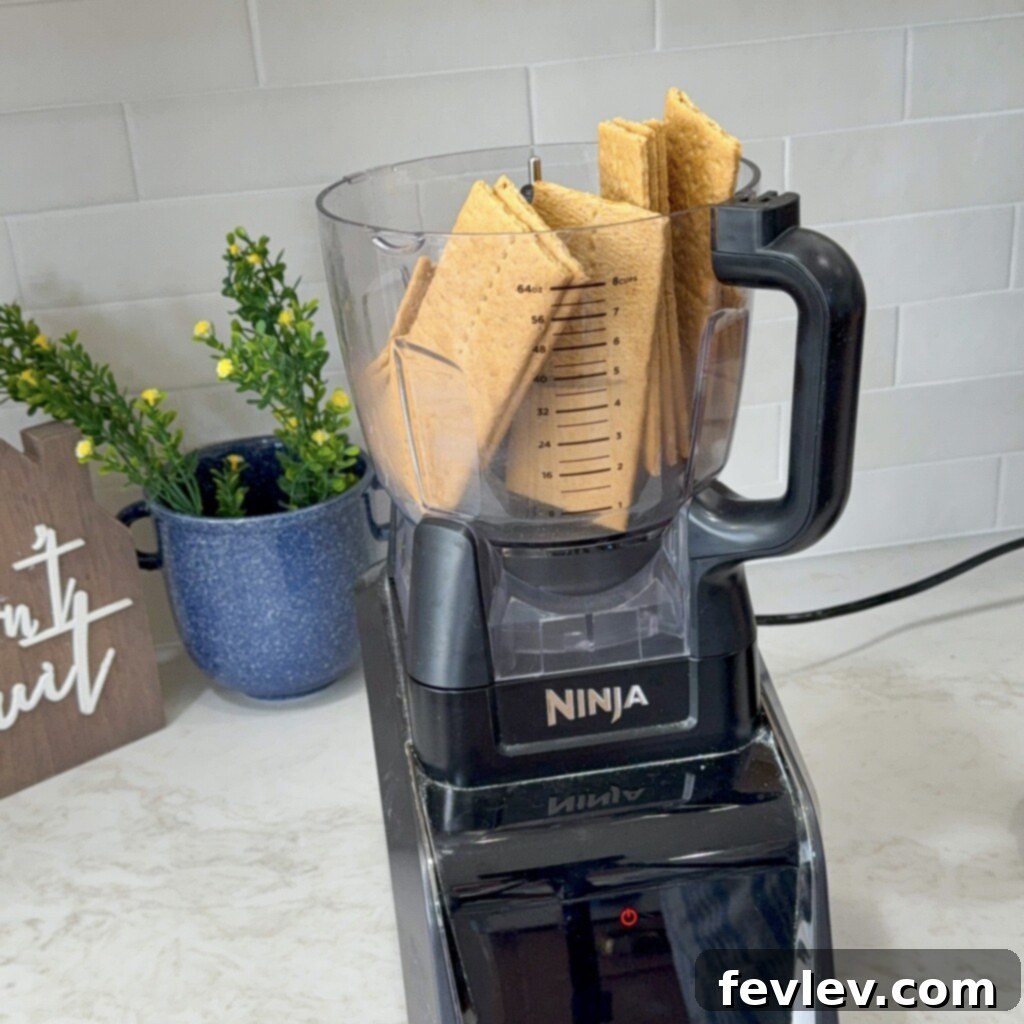
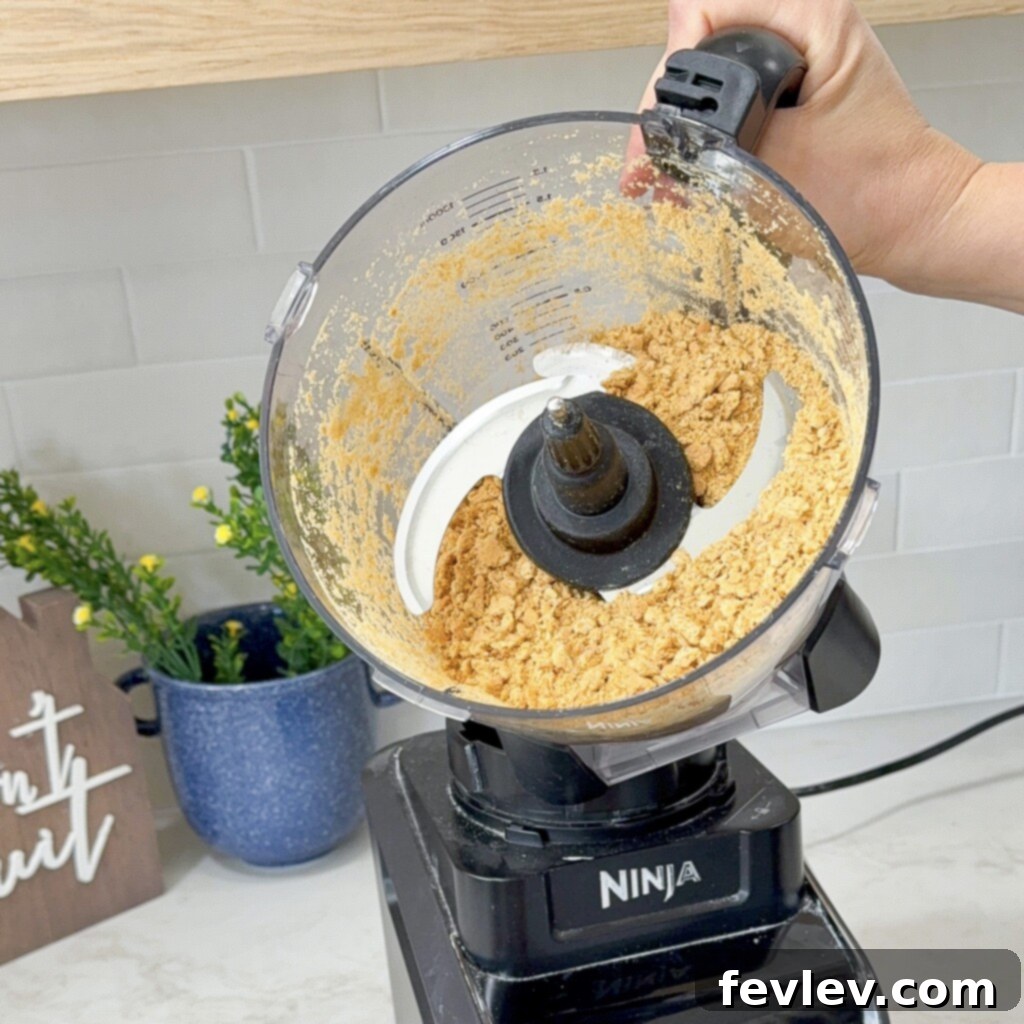
- Start by finely crushing your graham crackers. You can achieve this by placing them in a large ziplock bag and using a rolling pin, or for a quicker method, use a food processor until you have fine, uniform crumbs.
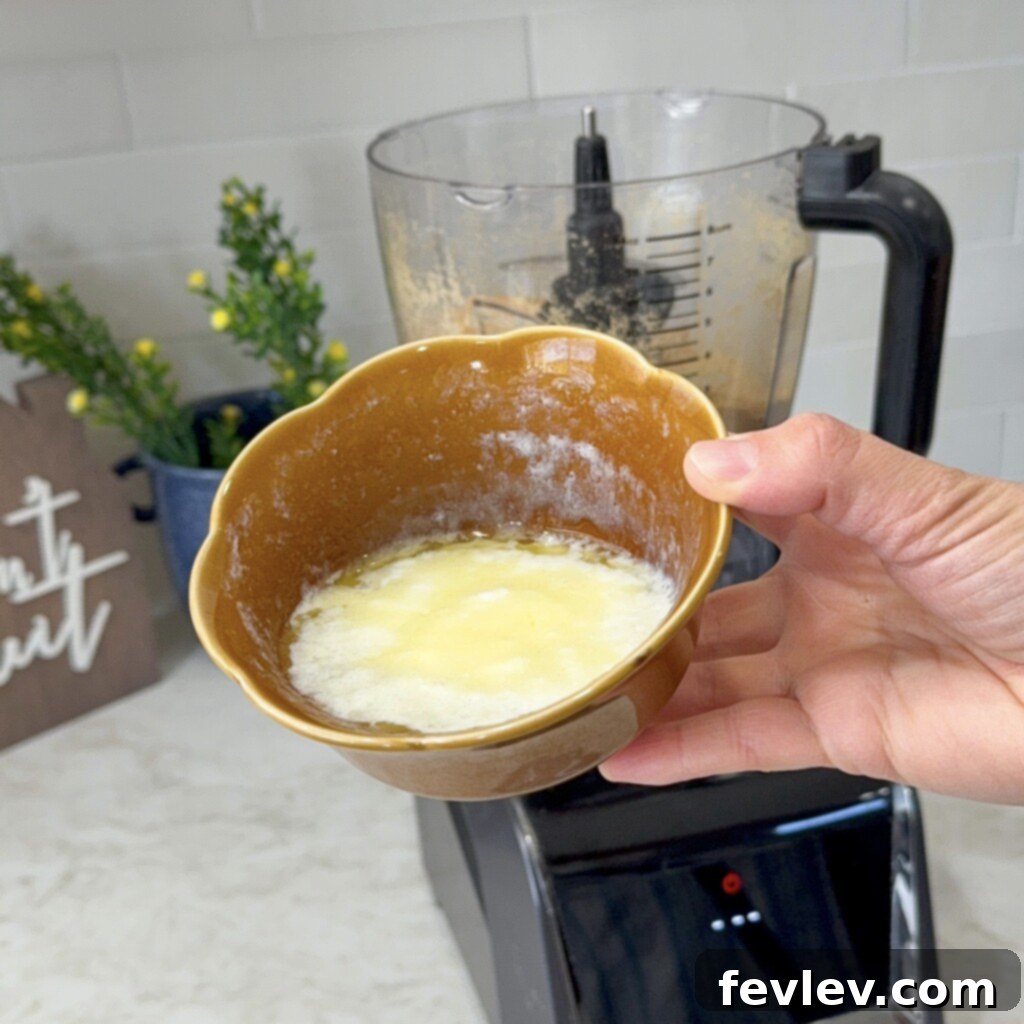
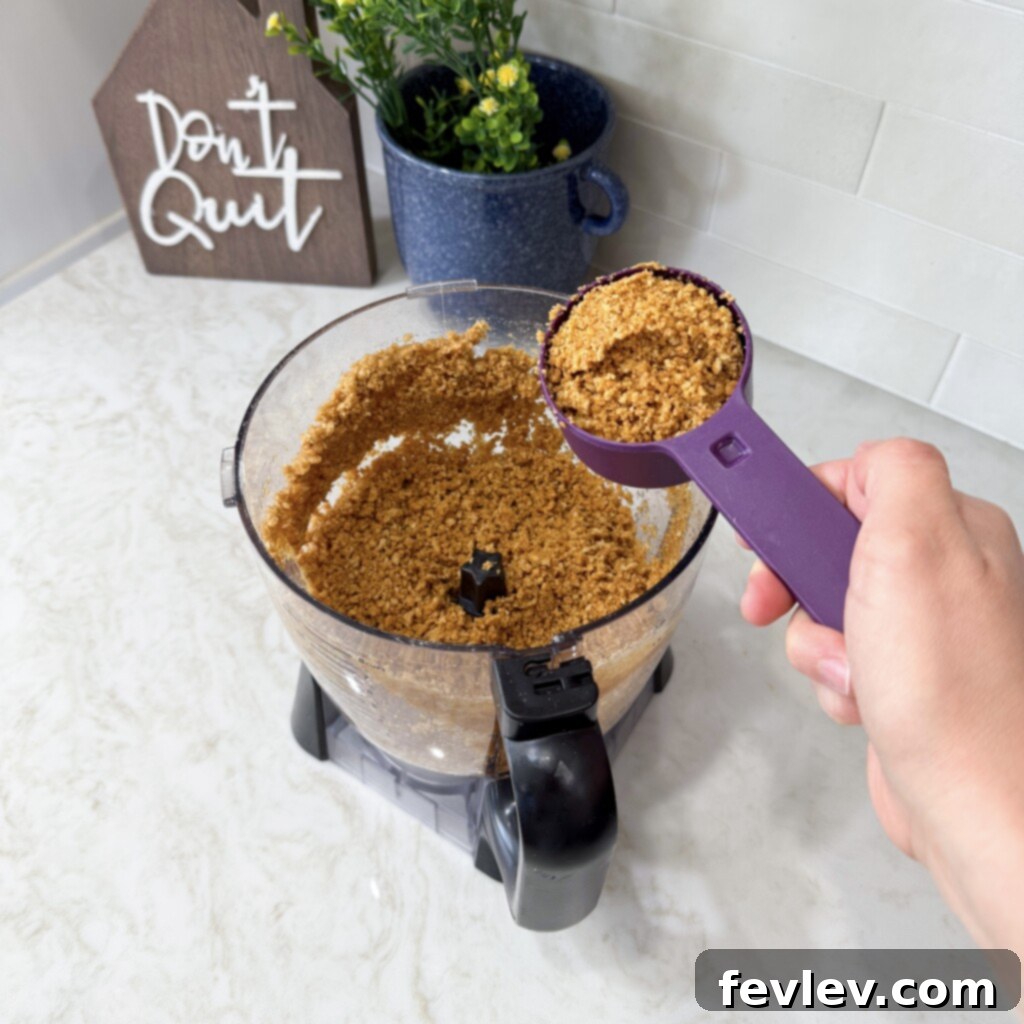
- Once crushed, transfer the crumbs to a bowl. Pour the melted butter over the graham cracker crumbs and mix thoroughly until all crumbs are evenly coated and resemble wet sand.
- Reserve 1/2 cup of this buttery graham cracker mixture for the topping later. This adds an extra layer of crunch and visual appeal.
- Press the remaining graham cracker crust mixture firmly into the bottom of an 8×8-inch baking dish. Use the back of a spoon or your fingers to create an even, compact layer.
Step 2: Prepare the Decadent Cream Cheese Filling
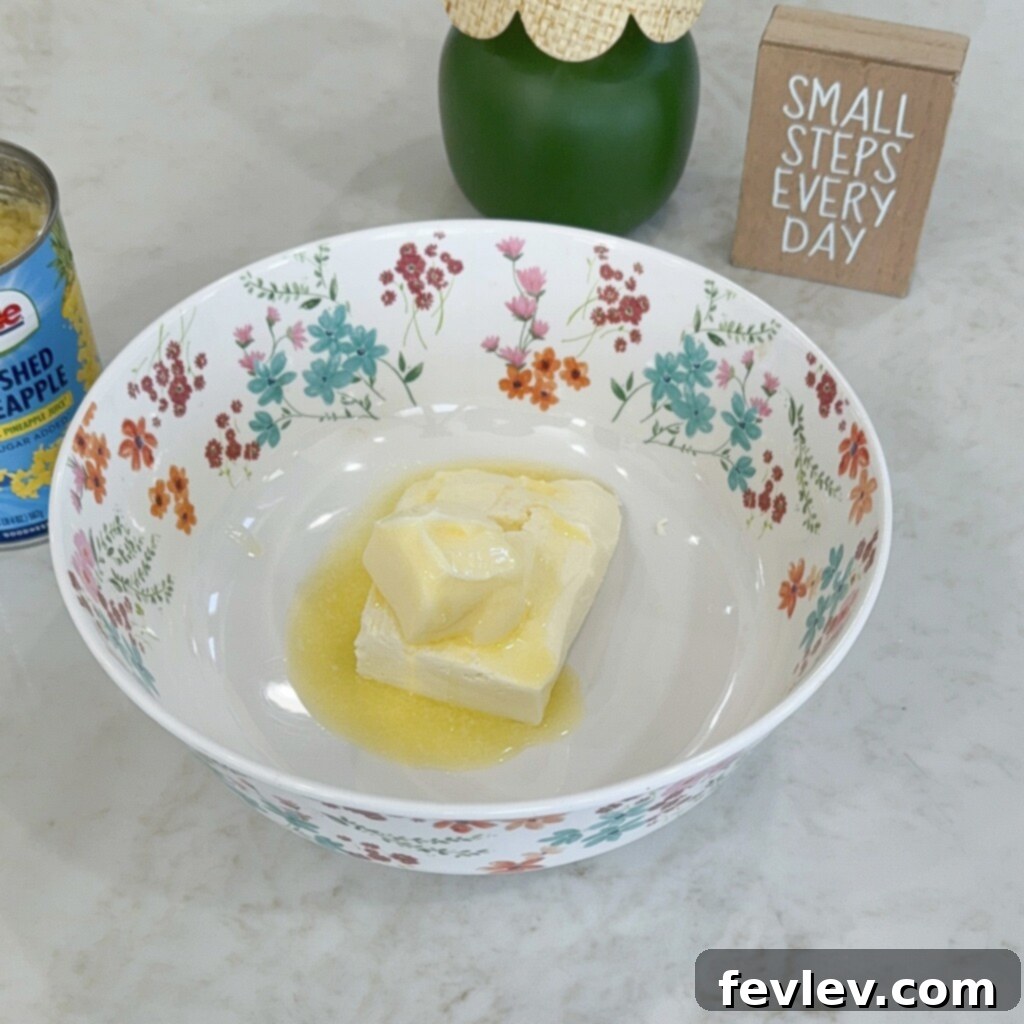
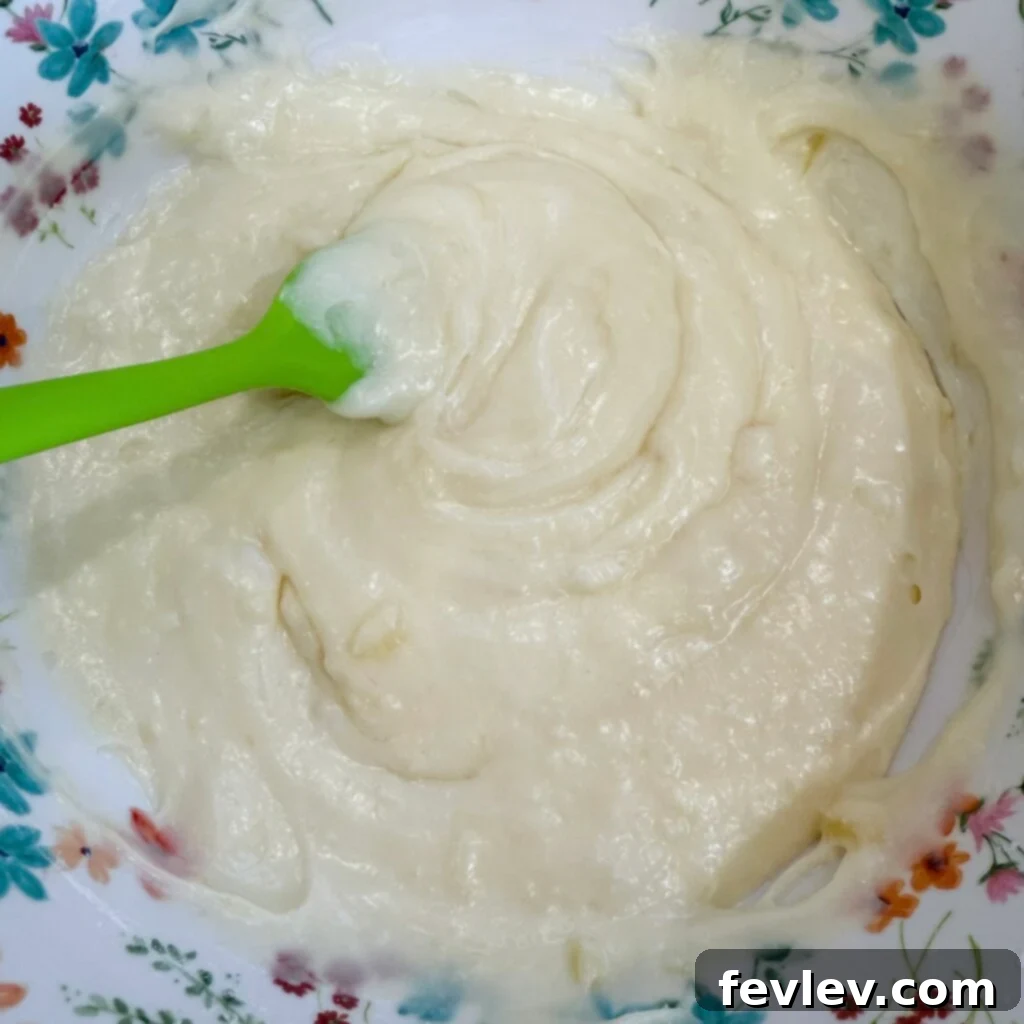
- In an electric mixer or a large mixing bowl with a hand mixer, combine the softened butter and softened cream cheese. Beat them together on medium speed until the mixture is incredibly smooth, light, and fluffy, scraping down the sides of the bowl as needed.
- Gradually add the powdered sugar, mixing on low speed until fully incorporated, then increase speed to medium-high and beat until the mixture achieves stiff peaks and is wonderfully creamy.
- Finally, gently fold in 2 tablespoons of the well-drained crushed pineapple using a spatula. This adds a subtle hint of pineapple to the creamy layer without making it too wet.
Step 3: Layer the Cream Cheese Filling
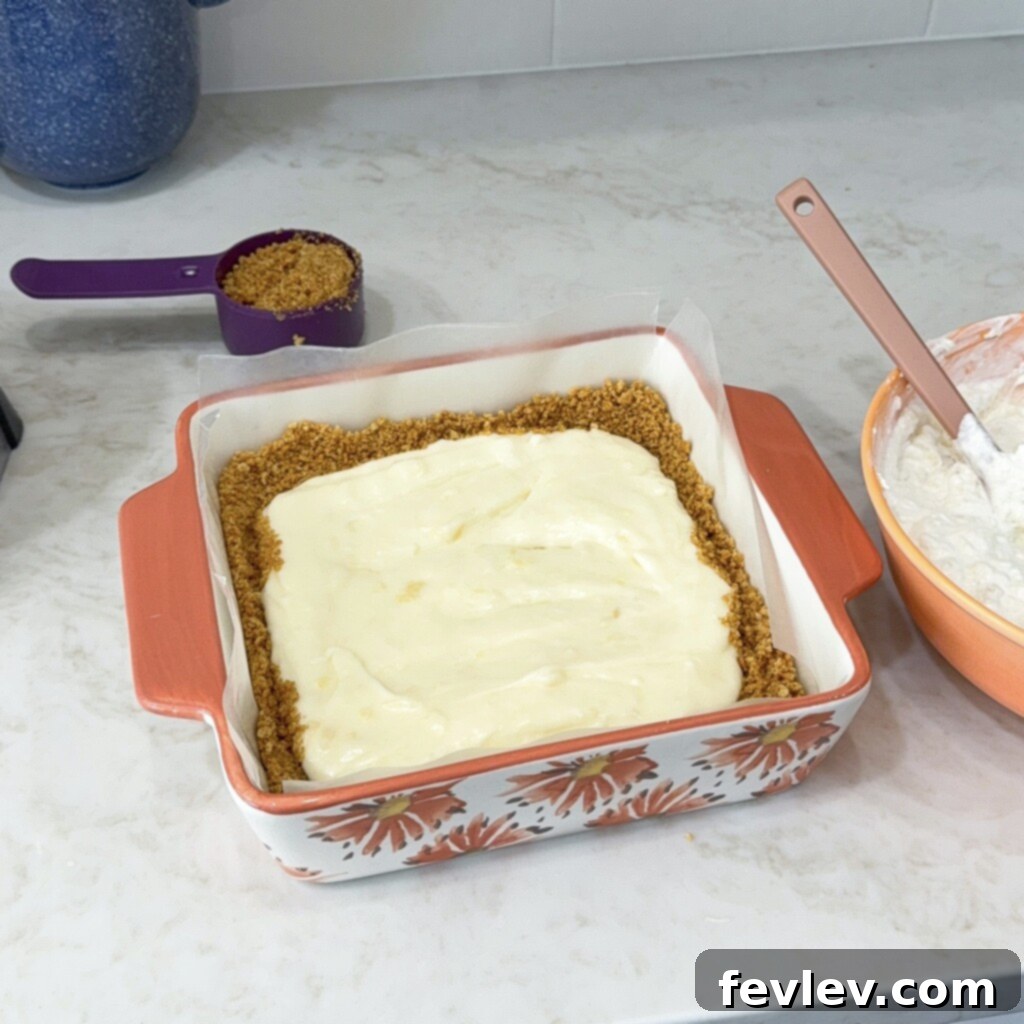
- Carefully spoon the cream cheese mixture over the graham cracker crust in the baking dish. Gently spread it out using an offset spatula or the back of a spoon to create an even, smooth layer, extending all the way to the edges.
Step 4: Prepare the Pineapple Cool Whip Mixture
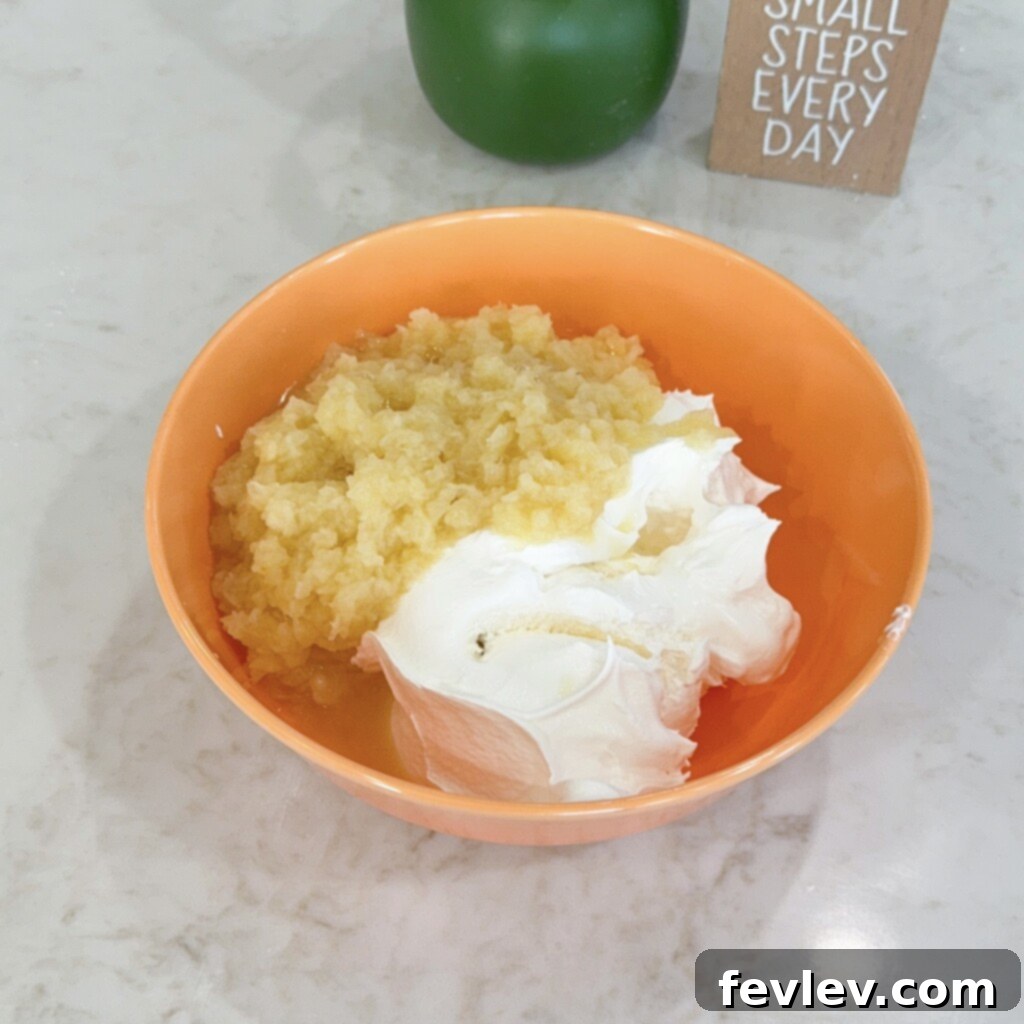
- In a separate medium-sized bowl, combine the remaining well-drained crushed pineapple with the thawed Cool Whip topping. Gently fold these ingredients together until just combined. Be careful not to overmix, as this can deflate the Cool Whip.
Step 5: Assemble the Final Layers and Chill
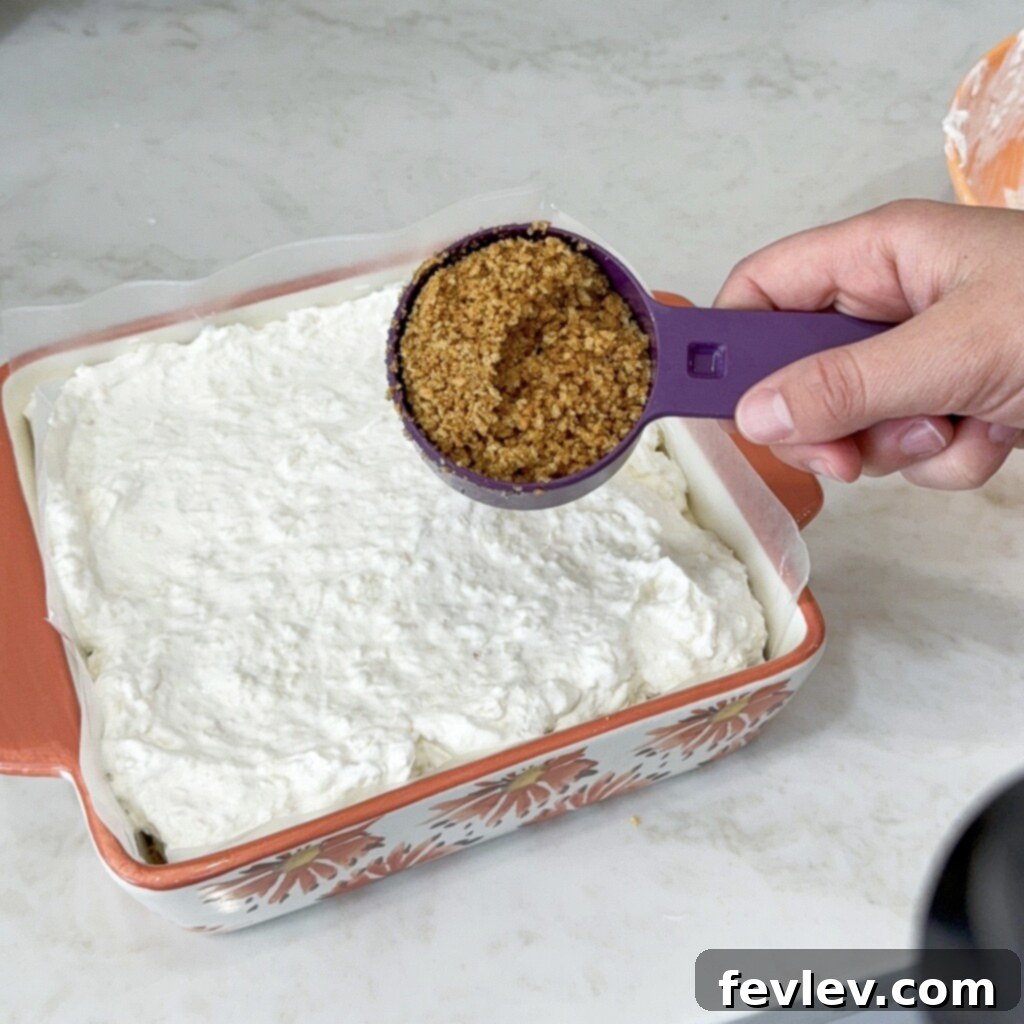
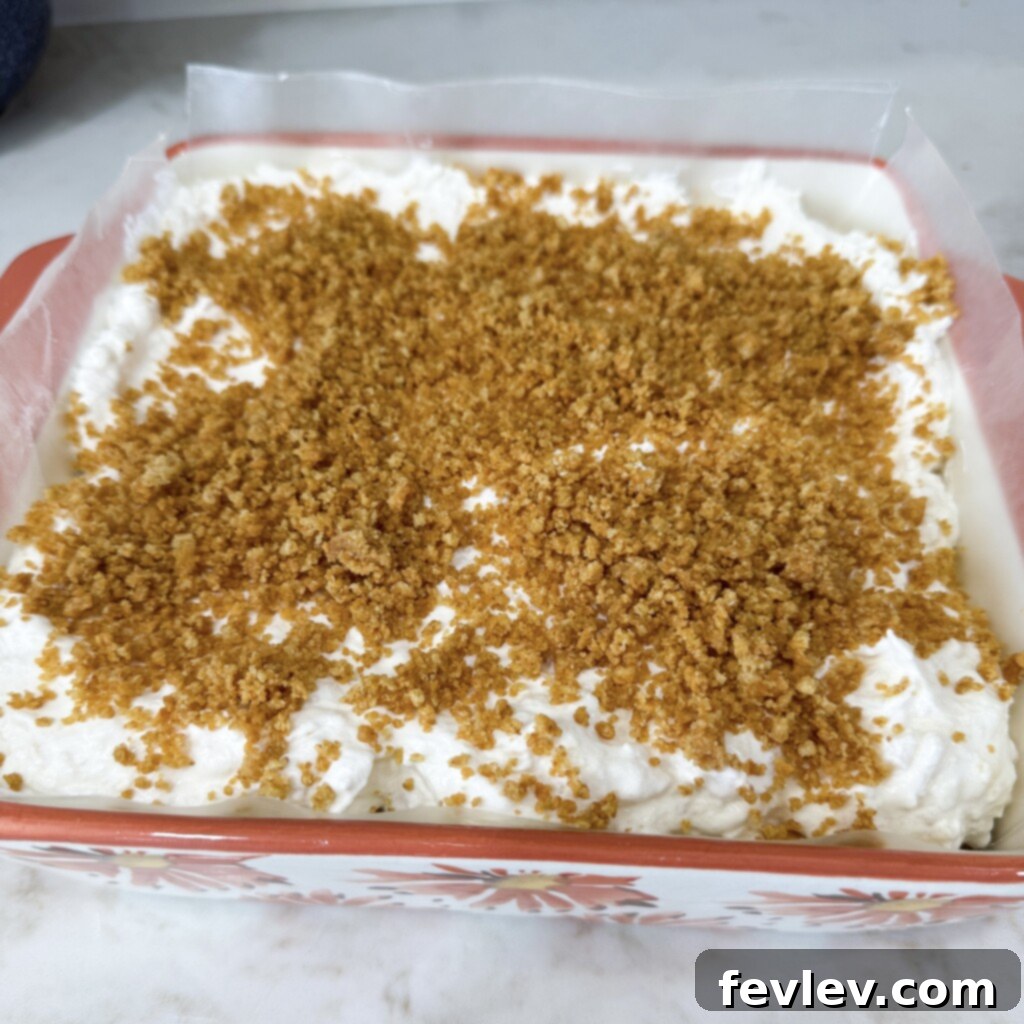
- Evenly spread the pineapple Cool Whip mixture over the cream cheese layer.
- Generously sprinkle the reserved 1/2 cup of graham cracker crumbs over the very top of the dessert. This not only adds a beautiful finish but also a delightful textural contrast.
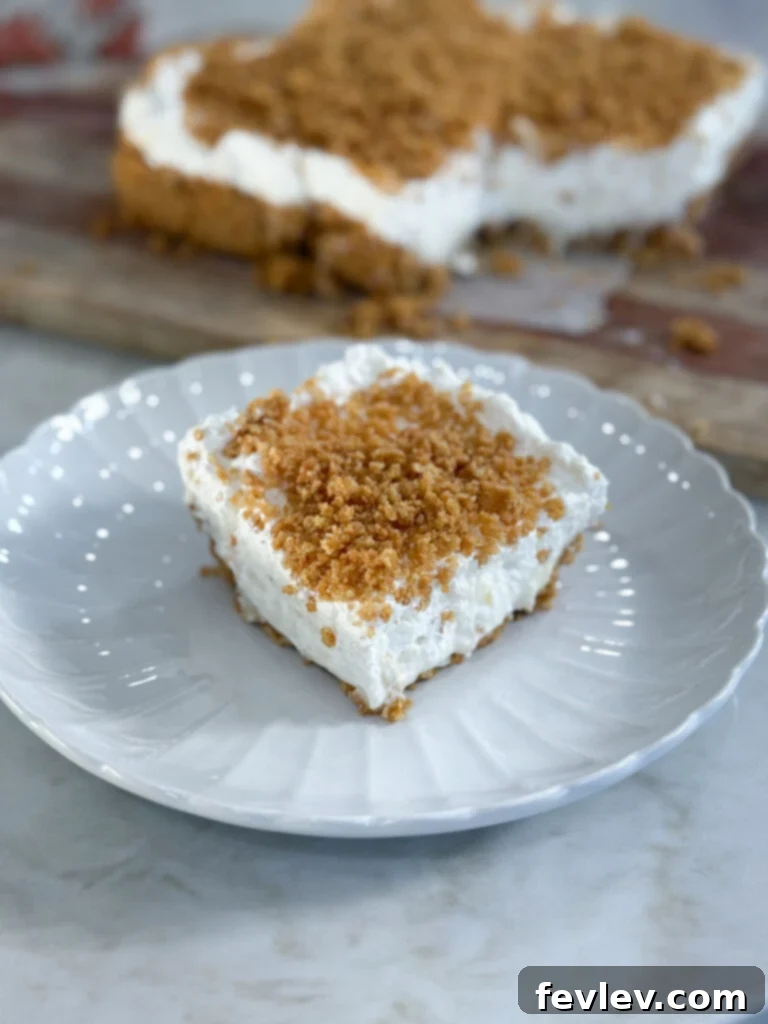
- Cover the baking dish loosely with aluminum foil or plastic wrap and refrigerate for a minimum of 5 hours. For best results and to allow the layers to fully set and flavors to meld, an overnight chill is highly recommended. Slice and enjoy your perfectly chilled no-bake pineapple bars!
No-Bake Pineapple Layered Dessert
Equipment
-
Large mixing bowl
-
Hand mixer (or electric stand mixer)
-
Strainer
-
Medium mixing bowl
-
8×8 baking dish
-
Spatula
Ingredients
Graham Cracker Crust:
- 1 ½ sleeves of honey graham crackers
- ½ cup unsalted butter, melted
Cream Cheese Filling:
- 6 oz cream cheese, softened
- ¼ cup unsalted butter, softened
- 2 cups powdered sugar
Cool Whip Topping:
- 20 oz crushed pineapple, drained very well
- 8 oz Cool Whip, thawed
Instructions
Create the Crust:
- Place the graham crackers into a large ziplock bag and crush them with a rolling pin until fine crumbs (or use a food processor for quicker results).
- Add the melted butter into the crushed graham crackers and mix until all crumbs are evenly coated.
- Set aside 1/2 cup of the graham cracker crust mixture for later use as a topping.
- Press the remaining graham cracker crust firmly into an 8×8-inch baking dish, forming an even base.
Make Cream Cheese Filling:
- In an electric mixer or large mixing bowl, beat the softened butter and softened cream cheese together until smooth and fluffy.
- Slowly add the powdered sugar and mix until fully incorporated and the mixture is light and creamy.
- Using a spatula, gently stir in 2 tablespoons of the well-drained crushed pineapple.
Layer Cream Cheese:
- Spread this creamy dream cheese mixture evenly over the graham cracker crust in the baking dish.
Make Pineapple Mixture:
- In a medium-sized bowl, combine the remaining crushed pineapple (ensure it’s very well drained) and the thawed Cool Whip. Gently fold these ingredients together until just combined.
Add Next Layers & Chill:
- Carefully spread the pineapple Cool Whip mixture over the cream cheese layer, creating a smooth, even layer.
- Sprinkle the top generously with the reserved 1/2 cup of graham cracker crust crumbs.
- Cover the no-bake pineapple bars with aluminum foil or plastic wrap and refrigerate for at least 5 hours, or ideally overnight, to allow the layers to set completely. Enjoy!
Nutrition Information
Nutrition information is automatically calculated, so should only be used as an approximation.
Storing Your Delicious No-Bake Pineapple Dessert:
Fridge:
Once you’ve assembled all the delightful layers of your pineapple dessert in the pan, it’s crucial to store it properly to maintain its freshness and texture. Simply cover the baking dish securely with aluminum foil or plastic wrap. This will prevent it from absorbing any odors from the fridge and keep it from drying out. Store your covered dessert in the refrigerator for up to 5-7 days. It actually tastes even better the next day as the flavors have more time to meld and deepen!
Freezer:
While this no-bake pineapple treat is best enjoyed fresh from the fridge, you can freeze individual portions for later enjoyment. Cut the dessert into servings, wrap each piece tightly in plastic wrap, then again in foil. Place the wrapped pieces in an airtight container. It can be frozen for up to 1 month. Thaw in the refrigerator for a few hours before serving.
Expert Tips and Tricks for a Perfect Pineapple Lush Dessert:
Drain That Pineapple Like a Pro!
This is perhaps the most important tip for this layered pineapple dessert. Crushed pineapple, especially from a can, contains a lot of liquid. If you don’t drain it thoroughly, your creamy layers will become watery and lose their desired consistency. Use a fine-mesh strainer and press down on the pineapple with the back of a spoon to squeeze out every last drop of juice. You want the pineapple to be as dry as possible before mixing it into the cream cheese and Cool Whip layers.
Soften Ingredients for a Silky-Smooth Filling:
For the cream cheese layer, ensure both your cream cheese and butter are at room temperature and truly softened. This makes them much easier to blend, preventing lumps and ensuring a beautifully smooth, airy, and consistent texture for your filling. If they’re too cold, you’ll end up with a chunky mixture.
The Importance of Chilling Time:
Don’t rush the chilling! The 5-hour minimum refrigeration time is crucial. This allows all the layers to firm up, especially the cream cheese filling, and helps the flavors to fully meld together. An overnight chill is always recommended for the best results, ensuring clean slices and maximum deliciousness.
Crust Options for Your No-Bake Delight:
While making your own graham cracker crust from scratch with graham cracker crumbs and melted butter (as detailed in our recipe instructions for an 8×8 baking dish) yields the freshest flavor, feel free to simplify! If you’re short on time, a store-bought graham cracker crust or a pre-made crust of similar dimensions works perfectly for this no-bake pineapple recipe. Just be sure to set aside some extra crumbs for the topping if you use a pre-made crust.
Creative Toppings for an Extra Flourish:
While the reserved graham cracker crumbs provide a wonderful finish, you can elevate your pineapple lush dessert with additional toppings:
- Toasted Coconut: Sprinkle some toasted coconut flakes for an extra tropical crunch and aroma.
- Chopped White Chocolate: White chocolate chips or finely chopped white chocolate can add a lovely sweetness and creamy counterpoint.
- Chocolate Sauce Drizzle: A light drizzle of chocolate sauce, though unconventional with pineapple, can create an interesting flavor dynamic.
- Fresh Chopped Pineapple: Garnish with small pieces of fresh, finely chopped pineapple right before serving for a vibrant burst of fresh fruit flavor and color.
- Maraschino Cherries: A classic dessert garnish, bright red maraschino cherries add a pop of color and a touch of extra sweetness.
Experiment with these additions to personalize your no-bake layered dessert and impress your guests!
Frequently Asked Questions (FAQ)
Can I use fresh pineapple instead of canned?
While fresh pineapple offers a wonderful flavor, it contains enzymes that can break down dairy proteins, potentially causing your cream cheese and Cool Whip layers to become runny. If you absolutely want to use fresh pineapple, you’ll need to cook it first to deactivate these enzymes. Briefly sautéing or simmering fresh pineapple chunks for a few minutes before draining and cooling will work. However, for ease and reliable results, canned crushed pineapple, well-drained, is highly recommended for this no-bake recipe.
Can I make this dessert ahead of time for a party?
Absolutely! This no-bake pineapple layered dessert is an excellent make-ahead option. In fact, it tastes even better when given ample time to chill, allowing the flavors to fully develop and the layers to set perfectly. You can prepare it a day in advance and store it covered in the refrigerator. This makes it a stress-free choice for entertaining.
What if my cream cheese filling is lumpy?
Lumpy filling usually occurs if the cream cheese or butter isn’t sufficiently softened before mixing. Ensure both ingredients are at room temperature (let them sit out for at least 30-60 minutes). If you still get lumps, continue beating on medium speed, scraping down the bowl frequently, until smooth. A hand mixer or stand mixer works best for this.
Can I use other types of cookies for the crust?
Yes, you can certainly experiment with other cookies! Vanilla wafers, shortbread cookies, or even gingersnaps could offer interesting flavor variations. Just ensure they are crushed into fine crumbs and mixed with melted butter in the same proportions to create a stable crust for your layered dessert.
Is this dessert suitable for large gatherings?
This recipe can easily be doubled and prepared in a larger 9×13-inch baking dish, making it perfect for potlucks, family reunions, or holiday celebrations. Just adjust the ingredient quantities accordingly and ensure you have enough refrigerator space for chilling.
This No-Bake Pineapple Layered Dessert is truly a gem for anyone seeking a delightful, easy, and refreshing treat. Its balanced flavors and diverse textures make it an instant classic, proving that the best desserts don’t always require an oven. Enjoy every cool, creamy bite!
Discover More Dessert Recipes:
Dessert
No-Bake Layered Turtle Dessert
Dessert
Strawberry Pretzel Dessert
Dessert
No-Bake Cookies
Dessert
No-Bake Peanut Butter Bars
Quick Links to Simplify Your Kitchen Life:
Beyond delicious desserts, we’re here to help make every meal enjoyable and effortless. Explore these helpful resources:
- Stress-Free Family Meal Plans: Take the guesswork out of dinner with our easy-to-follow meal plans.
- Curated Kitchen Tools and Essentials: Discover our favorite kitchen gadgets and more that simplify cooking.
- The Ultimate Cookbook for Easy Family Dinners: A collection of simple, wholesome recipes everyone will love.
- Download Your FREE Budget Meal Plan: Eat well without breaking the bank.
- Watch Our Cooking Videos on YouTube: Follow along with step-by-step guides for all your favorite recipes.
If you try out this amazing No-Bake Pineapple Layered Dessert or any of our other recipes, we’d love to hear from you! Make sure to tag us on Instagram @julia.pacheco.cooking and let us know how much you enjoyed the delicious results!