
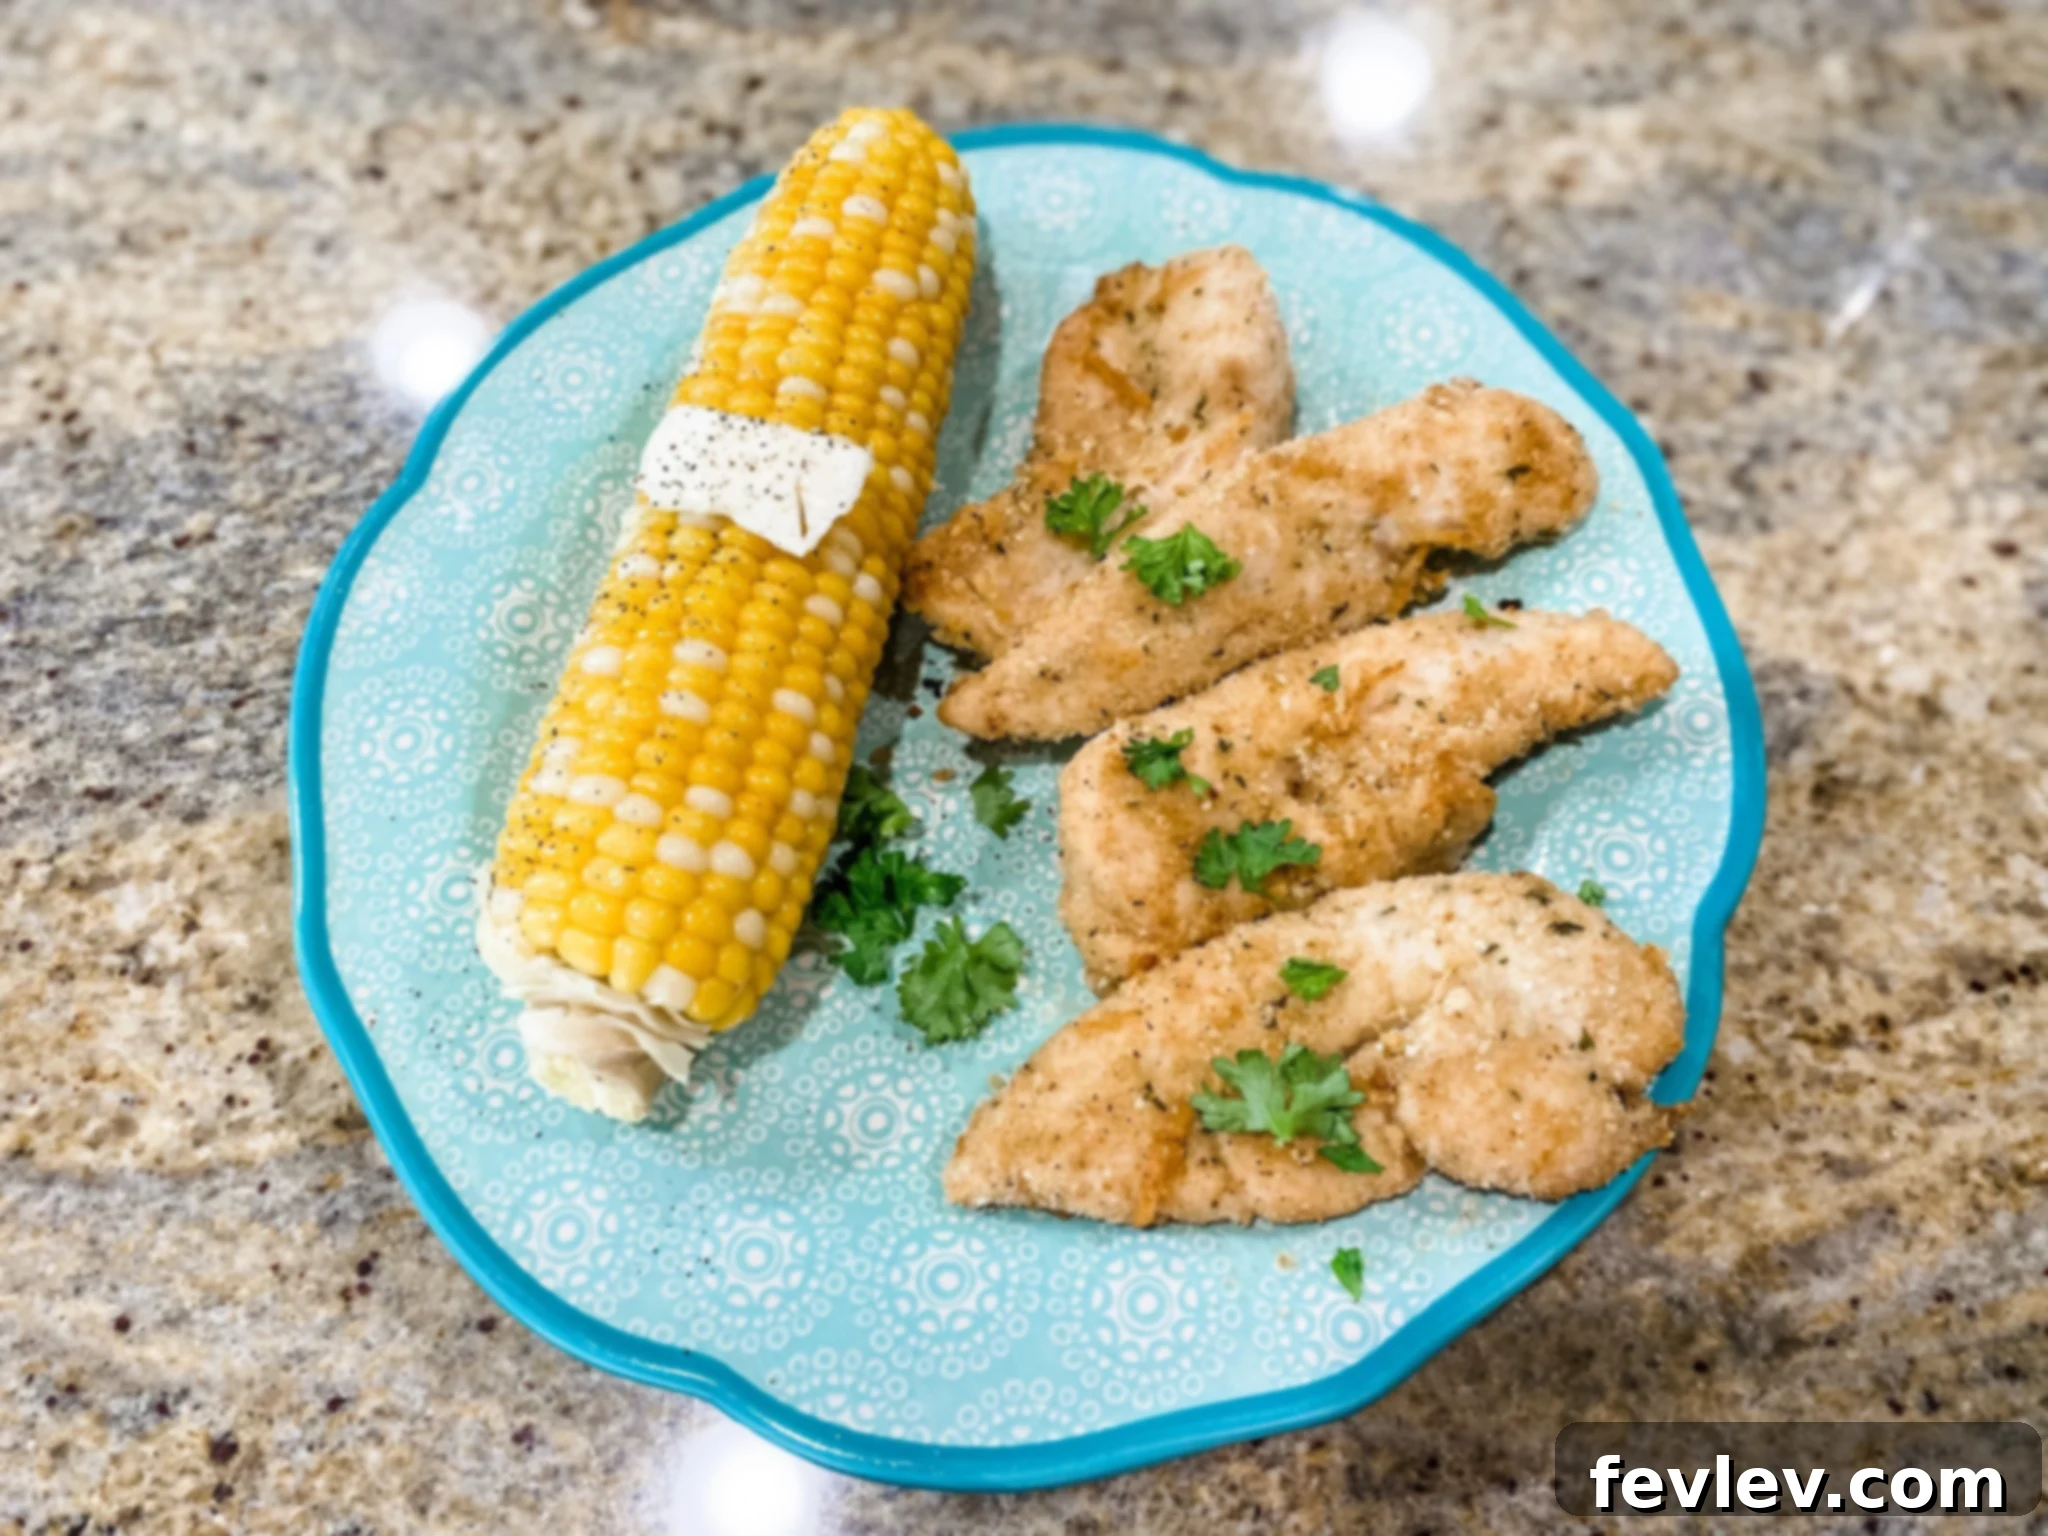

Crispy and Juicy Baked Chicken Tenders
Julia Pacheco
Looking for a healthier alternative to deep-fried chicken tenders without sacrificing flavor or that satisfying crunch? These Baked Chicken Tenders deliver exactly that! Crispy on the outside, incredibly juicy on the inside, and packed with savory flavor, this recipe is a guaranteed family favorite. It’s quick to prepare, uses simple ingredients, and is perfect for busy weeknights, game days, or as a fun appetizer. Say goodbye to greasy guilt and hello to delicious, oven-baked perfection with this easy-to-follow guide.
5 minutes
16 minutes
21 minutes
4 servings
Save Recipe (login required)
Pin Recipe
Comment
Print Recipe
To receive this recipe and future updates, please visit our newsletter signup page. We value your privacy and promise not to spam your inbox.
Ingredients
Crafting the perfect baked chicken tenders starts with quality ingredients. Here’s what you’ll need for this simple yet incredibly flavorful recipe. These quantities are optimized for 4 servings, but you can easily scale them up or down as needed.
-
1 lb chicken tenderloins (or boneless, skinless chicken breasts cut into 1-inch strips) - 2 tbs mayonnaise (full-fat for best results, or light for a healthier option)
- ½ cup grated parmesan cheese (freshly grated preferred for superior flavor and texture)
- ½ cup Italian seasoned breadcrumbs (store-bought or homemade with Italian herbs and spices)
- Optional: Salt and freshly ground black pepper (to taste, before coating)
- For greasing: Nonstick cooking spray or a drizzle of olive oil
Notes on Ingredients:
- **Chicken Tenderloins:** These are naturally tender and cook quickly. If using chicken breasts, ensure they are cut into uniform 1-inch thick strips for even cooking.
- **Mayonnaise:** This secret ingredient acts as a binder, helping the breadcrumbs adhere to the chicken while also keeping the chicken incredibly moist and juicy during baking. Don’t worry, you won’t taste the mayo!
- **Parmesan Cheese:** Adds a salty, umami depth and contributes to the golden-brown crust.
- **Italian Seasoned Breadcrumbs:** These already contain a delicious blend of herbs and spices, making your life easier. If you only have plain breadcrumbs, you can easily make your own Italian seasoned version by mixing in dried oregano, basil, garlic powder, onion powder, and a pinch of red pepper flakes.
Instructions
Follow these simple steps to create perfectly crispy and delicious baked chicken tenders. Each step is designed for ease and to ensure a fantastic result every time.
-
**Prepare Your Oven:** Preheat your oven to 425 degrees Fahrenheit (220 degrees Celsius). A hot oven is key to achieving that desirable crispy crust without drying out the chicken. Line a large baking sheet with parchment paper for easy cleanup, then grease it generously with nonstick cooking spray or a light drizzle of olive oil.
-
**Coat the Chicken with Mayonnaise:** In a medium-sized bowl, add the chicken tenderloins and the mayonnaise. Use tongs or your hands to thoroughly stir and coat each piece of chicken evenly with the mayonnaise. Ensure every tenderloin is fully covered; this forms the essential base for the breading to adhere.
-
**Prepare the Breading Mixture:** In a large resealable plastic bag (or a shallow dish if you prefer), combine the grated parmesan cheese and Italian seasoned breadcrumbs. Close the bag tightly and shake well to ensure the cheese and breadcrumbs are thoroughly mixed. If using a dish, stir vigorously with a fork.
-
**Breading the Chicken (in batches):** Place 2-3 chicken tenderloins into the ziplock bag with the breadcrumb mixture. Close the bag and shake gently until the chicken pieces are completely coated. This method ensures even coverage and keeps your hands clean. Alternatively, if using a dish, dredge each tenderloin in the breadcrumb mixture, pressing lightly to ensure the coating sticks.
-
**Arrange on Baking Sheet:** Carefully remove the breaded chicken tenderloins from the bag (or dish) and arrange them in a single layer on your prepared baking sheet. Make sure not to overcrowd the pan, as this can steam the chicken instead of crisping it. Repeat the breading process with the remaining chicken tenders until all are coated and placed on the baking sheet, ensuring they have a little space between each piece.
-
**First Bake & Flip:** Bake the chicken tenders for 8 minutes. After 8 minutes, carefully flip each tenderloin over using tongs. This helps both sides get equally crispy and golden brown.
-
**Final Bake:** Continue to bake for an additional 8-10 minutes, or until the chicken is fully cooked through and the internal temperature reaches 165 degrees Fahrenheit (74 degrees Celsius). The breading should be beautifully golden and crispy. Remove from the oven and serve immediately with your favorite dipping sauces.
Pro Tips for Perfect Baked Chicken Tenders:
- **Don’t Overcrowd the Pan:** For ultimate crispiness, ensure the chicken tenders are in a single layer with some space between them. If necessary, use two baking sheets.
- **Pat Chicken Dry:** Before mixing with mayonnaise, pat your chicken tenderloins dry with paper towels. This helps the mayo adhere better and promotes a crispier exterior.
- **Adjust Baking Time:** The thickness of your chicken tenders will influence baking time. Thicker pieces may need a minute or two longer. Always use a meat thermometer to ensure chicken is cooked to a safe internal temperature of 165°F (74°C).
- **Mayonnaise is Magic:** Don’t skip the mayonnaise! It’s the secret to keeping these tenders moist and helping the breading stick without using eggs, offering a lighter yet equally effective coating method.
- **Air Fryer Option:** For an even crispier result in less time, you can also cook these in an air fryer at 375°F (190°C) for 10-14 minutes, flipping halfway through.
Recipe Video
Watch Julia Pacheco demonstrate how to make these delicious baked chicken tenders and other easy recipes. Seeing the steps in action can make the cooking process even simpler!
Nutrition Information
Enjoy these baked chicken tenders knowing you’re making a healthier choice. Here’s an approximation of the nutritional content per serving.
Carbohydrates: 11g |
Protein: 31g |
Fat: 12g |
Saturated Fat: 4g |
Polyunsaturated Fat: 4g |
Monounsaturated Fat: 3g |
Trans Fat: 0.03g |
Cholesterol: 84mg |
Sodium: 577mg |
Potassium: 467mg |
Fiber: 1g |
Sugar: 1g |
Vitamin A: 165IU |
Vitamin C: 2mg |
Calcium: 182mg |
Iron: 1mg
Nutrition information is automatically calculated, so should only be used as an approximation. It can vary based on specific brands and exact quantities used. For precise dietary information, please consult a registered dietitian.
Perfect Pairings and Serving Suggestions
These crispy baked chicken tenders are incredibly versatile and can be served in many ways to suit any meal or occasion. Here are some ideas to get you started:
- **Classic Dip:** Serve with an array of dipping sauces like ketchup, honey mustard, BBQ sauce, ranch, or a creamy sriracha aioli for a flavorful kick.
- **Main Course:** Pair with a fresh green salad, steamed vegetables, roasted potatoes, or a side of mac and cheese for a complete and satisfying meal.
- **Wraps and Sandwiches:** Chop the cooked tenders and use them in wraps with fresh lettuce, tomatoes, and a drizzle of your favorite dressing, or create a delicious chicken tender sandwich.
- **Salad Topper:** Slice them up and add them to a crisp Caesar salad or a vibrant Cobb salad for an added protein boost.
- **Appetizer Platter:** Arrange them on a platter with carrot sticks, celery sticks, and a variety of dips for a crowd-pleasing appetizer at parties or gatherings.
Storage and Reheating Tips
Want to enjoy these delicious baked chicken tenders again? Here’s how to properly store and reheat them to maintain their taste and texture:
- **Storage:** Allow leftover chicken tenders to cool completely before transferring them to an airtight container. Store in the refrigerator for up to 3-4 days.
- **Freezing:** For longer storage, you can freeze cooked tenders. Place them on a baking sheet in a single layer and freeze until solid (about 1-2 hours). Then, transfer the frozen tenders to a freezer-safe bag or container for up to 2-3 months. This prevents them from sticking together.
- **Reheating (Oven):** For best results, preheat your oven to 350°F (175°C). Place the tenders on a baking sheet and bake for 10-15 minutes, or until heated through and crispy.
- **Reheating (Air Fryer):** Reheat in an air fryer at 350°F (175°C) for 5-8 minutes, flipping halfway. This is excellent for restoring crispiness.
- **Avoid Microwave:** While convenient, reheating in the microwave often makes the tenders soggy. It’s best avoided if you want to preserve the crispy texture.
Variations and Customizations
This recipe is a fantastic base, but don’t hesitate to get creative and customize it to your family’s preferences:
- **Spicy Kick:** Add a pinch of cayenne pepper or smoked paprika to the breadcrumb mixture for a subtle heat. For more intense spice, toss the baked tenders in a hot sauce or buffalo sauce.
- **Herb Lovers:** Incorporate additional dried herbs like thyme, rosemary, or even a mix of dried Italian herbs into the breadcrumbs for an aromatic boost. Freshly chopped parsley or chives can be added after baking for a fresh finish.
- **Different Cheeses:** Experiment with other hard cheeses like Pecorino Romano for a sharper flavor, or even a blend of Italian cheeses.
- **Gluten-Free Option:** Simply swap the regular Italian seasoned breadcrumbs for gluten-free breadcrumbs to make this recipe suitable for those with gluten sensitivities. Ensure all other ingredients are also gluten-free.
- **Panko Breadcrumbs:** For an extra crispy texture, use Panko breadcrumbs instead of traditional breadcrumbs. You might want to toast them lightly in a dry pan before coating for an even deeper crunch and golden color.
- **Flavorful Marinade:** While not strictly necessary due to the mayonnaise coating, a quick 30-minute marinade in buttermilk or a lemon-herb mixture can add another layer of flavor and tenderness.
These Baked Chicken Tenders are more than just a meal; they’re a quick, healthy, and delicious solution for any occasion. Whether you’re feeding picky eaters or looking for a satisfying snack, this recipe is sure to become a staple in your kitchen. Enjoy the ease of preparation and the delightful crispy, juicy results!