

5 from 4 votes
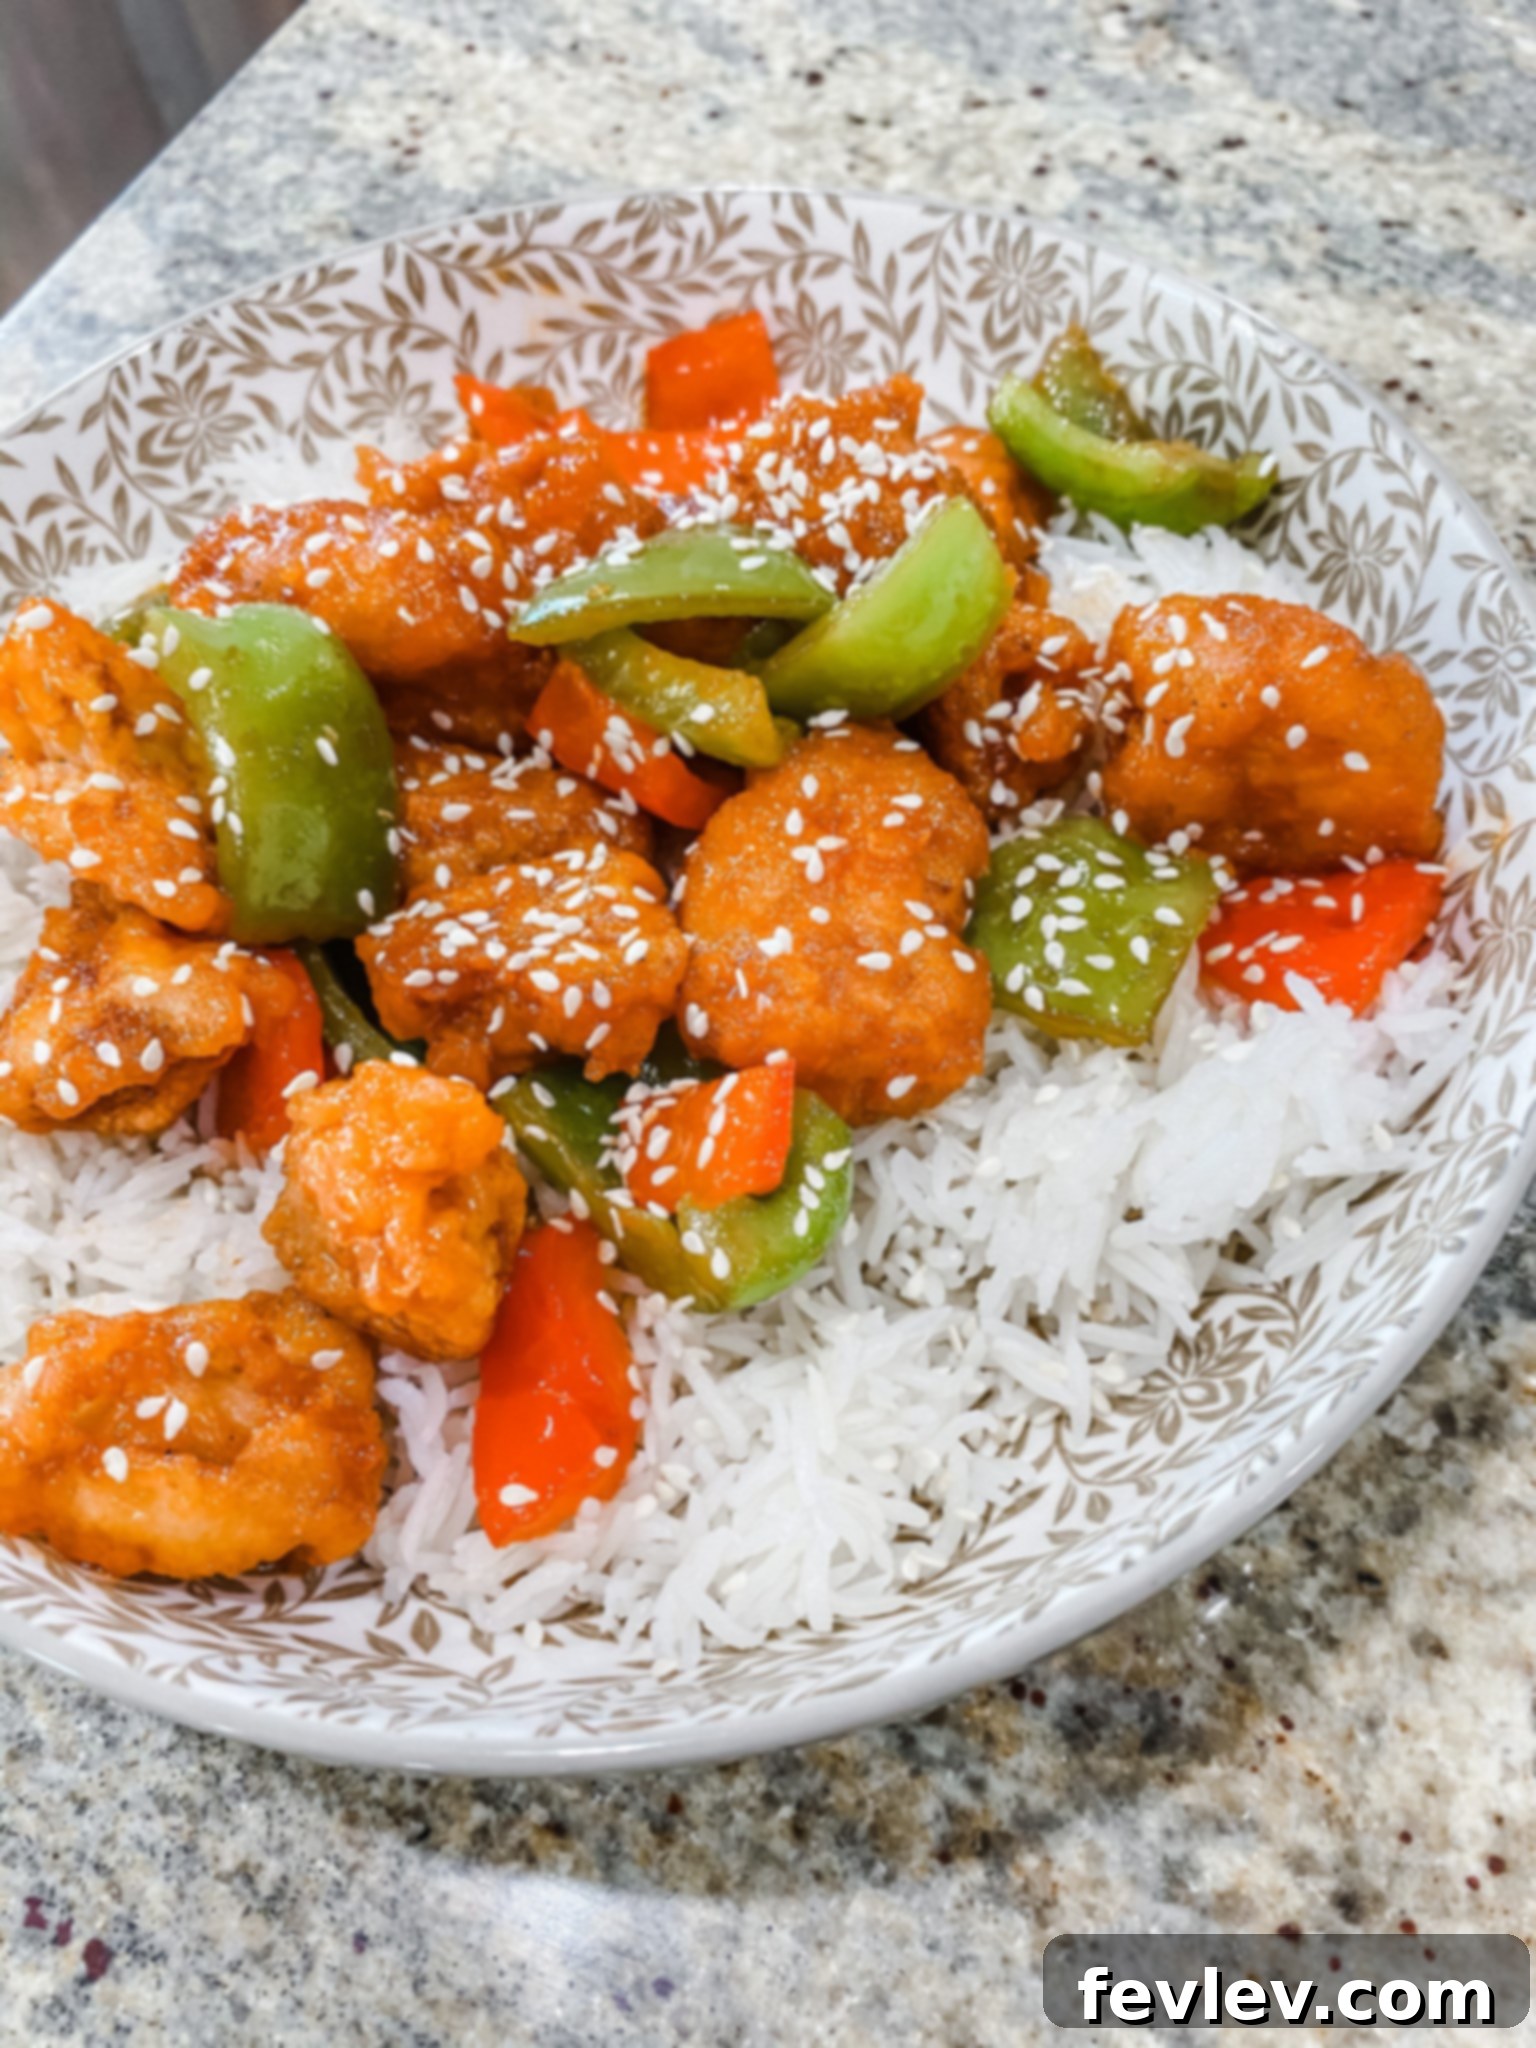
Homemade Sweet and Sour Chicken: The Ultimate Takeout-Style Recipe
Julia Pacheco
Crispy, tangy, and just the right amount of sweet—this homemade Sweet and Sour Chicken recipe allows you to skip the takeout and bring all the bold, irresistible flavor straight to your kitchen. It’s a total weeknight win that’s surprisingly simple to make!
8 mins
30 mins
38 mins
4 servings
Pin Recipe
Leave a Comment
Print Recipe
Why You’ll Love This Homemade Sweet and Sour Chicken
There’s nothing quite like the comforting crunch of perfectly fried chicken coated in a luscious, vibrant sweet and sour sauce. This recipe delivers all the classic flavors you crave from your favorite Chinese takeout, but with the added satisfaction of knowing exactly what goes into your meal. Forget soggy chicken and overly sweet sauces; our version promises beautifully crispy chicken pieces, fresh bell peppers, and a sauce that strikes the ideal balance between tangy, savory, and sweet.
Preparing sweet and sour chicken at home gives you complete control over the ingredients, allowing for a fresher, healthier, and often more delicious result. It’s also incredibly rewarding to create such a popular dish from scratch in your own kitchen. Whether you’re a seasoned cook or just starting out, this recipe is designed to be straightforward and accessible, making it an excellent choice for a memorable family dinner or a delightful meal prep option.
Key Ingredients for a Perfect Sweet and Sour Chicken
The beauty of this dish lies in its simplicity and the quality of its components. Here’s a closer look at what you’ll need:
For the Chicken
- ½ LB Cubed Chicken Breast: Chicken breast is lean and cooks quickly. You can also use boneless, skinless chicken thighs for a juicier result. Ensure the pieces are cut into uniform cubes for even cooking.
- ½ Tsp Salt
- ½ Tsp Pepper: Simple seasoning to enhance the chicken’s natural flavor before it gets coated and fried.
- 1 Green Bell Pepper, cut into smaller squares: Adds a fresh, slightly bitter contrast.
- 1 Red Bell Pepper, cut into smaller squares: Provides sweetness and a pop of color.
- Canola or Vegetable Oil, for frying chicken: Essential for achieving that golden, crispy exterior. Choose an oil with a high smoke point.
- ½ Tbs Olive Oil, for peppers: Used to sauté the bell peppers, giving them a tender-crisp texture.
For the Flavorful Sweet and Sour Sauce
This sauce is the heart of the dish, providing that signature sweet, tangy, and savory profile. It’s incredibly easy to whisk together.
- ½ Cup Ketchup: Forms the base, providing sweetness and a rich tomato flavor.
- 3 Tbs Sugar: Balances the tanginess of the vinegar and ketchup, ensuring a truly “sweet” and sour experience.
- 2 ½ Tbs White Vinegar: The “sour” component, adding a bright, acidic kick that cuts through the richness.
- 1 Tsp Soy Sauce: Introduces a crucial umami depth and savory notes, enhancing the overall flavor complexity.
For the Crispy Batter
The secret to crispy, light sweet and sour chicken is a well-balanced batter. This combination creates a delightful crunch that holds up against the sauce.
- 3 Tbs All Purpose Flour: Provides the main structure for the coating.
- ¼ Tsp Baking Powder: A leavening agent that helps make the batter light and airy, contributing to its crispiness.
- 2 Tsp Cornstarch: Essential for achieving that extra crispness and a slightly translucent finish.
- ¼ Tsp Salt: Seasons the batter itself.
- ¼ Cup Water: Brings the dry ingredients together to form a smooth batter.
- 1 Egg White: Helps bind the batter to the chicken and contributes to a delicate crispness.
Step-by-Step Instructions to Master This Recipe
Follow these easy steps to create your perfect homemade sweet and sour chicken:
- Prepare the Chicken: Begin by seasoning your cubed chicken breast with salt and pepper. Allow it to marinate for at least 15 minutes. This simple step infuses flavor into the chicken before cooking.
- Mix the Sauce: In a medium bowl, combine all the sauce ingredients: ketchup, sugar, white vinegar, and soy sauce. Whisk until thoroughly mixed and the sugar has dissolved. Set this flavorful sauce aside.
- Prepare the Batter: In a separate bowl, whisk together the batter ingredients: all-purpose flour, baking powder, cornstarch, salt, water, and egg white. Mix until a smooth, lump-free batter is formed. This batter will give your chicken its signature crispy coating.
- Heat the Oil: Heat canola or vegetable oil in a deep pot or large skillet over medium-high heat until it reaches a temperature of about 350-375°F (175-190°C). If you don’t have a thermometer, a small drop of batter should sizzle immediately.
- Fry the Chicken in Batches: Dip each piece of marinated chicken into the prepared batter, ensuring it’s fully coated. Carefully place the battered chicken pieces into the hot oil. It is crucial not to overcrowd the pan, as this can lower the oil temperature and lead to soggy chicken. Fry the chicken in at least three different batches to maintain optimal crispiness.
- Initial Fry: Fry the chicken for approximately 1 minute without turning them. This helps the batter set and prevents it from sticking to the pan or other chicken pieces.
- Continue Frying: After the initial minute, continue to turn and fry the chicken for another 4-6 minutes, or until the chicken is cooked through and the batter is golden brown and crispy. Remove the cooked chicken pieces from the oil and transfer them to a separate plate lined with paper towels to drain excess oil. Repeat this process with the remaining batches of chicken.
- Sauté the Bell Peppers: In a separate pan, heat the olive oil over medium heat. Once hot, add the green and red bell peppers. Sauté for 2-3 minutes until they are tender-crisp, still retaining a slight bite and vibrant color.
- Add the Sauce: Pour the prepared sweet and sour sauce over the sautéed bell peppers. Allow it to simmer for 1-2 minutes, stirring occasionally, until the sauce thickens slightly to a glossy consistency.
- Combine and Serve: Add the crispy cooked chicken to the pan with the sauce and peppers. Stir gently to combine, ensuring all the chicken pieces are evenly coated with the delicious sweet and sour sauce. Serve immediately and enjoy! This dish pairs wonderfully with steamed white rice.
Tips for Sweet and Sour Chicken Success
Achieving restaurant-quality sweet and sour chicken at home is easier than you think with these expert tips:
- **Uniform Chicken Pieces:** Cut your chicken breast into roughly equal-sized cubes. This ensures that all pieces cook at the same rate, preventing some from being undercooked or overcooked.
- **Don’t Overcrowd the Pan:** Frying in batches is essential. Overcrowding lowers the oil temperature, leading to greasy, less crispy chicken. Give each piece space to fry properly.
- **Maintain Oil Temperature:** Use a cooking thermometer if possible to keep the oil between 350-375°F (175-190°C). Consistent oil temperature is key for even cooking and crispiness.
- **Adjust Sweetness/Sourness:** Taste the sauce before adding it to the chicken. If you prefer it sweeter, add a pinch more sugar. For more tang, a tiny splash of vinegar can be added.
- **Prep Ahead:** You can cube and marinate the chicken a few hours in advance, and even whisk together the sauce ingredients. This makes assembly much quicker on a busy weeknight.
- **Crispy Coating Retention:** Serve immediately after tossing the chicken in the sauce to ensure maximum crispiness. While leftovers are still delicious, the chicken coating will soften over time.
Serving Suggestions and Variations
This sweet and sour chicken is a complete meal on its own, but here are some ideas to round out your dinner or customize the dish:
- **Classic Pairing:** Steamed white rice is the traditional accompaniment, perfectly soaking up the rich sauce.
- **Noodle Delight:** Serve it with stir-fried noodles, like lo mein or chow mein, for a heartier meal.
- **Extra Veggies:** Feel free to add other vegetables to the stir-fry alongside the bell peppers. Sliced onions, carrots, pineapple chunks (for extra sweetness), snap peas, or broccoli florets are all excellent choices. Add them according to their cooking time; harder vegetables like carrots should go in first.
- **Spice It Up:** If you enjoy a bit of heat, add a pinch of red chili flakes to the sauce or a dash of sriracha for a spicy kick.
- **Gluten-Free Option:** To make this recipe gluten-free, substitute all-purpose flour with a gluten-free all-purpose flour blend and use tamari instead of regular soy sauce.
Watch the Recipe Video
Nutrition Information
Calories: 190kcal | Carbohydrates: 26g | Protein: 14g | Fat: 3g | Saturated Fat: 1g | Polyunsaturated Fat: 1g | Monounsaturated Fat: 2g | Trans Fat: 0.01g | Cholesterol: 36mg | Sodium: 900mg | Potassium: 434mg | Fiber: 1g | Sugar: 17g | Vitamin A: 1214IU | Vitamin C: 64mg | Calcium: 31mg | Iron: 1mg
Nutrition information is automatically calculated and should only be used as an approximation. Actual values may vary based on specific ingredients and preparation methods.
Tried this recipe?
Let us know how it was! We love hearing from you.