
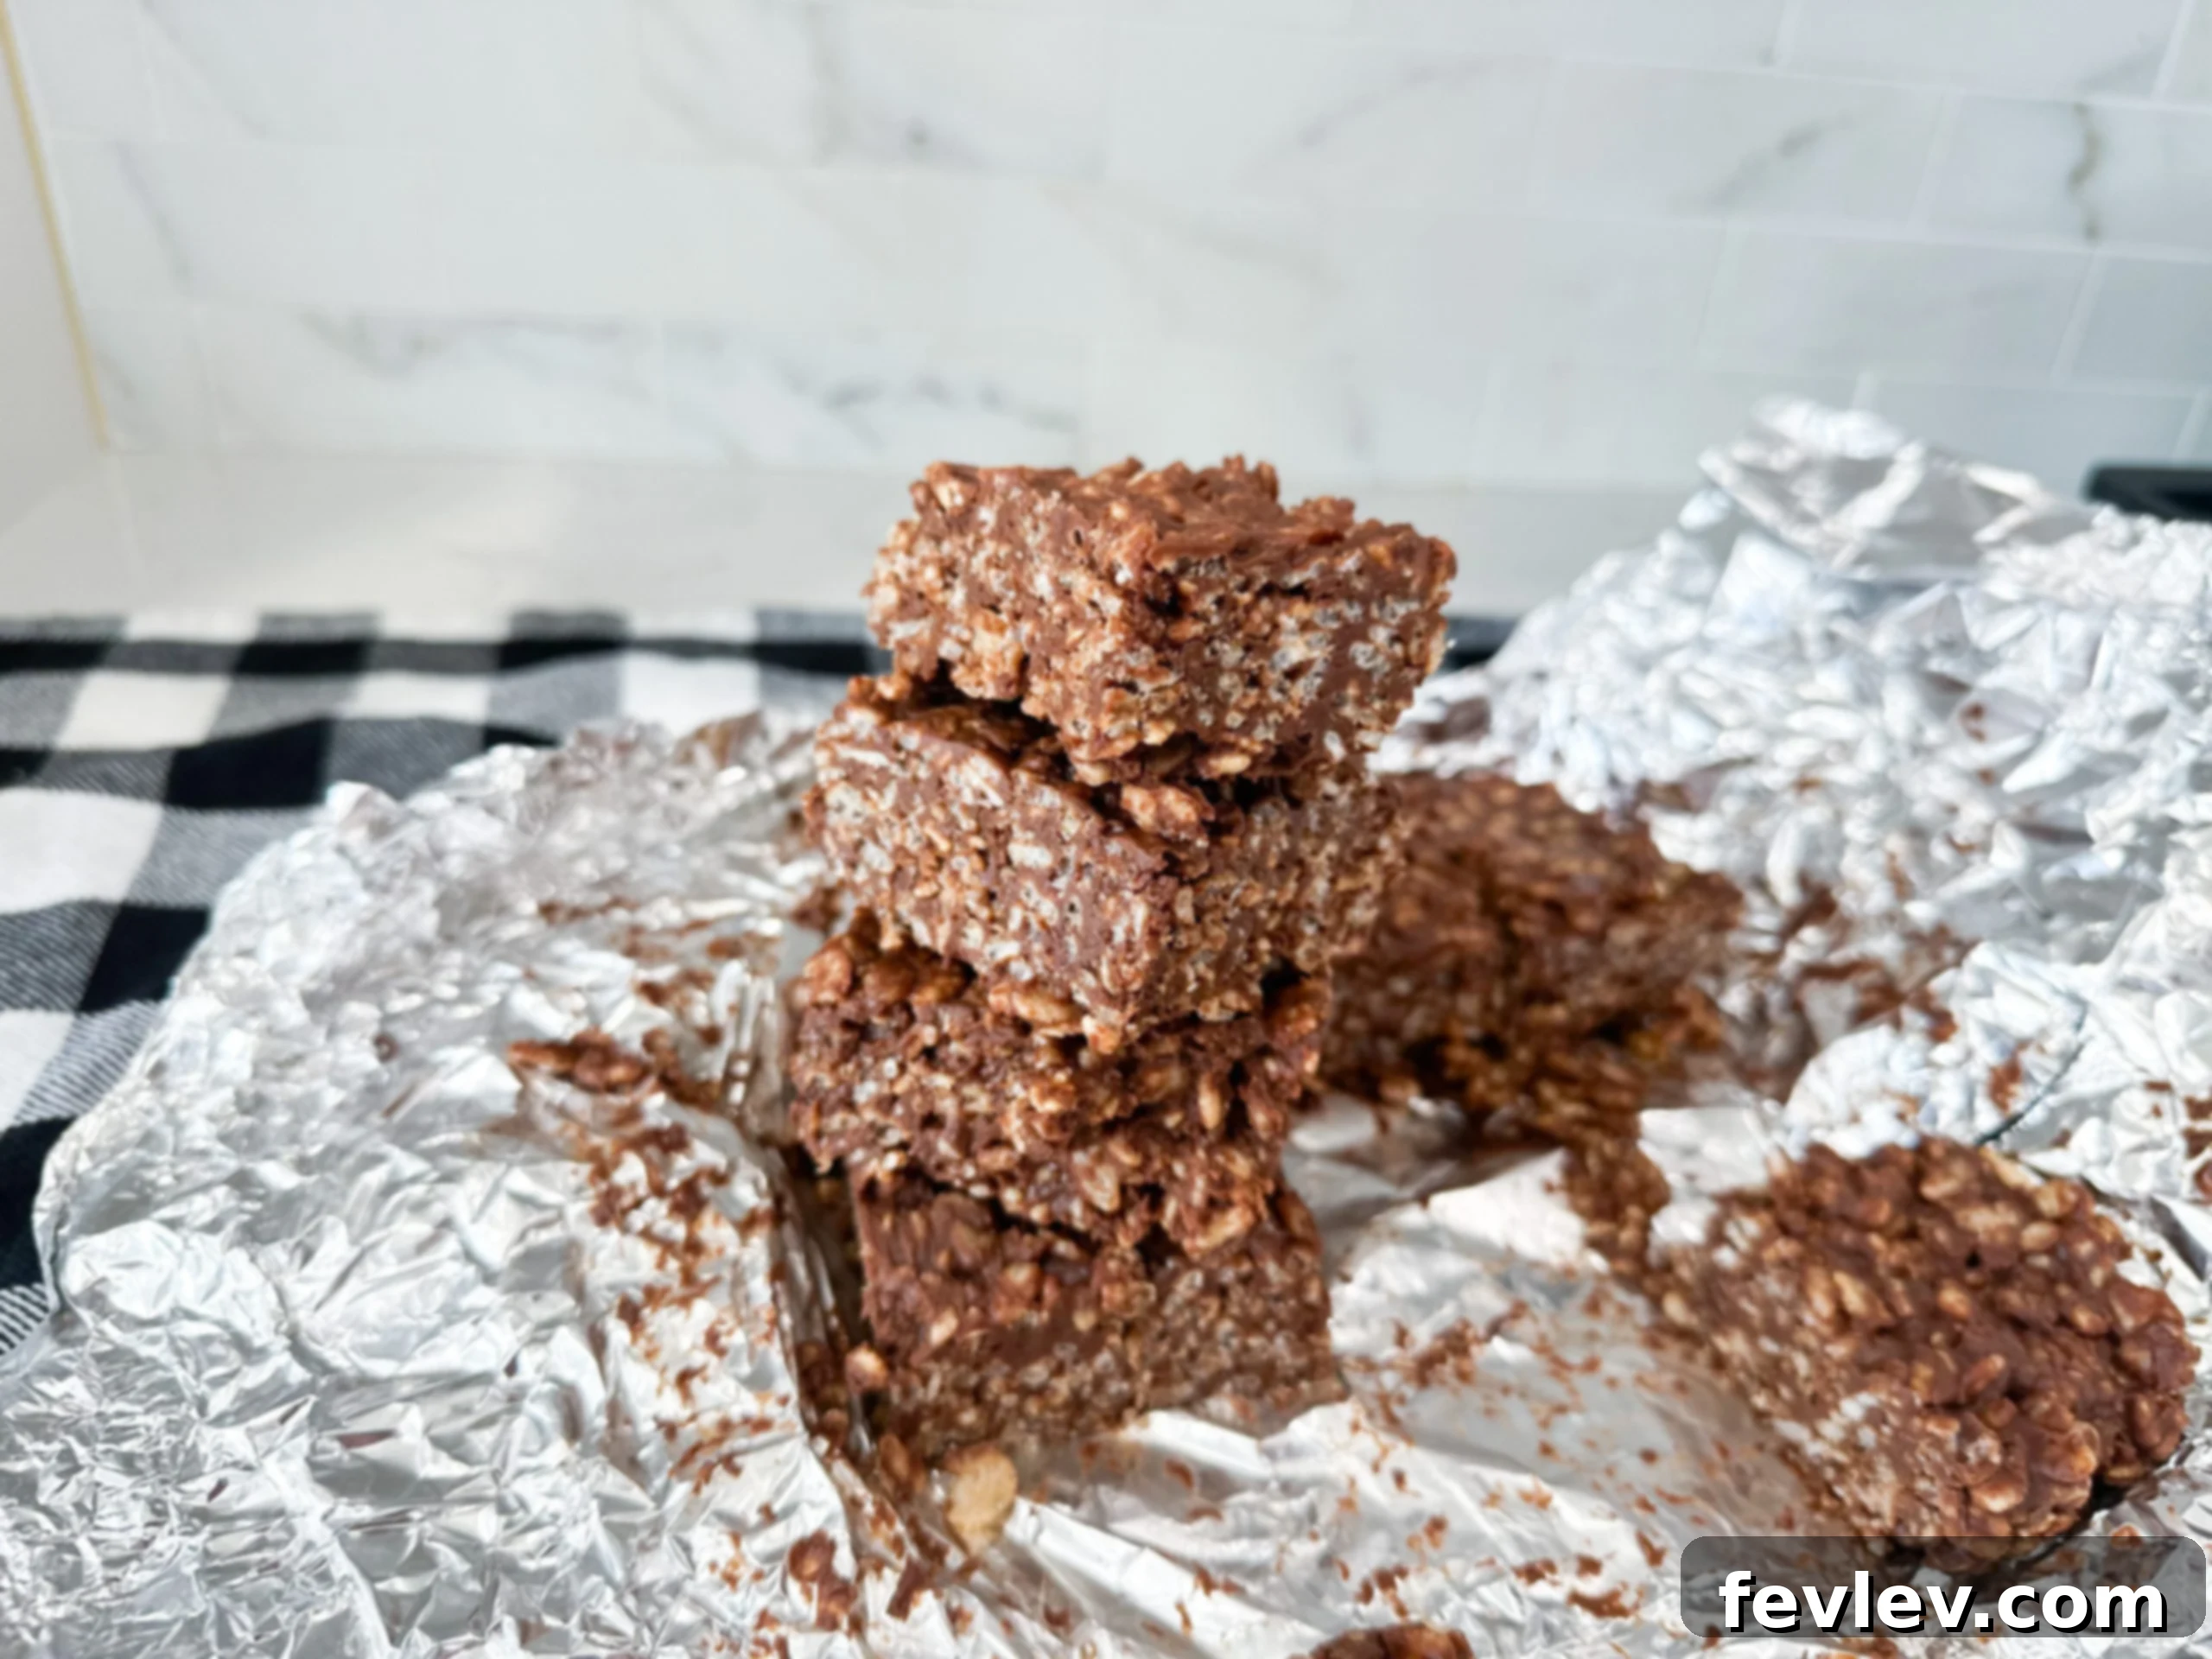
Irresistible No-Bake Chocolate Peanut Butter Crispy Bars
Julia Pacheco
Craving a delightful dessert that requires zero baking and comes together in minutes? Look no further than these incredible Chocolate Peanut Butter Crispy Bars! They are the epitome of sweet, crunchy, and utterly irresistible. This classic combination of rich chocolate and creamy peanut butter, elevated with the satisfying crunch of crispy rice cereal, makes for a treat that everyone will adore. Perfect for a quick snack, a party dessert, or simply satisfying that insistent sweet tooth, these no-bake bars are a guaranteed crowd-pleaser and a staple in any home chef’s repertoire.
Forget the oven and complicated steps; this recipe focuses on simplicity and maximum flavor. With just a handful of common ingredients and minimal effort, you’ll have a batch of these glorious bars chilling in the refrigerator in no time. The blend of textures – the smooth chocolate-peanut butter coating and the airy, crisp cereal – creates a sensory delight that makes these bars truly special. Get ready to impress your friends and family with a dessert that’s both easy to make and impossible to resist!
10 mins
1 hr 10 mins
6 servings
Pin Recipe
Comment
Print Recipe
Save this recipe directly to your inbox!
Enter your email below to receive this delicious recipe and get new recipes from us every week. It’s the best way to stay updated with our latest culinary creations!
Ingredients
Gathering your ingredients is the first step to creating these delightful no-bake bars. Each component plays a crucial role in achieving that perfect balance of sweetness, creaminess, and crunch. We recommend using high-quality ingredients for the best flavor, but feel free to adapt based on what you have available or dietary preferences.
For these no-bake bars, precise measurements are key to ensure the mixture sets correctly. A good quality creamy peanut butter will provide the best texture, while mini chocolate chips melt more smoothly and distribute evenly. Maple syrup not only adds sweetness but also acts as a binder, contributing to the bars’ structural integrity. The coconut oil helps with the melting and setting process, giving the chocolate mixture a lovely consistency. And, of course, rice crispy cereal is the star for that irresistible crispiness!
- 1 ½ cups mini chocolate chips (or your favorite semi-sweet chocolate chips)
- ¼ cup coconut oil (helps with melting and setting, can substitute with butter for a richer flavor)
- ½ cup maple syrup (pure maple syrup is recommended for best flavor, honey or agave nectar can be alternatives)
- 1 cup creamy peanut butter (ensure it’s stirred well if using natural peanut butter; avoid crunchy for a smoother base)
- 3 cups rice crispy cereal (the backbone of the crunch!)
Before you begin, make sure all your ingredients are measured out and ready. This “mise en place” approach will make the preparation process even quicker and more enjoyable. You’ll be amazed at how easily these few items transform into such a satisfying and memorable dessert!
Instructions
Creating these no-bake chocolate peanut butter crispy bars is incredibly straightforward, perfect for even novice bakers. Follow these simple steps to ensure your bars turn out perfectly crunchy, chewy, and utterly delicious every single time. The key is gentle melting and thorough mixing to get that perfect coating!
-
Begin by combining the wet ingredients and chocolate in a medium-sized, microwave-safe bowl. Add the 1 ½ cups of mini chocolate chips, ¼ cup of coconut oil, ½ cup of maple syrup, and 1 cup of creamy peanut butter. Place this mixture into your microwave and heat it for 30-second intervals. After each interval, be sure to stir the mixture thoroughly with a spatula or spoon. Continue this process, microwaving and stirring, until the chocolate has completely melted and all the ingredients are smoothly combined into a glossy, uniform chocolate-peanut butter sauce. This gradual melting prevents scorching the chocolate and ensures a perfectly smooth consistency.
-
Once your chocolate-peanut butter mixture is perfectly melted and smooth, take a large mixing bowl and add the 3 cups of rice crispy cereal. Pour the warm chocolate mixture directly over the cereal. Now, it’s time to mix! Using a sturdy spatula, gently but thoroughly fold the cereal into the chocolate mixture until every single piece of rice crispy cereal is evenly coated. This step is crucial for ensuring each bite of your bar has that delightful chocolate-peanut butter flavor and satisfying crunch. Don’t rush this process; ensure no dry cereal remains at the bottom of the bowl.
-
Prepare your baking dish for chilling. Line an 8×8 inch baking dish with aluminum foil or parchment paper, leaving an overhang on the sides. This overhang will act as “handles” later, making it incredibly easy to lift the set bars out of the dish for slicing. Once lined, transfer the entire chocolate-coated cereal mixture into the prepared baking dish. Using the back of your spatula or a piece of parchment paper to prevent sticking, press the mixture down firmly and evenly across the bottom of the dish. Compressing the mixture ensures that your bars hold together well and have a nice, dense texture.
-
With the mixture firmly pressed into the dish, it’s time for the bars to set. Place the entire baking dish into the refrigerator and allow it to chill for at least 1 hour. This chilling time is essential for the chocolate and coconut oil to harden, which solidifies the bars and makes them easy to slice cleanly. After an hour, carefully remove the dish from the refrigerator. Use the foil or parchment overhang to lift the entire slab of crispy bars out onto a cutting board. Slice the hardened mixture into your desired bar sizes – squares, rectangles, or even smaller bite-sized pieces. Serve immediately and enjoy the delightful combination of flavors and textures!
Tips for Success & Variations
Achieving the Perfect Crispy Bars:
- Even Melting: Don’t rush the microwave step. Heating in short intervals and stirring frequently prevents the chocolate from seizing or burning, ensuring a smooth, luscious coating.
- Thorough Coating: When mixing the cereal with the chocolate mixture, take your time to ensure every single grain of cereal is covered. This guarantees consistent flavor and texture in every bite.
- Firm Pressing: Pressing the mixture firmly into the baking dish is vital. This compacts the bars, preventing them from crumbling when sliced. A piece of wax paper or parchment paper can help you press without getting sticky hands.
- Chill Time is Key: Resist the urge to cut the bars too soon! The full hour in the refrigerator allows the coconut oil and chocolate to firm up completely, leading to clean, well-defined slices.
Exciting Recipe Variations:
- Nut Butter Alternatives: Experiment with almond butter, cashew butter, or sunflower seed butter for a different flavor profile or to accommodate allergies. Note that textures might vary slightly.
- Chocolate Choices: Use milk chocolate, dark chocolate, or a blend of different types of chocolate chips to customize the sweetness and richness. White chocolate chips could also add a unique twist.
- Add-ins for Extra Crunch: Stir in ¼ to ½ cup of chopped peanuts, pecans, walnuts, or even mini pretzels with the rice cereal for an extra layer of texture and flavor.
- Sweet and Salty: Sprinkle a pinch of flaky sea salt over the top of the bars before chilling. The salt enhances the chocolate and peanut butter flavors beautifully.
- Extra Decadence: Drizzle melted chocolate or peanut butter over the top of the chilled bars before serving for an elegant finish. You could also sprinkle with sprinkles for a festive touch.
- Spice it Up: Add ¼ teaspoon of cinnamon or a tiny pinch of cayenne pepper to the chocolate mixture for a subtle warmth and complexity.
Storage and Serving Suggestions:
These Chocolate Peanut Butter Crispy Bars are best stored in an airtight container in the refrigerator for up to a week. If stacking, place parchment paper between layers to prevent sticking. They can also be frozen for up to 3 months; simply thaw them in the refrigerator before serving. Serve them chilled for the best texture and flavor. They make a fantastic addition to lunchboxes, a delightful after-dinner treat, or a welcome contribution to any potluck or gathering.
Nutrition Facts
Understanding the nutritional value of your homemade treats can be helpful, especially when incorporating them into a balanced diet. These no-bake chocolate peanut butter crispy bars offer a delicious energy boost, perfect for a pick-me-up. Please note that these values are automatically calculated and serve as an approximation, as ingredient brands and preparation methods can influence the final nutritional content.
Carbohydrates: 70g |
Protein: 13g |
Fat: 42g |
Saturated Fat: 18g |
Polyunsaturated Fat: 6g |
Monounsaturated Fat: 12g |
Trans Fat: 0.1g |
Cholesterol: 7mg |
Sodium: 291mg |
Potassium: 320mg |
Fiber: 3g |
Sugar: 50g |
Vitamin A: 1032IU |
Vitamin C: 9mg |
Calcium: 103mg |
Iron: 6mg
Nutrition information is automatically calculated and should be used as an approximation only. Individual results may vary based on specific ingredients and preparation methods.
Tried this amazing recipe?
We’d love to hear about your experience! Share your thoughts, tips, or any creative variations you tried in the comments section below. Your feedback helps our community of home cooks!