
Irresistible No Bake S’mores Bars: Your Easiest Dessert Ever
Pin Recipe
Comment
Print Recipe
Stay Connected for More Delicious Recipes!
Want to receive new recipes directly in your inbox every week? Don’t miss out on easy and delightful desserts like these No Bake S’mores Bars. Join our community and discover your next favorite treat!
Click here to subscribe to our newsletter!
Why You’ll Adore These No Bake S’mores Bars
Imagine the quintessential taste of s’mores – the crunchy graham cracker, the melt-in-your-mouth chocolate, and the wonderfully chewy marshmallow – all transformed into a convenient, delightful bar. That’s exactly what these No Bake S’mores Bars offer, and so much more! This recipe is a true game-changer for anyone craving a quick, satisfying dessert without the hassle of firing up the oven or a campfire.
They are incredibly simple to make, requiring minimal prep and cook time, making them ideal for busy weeknights, last-minute gatherings, or when you just need a sweet fix without a fuss. The combination of classic Golden Graham cereal forms a sturdy yet delightfully crisp base, while a gooey marshmallow mixture binds it all together. Layers of rich Hershey’s chocolate bars melt gently into the warm mixture, creating pockets of pure bliss in every bite. Whether you’re a seasoned baker or a kitchen novice, these bars promise a foolproof path to dessert perfection.
From summer picnics to cozy movie nights, these s’mores bars bring joy and a touch of nostalgic comfort. They’re a crowd-pleaser for all ages, offering a taste of childhood adventure in a refined, easy-to-handle treat. Say goodbye to sticky fingers from toasted marshmallows and hello to perfectly portioned, incredibly delicious No Bake S’mores Bars!
Ingredients
- 6 ½ cups golden graham cereal
- 4 tbs salted butter
- 7 cups mini marshmallows
- 3 Hershey’s chocolate bars, divided into squares
Essential Tips for Perfect No Bake S’mores Bars
Achieving that perfect balance of chewy, crunchy, and chocolatey goodness is simple with these no-bake bars, but a few key tips can elevate your results:
- Proper Greasing is Key: Marshmallow mixture is notoriously sticky. Ensure your 9×13 inch baking dish is thoroughly greased, or even lined with parchment paper with an overhang, to make removal and cutting incredibly easy. A light spray of cooking oil or a generous rub of butter will do the trick.
- Gentle Heat for Marshmallows: When melting the butter and marshmallows, maintain a low heat. High heat can cause the marshmallows to seize up or become too hard once cooled. Stir constantly to ensure a smooth, even melt without burning the mixture.
- Mix Quickly and Efficiently: Once the marshmallow mixture is melted, work quickly to combine it with the Golden Graham cereal. The mixture will start to set as it cools, so a swift and thorough stir is essential to coat all the cereal evenly. Don’t worry if it’s a bit sticky – that’s normal!
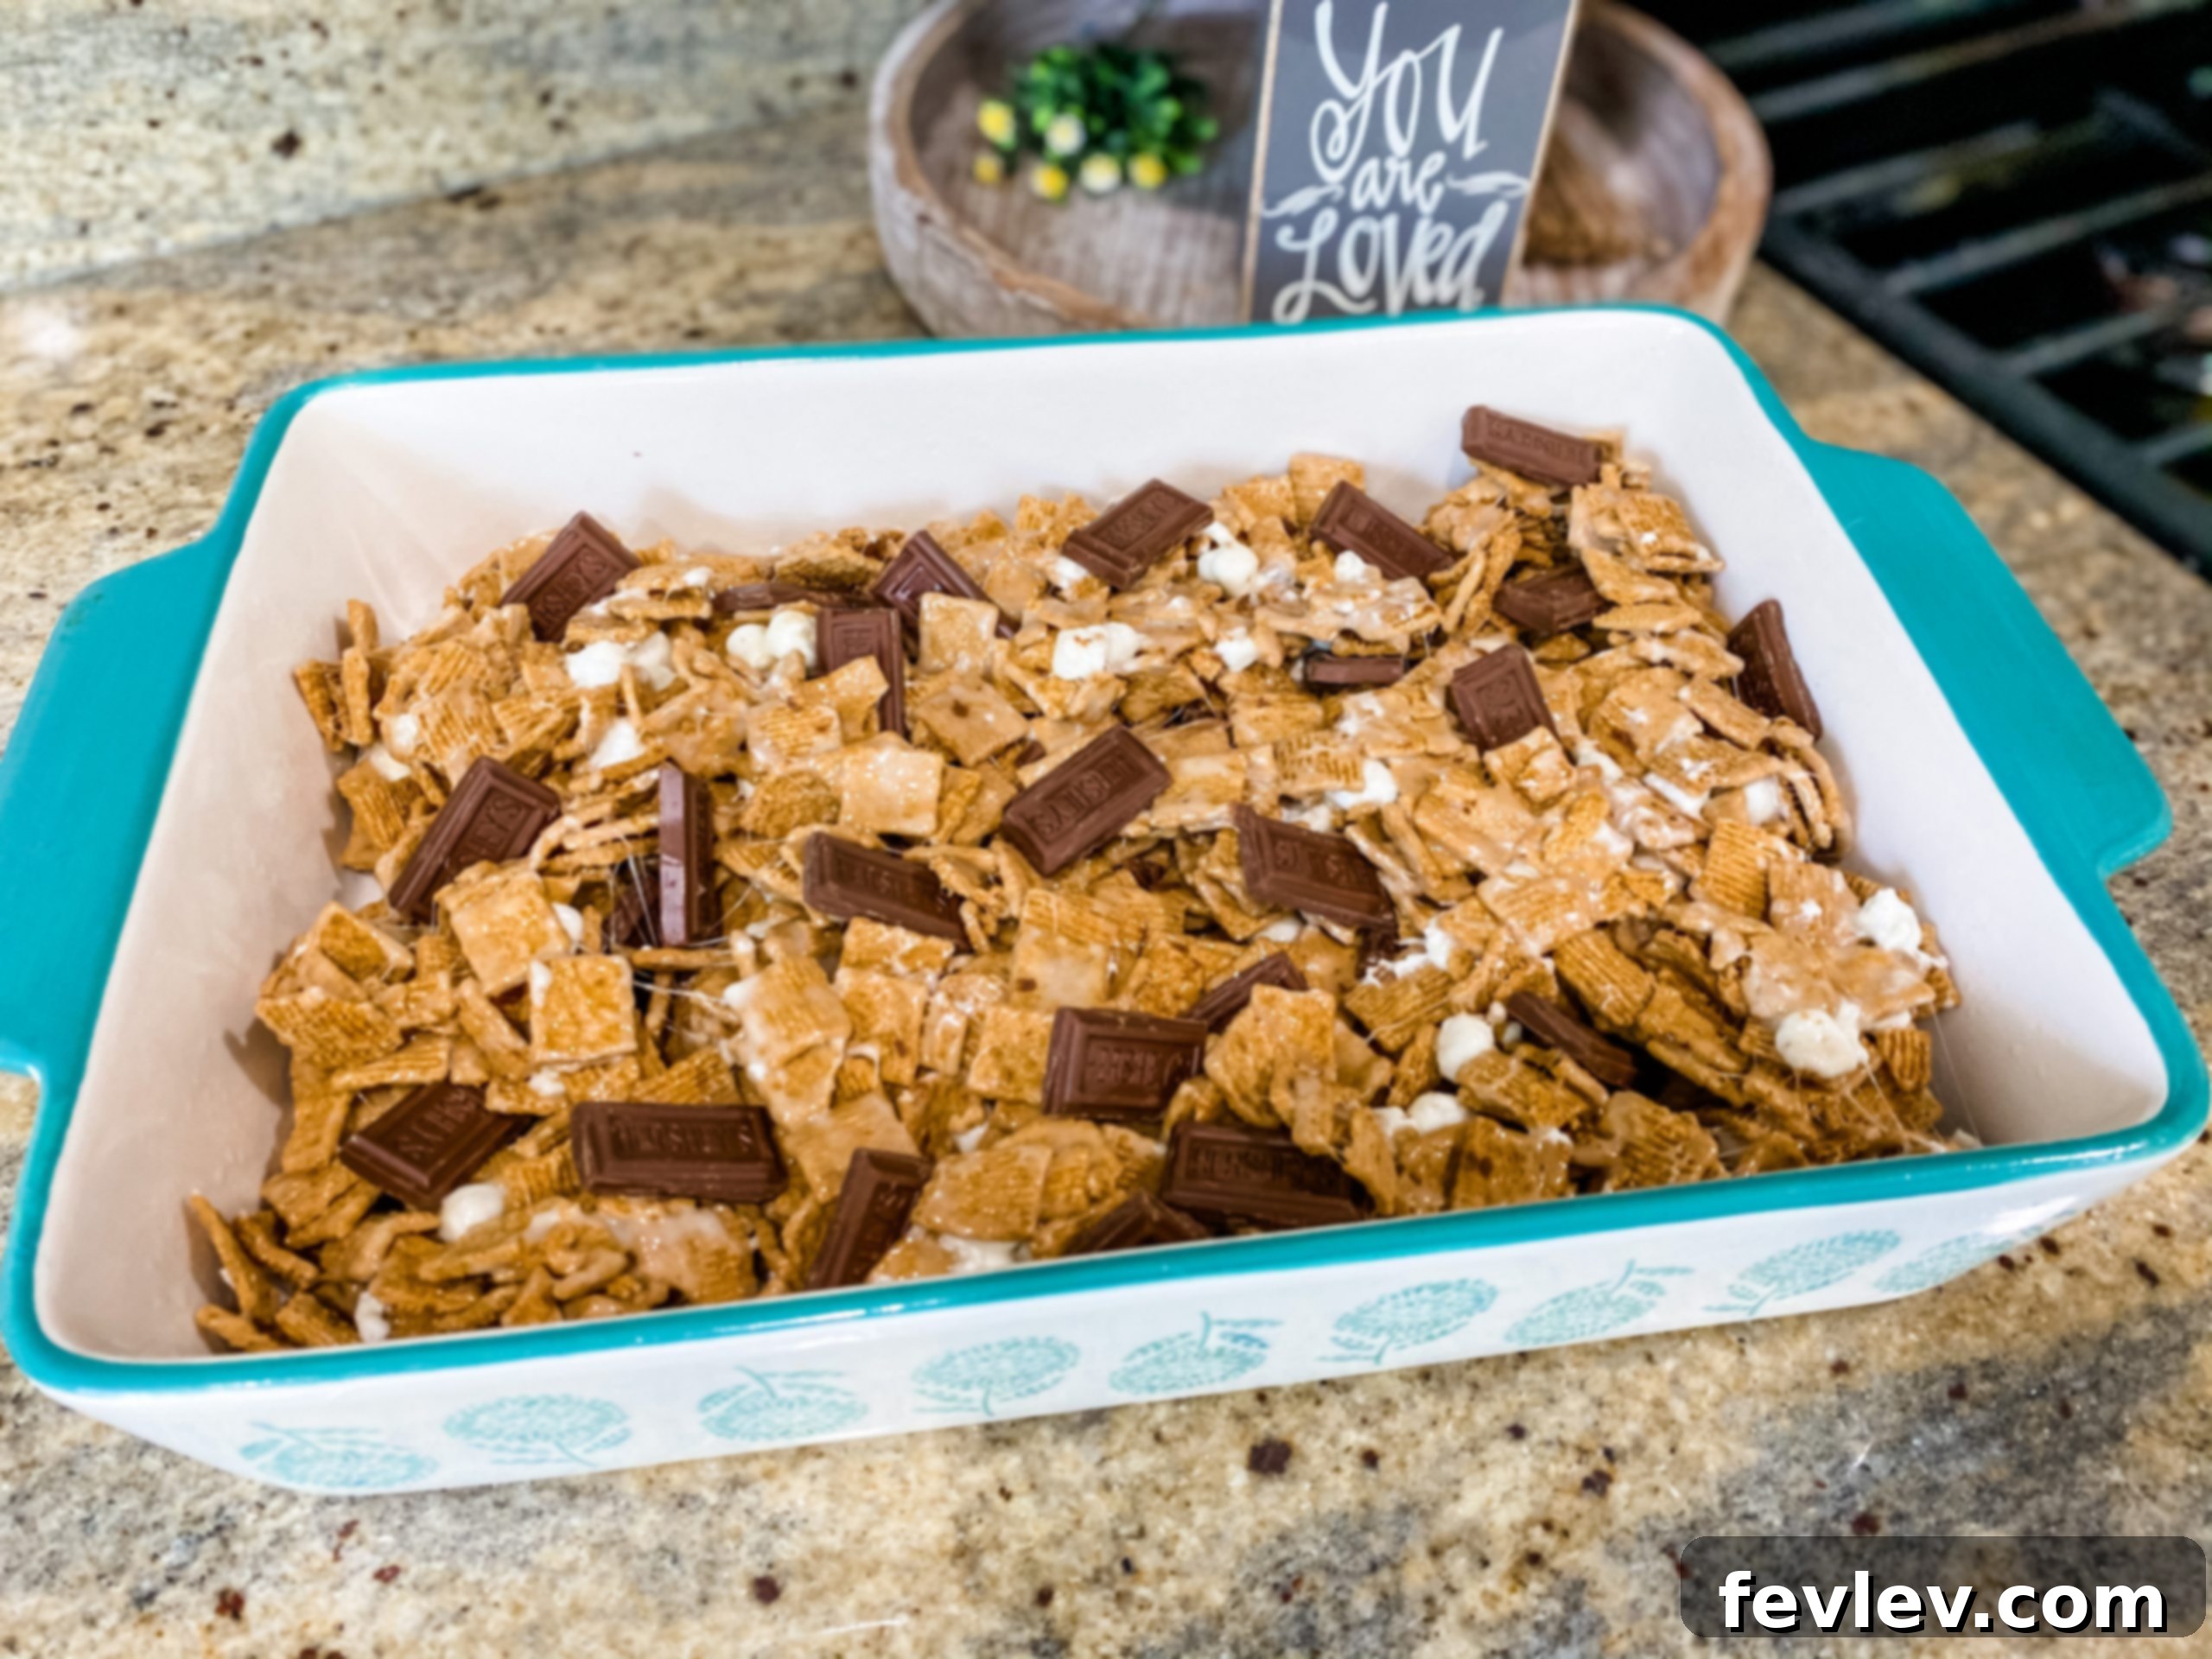
- Layering the Chocolate: Dividing the chocolate into two layers (half in the middle, half on top) ensures that you get that rich chocolate flavor throughout each bite. The warmth of the marshmallow mixture will slightly melt the chocolate in the middle layer, creating gooey pockets.
- Pressing into the Pan: When pressing the mixture into the baking dish, use a piece of parchment paper or wax paper, or even the back of a lightly greased spoon or spatula, to avoid stickiness. Press firmly and evenly to create a compact bar that holds together well when cut.
- Chilling Time is Crucial: While tempting to dive in immediately, allowing the bars to chill in the refrigerator for at least 1-2 hours is vital. This solidifies the marshmallow and butter mixture, making the bars firm enough to cut cleanly and preventing them from falling apart. For best results, chill longer, or until fully firm.
- Cutting with Ease: For clean cuts, use a sharp, warm knife. You can warm your knife by running it under hot water and then wiping it dry. This helps glide through the sticky marshmallow and chocolate without dragging.
Creative Variations to Try
While the classic No Bake S’mores Bars are perfect as they are, feel free to get creative with these delicious variations:
- Cereal Swaps: Experiment with different cereals! Chocolate Lucky Charms, Reese’s Puffs, or even plain Cheerios can offer unique flavors and textures. For an extra graham cracker punch, you could crush more actual graham crackers and mix them in.
- Chocolate Choices: Instead of traditional Hershey’s bars, try milk chocolate chips, dark chocolate chunks, white chocolate, or even peanut butter cups for a different twist. A drizzle of chocolate syrup on top after chilling can also add an elegant touch.
- Nutty Additions: For an added crunch and flavor, fold in a handful of chopped peanuts, almonds, or pecans with the cereal.
- Candy Mix-ins: Get playful by adding mini M&Ms, chopped caramels, or butterscotch chips to the mixture.
- Flavor Extracts: A dash of vanilla extract (added with the butter and marshmallows) can enhance the overall sweetness and depth of flavor. Almond extract could also provide an interesting nuance.
- Spice It Up: A pinch of cinnamon or nutmeg mixed with the cereal can add a warm, inviting spice element, reminiscent of a spiced graham cracker.
Storage Instructions
These No Bake S’mores Bars are best enjoyed within a few days of making them. Store them in an airtight container at room temperature for up to 3 days. For a longer shelf life or if your kitchen is particularly warm, you can store them in the refrigerator for up to a week. If refrigerated, allow them to come to room temperature for about 10-15 minutes before serving for the optimal soft and chewy texture. They can also be frozen for up to 3 months; simply wrap individual bars tightly in plastic wrap before placing them in an airtight container or freezer bag.
Instructions
-
Grease a 9 x 13 inch baking dish thoroughly with butter or cooking spray. Alternatively, line it with parchment paper, leaving an overhang on the sides for easy lifting. Set the prepared dish aside.
-
In a large, heavy-bottomed pot or Dutch oven, melt the 4 tablespoons of salted butter over low heat. Once the butter has melted, add 6 cups of mini marshmallows. Continue to cook over low heat, stirring frequently with a spatula, until the marshmallows are completely melted and the mixture is smooth and gooey. Be careful not to let the mixture boil or scorch.
-
Remove the marshmallow mixture from the heat. In a very large bowl, place the 6 ½ cups of Golden Graham cereal. Pour the warm, melted marshmallow mixture over the cereal. Stir gently but quickly until all the cereal pieces are evenly coated. Immediately after, stir in the remaining 1 cup of mini marshmallows. These will remain whole, adding delightful pockets of chewiness to the finished bars.
-
Transfer half of the graham cereal and marshmallow mixture into the prepared 9 x 13 inch baking dish. Using a piece of parchment paper or a lightly greased spatula, press the mixture firmly and evenly into the bottom of the pan to form the first layer. Sprinkle half of the divided Hershey’s chocolate bar squares evenly over this layer. Next, add the remaining graham marshmallow mixture over the chocolate, spreading it out carefully. Top this second layer with the rest of the Hershey’s chocolate squares. Press down very gently to embed the chocolate slightly.
-
Allow the bars to cool completely at room temperature for at least 2 hours, or for faster setting, place them in the refrigerator for 1 hour. Once set, cut into 9 generous bars (or smaller squares for more servings). Serve and enjoy these irresistible, gooey, and crunchy no-bake treats!
Video Tutorial
Nutrition Facts (Per Serving)
Nutrition information is automatically calculated and should only be used as an approximation. Values can vary based on specific brands and ingredient preparation.