
Product links may contain affiliate links. As an Amazon Associate, I earn from qualifying purchases.
Easy One-Hour Dinner Rolls: Your Recipe for Fluffy, Homemade Perfection
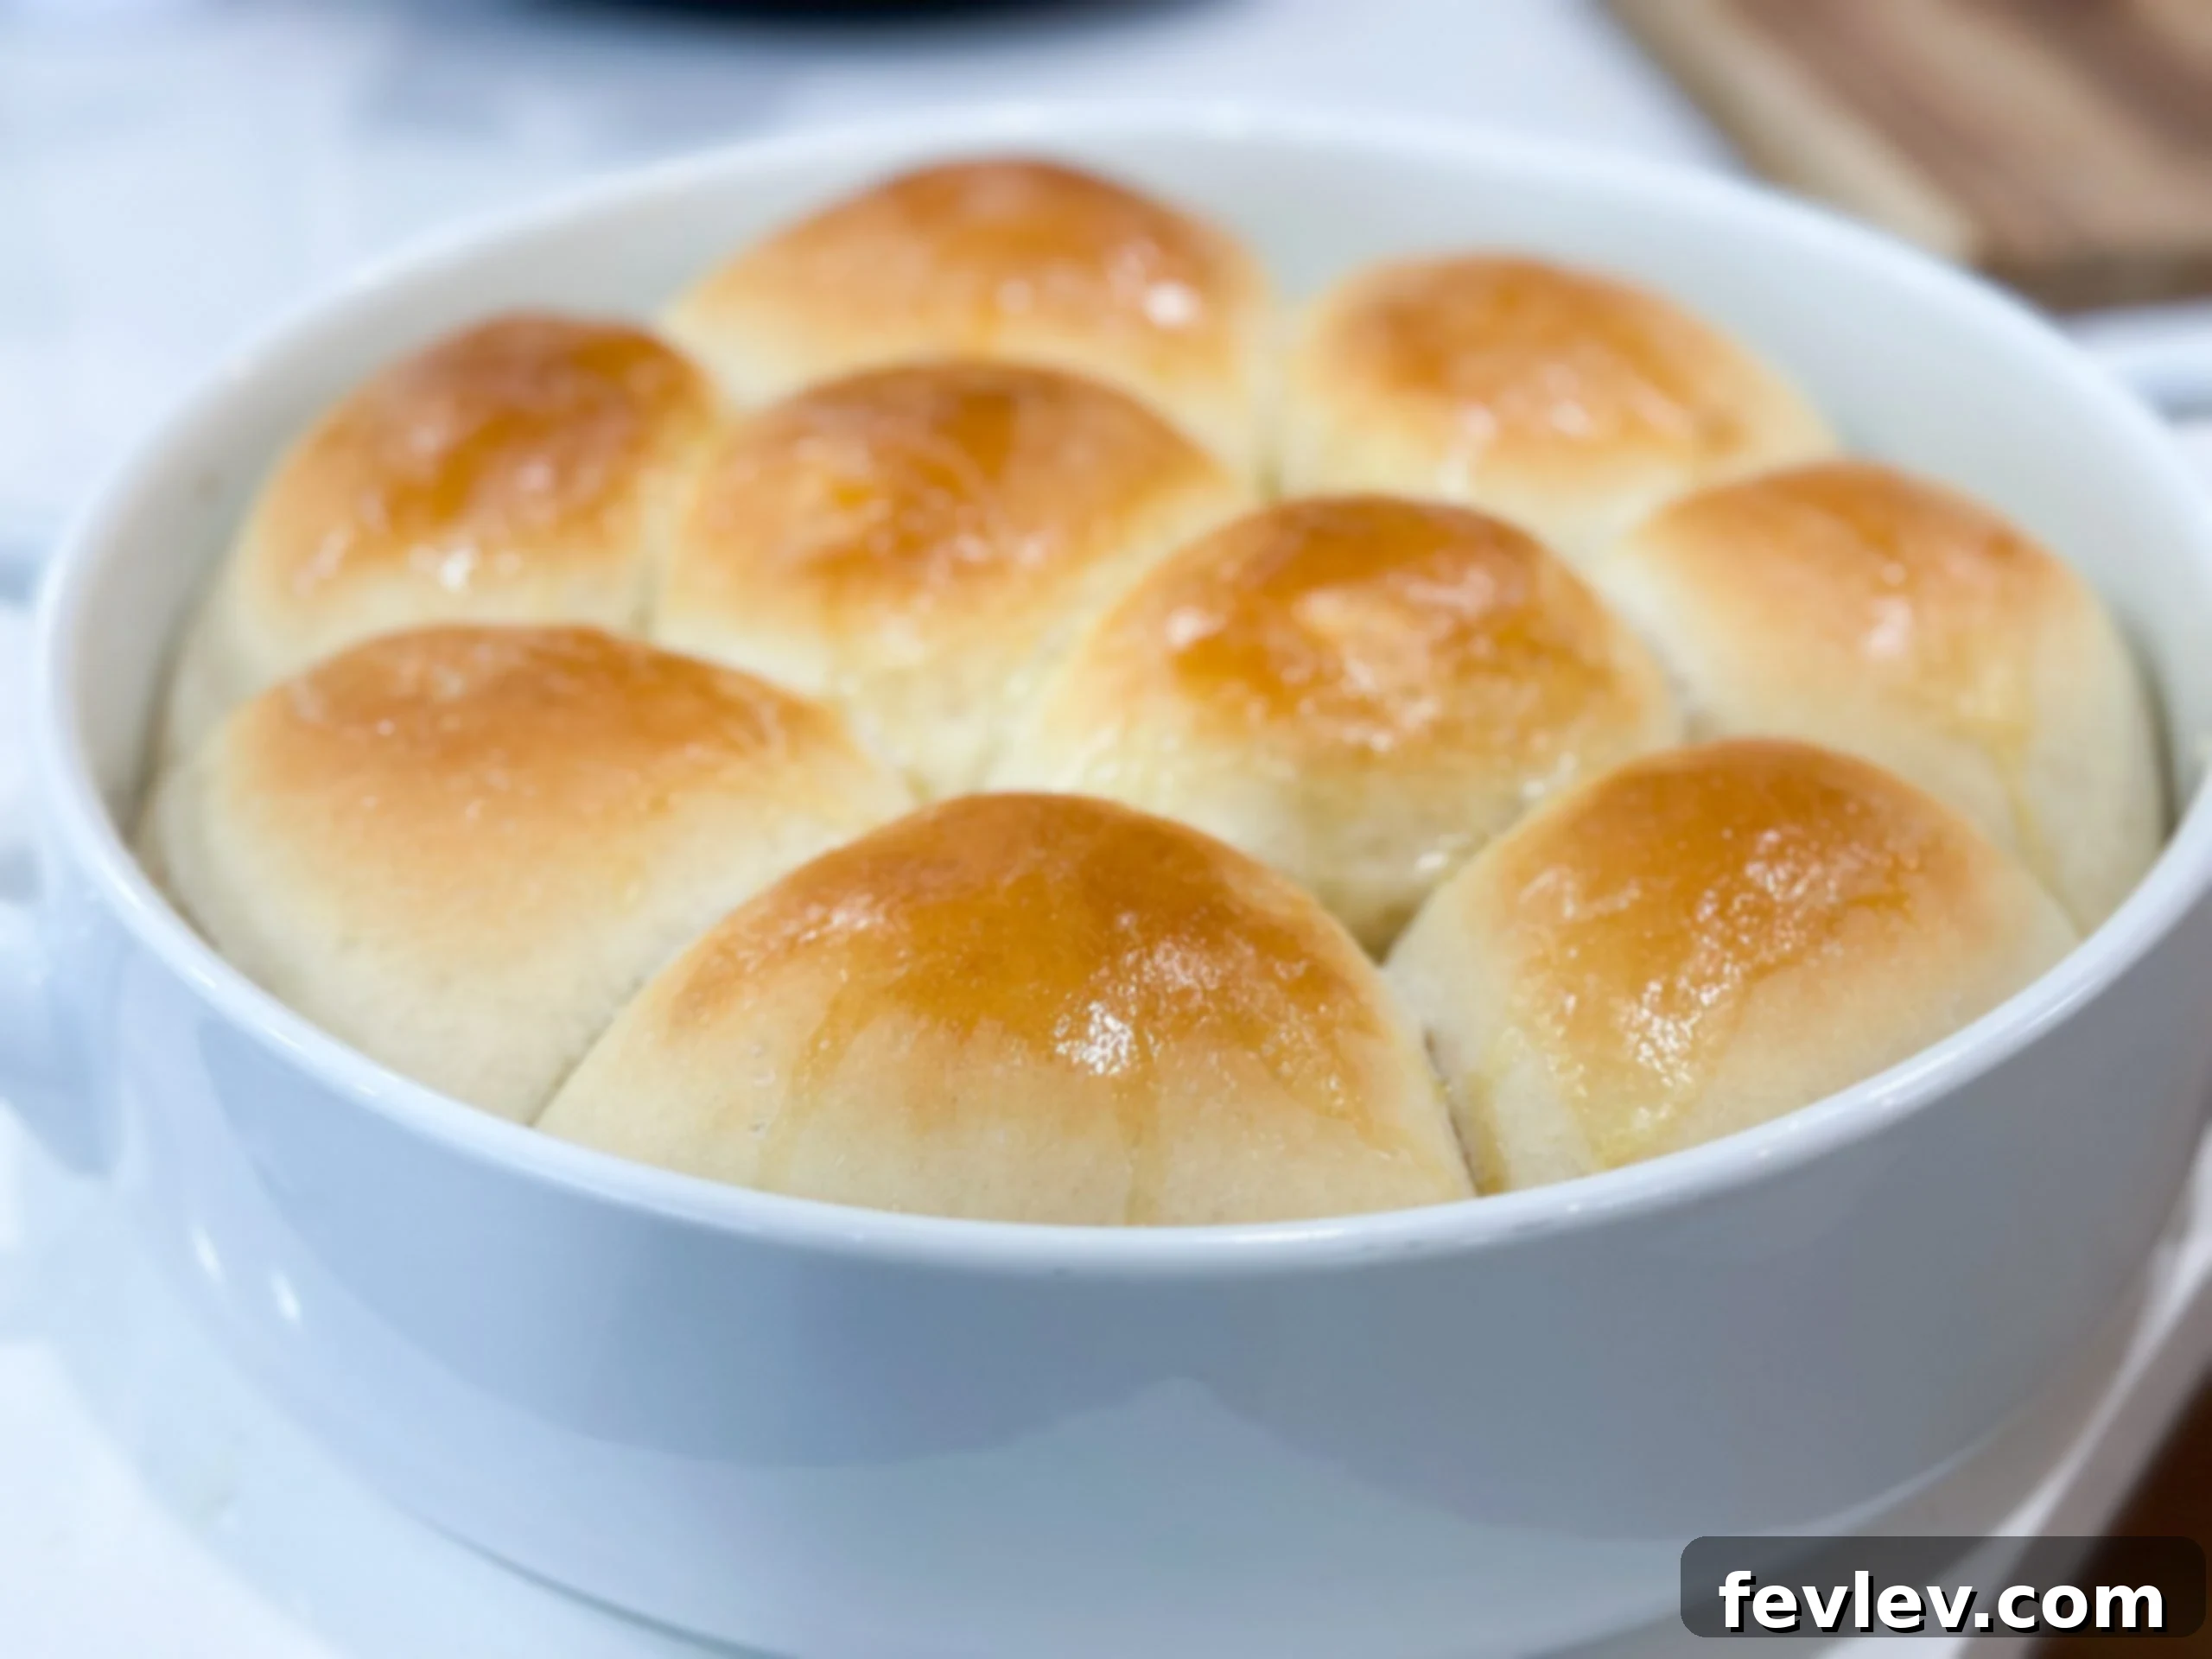
Everyone loves warm, fluffy dinner rolls, especially when they’re homemade and fresh from the oven. Imagine achieving that golden-brown perfection with minimal effort and in just about an hour! These easy one-hour dinner rolls are a game-changer, crafted from simple ingredients you likely already have in your pantry. Whether you’re a seasoned baker or new to the kitchen, this recipe promises delightful results every time.
The secret to their speed lies in the use of instant or rapid-rise yeast, drastically cutting down on traditional proofing times. This means you can enjoy the comforting aroma and taste of freshly baked bread without the long wait, making these the best buttery rolls to serve as a versatile side dish for any weeknight meal. Their quick preparation time makes them a lifesaver for busy evenings when you crave that homemade touch.
Beyond daily dinners, these quick dinner rolls are also perfect for any special occasion. Hosting a holiday gathering, a family celebration, or simply enjoying a cozy Sunday meal? These rolls will impress your guests and elevate your dining experience. They make an excellent easy dinner accompaniment, adding a touch of elegance and warmth to even the simplest spread. With their soft, pillowy texture and rich buttery flavor, these homemade dinner rolls are sure to become a cherished family favorite.
Keep this incredible one-hour dinner roll recipe on hand. It’s the perfect way to effortlessly create delicious, show-stopping bread that will have everyone asking for seconds. You’ll be amazed at how quickly you can bake these incredible rolls and how much joy they bring to your table. Let’s dive into making these irresistible fluffy dinner rolls!
Essential Ingredients for Your One-Hour Dinner Rolls
Crafting these delectable, soft dinner rolls requires only a handful of common pantry staples. The beauty of this recipe lies in its simplicity, proving that extraordinary flavor doesn’t need exotic ingredients. Here’s what you’ll need to create the best dinner rolls:
- Liquid: You will need both whole milk and water. The milk adds richness and a tender texture to the rolls, while the water helps activate the yeast and achieve the right dough consistency. Using warm liquids is crucial for proper yeast activation.
- Butter: Softened unsalted butter is key for these buttery rolls. It contributes to the incredible flavor, moist crumb, and overall tender texture. Using softened butter ensures it blends smoothly with other ingredients.
- Sugar: Just regular granulated white sugar from your pantry. Sugar doesn’t just add a touch of sweetness; it also feeds the yeast, helping the dough rise beautifully and contributing to that lovely golden-brown crust.
- Salt: Whether you prefer kosher salt or sea salt, a pinch of salt is vital. It balances the sweetness, enhances the overall flavor of the bread, and also helps regulate the yeast activity for a perfectly risen dough.
- Flour: All-purpose flour is all you need to achieve the perfect texture for these hour rolls. Its moderate protein content makes for a soft yet structured roll that holds its shape. While bread flour can be used, it’s not necessary for these wonderfully fluffy dinner rolls.
- Yeast: This is where the “one hour” magic happens! Using either rapid-rise yeast or instant yeast is essential for a quicker rise time. These types of yeast are designed to activate faster, allowing you to enjoy fresh, classic dinner rolls in record time.
Gathering these simple ingredients is the first step towards enjoying warm, homemade bread. Each component plays a vital role in creating rolls that are truly the best!
Step-by-Step Guide: How to Make One-Hour Dinner Rolls
Making these easy dinner rolls is a straightforward process, designed for efficiency without compromising on flavor or texture. Follow these steps for golden, pillowy rolls:
- Prepare the Yeast Mixture: In a small, microwave-safe bowl, combine the milk, water, softened butter, sugar, and salt. Heat this mixture in the microwave for approximately 1 minute. The goal is for the liquids to be warm (around 105-115°F or 40-46°C), but not too hot, as extreme heat can kill the yeast. Stir everything well until the butter is melted and the sugar and salt are dissolved.
- Activate the Yeast: Pour this warm liquid mixture into the bowl of a stand mixer or a large mixing bowl if kneading by hand. Whisk in the rapid-rise or instant yeast. Let this mixture sit undisturbed for 10 minutes. During this time, the yeast will activate, creating a foamy layer on top, which indicates it’s alive and ready to work its magic.
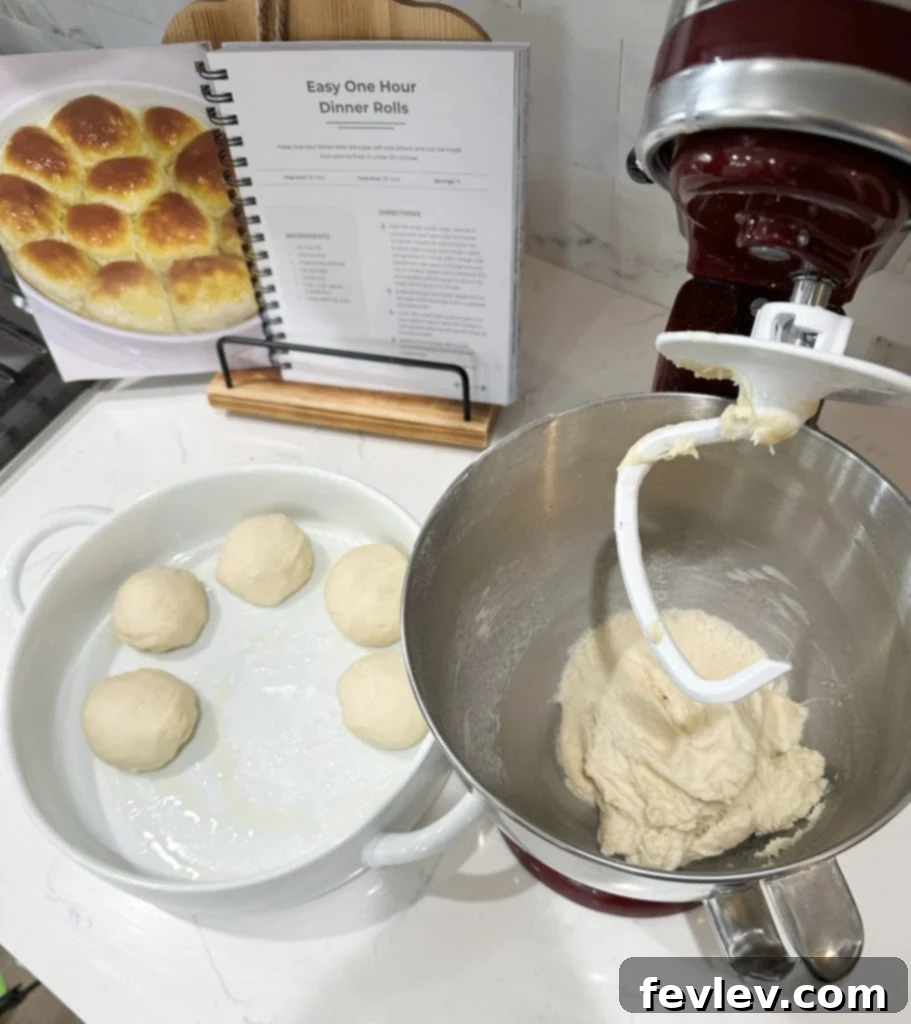
- Knead the Dough: If using a stand mixer, attach the dough hook. Gradually add about 3.5 cups of all-purpose flour to the yeast mixture. Begin mixing on medium speed. Continue adding additional flour incrementally, a little at a time, until the dough comes together. The ideal consistency is soft and pliable, but no longer sticky to the touch. Continue mixing and kneading for about 6-8 minutes. This kneading process is crucial for developing the gluten, which gives the rolls their signature fluffy and chewy texture. If kneading by hand, turn the dough out onto a lightly floured surface and knead for 8-10 minutes until smooth and elastic.
- Portion and Shape the Rolls: Lightly grease a 9×13 inch baking dish. Once the dough is kneaded, divide it into 15 even pieces. For best results and even cooking, you can use a food scale to ensure each piece is roughly the same weight. Roll each piece into a smooth, round ball. Place the dough balls seam-side down in the prepared baking dish, leaving a little space between each roll for them to expand during rising.
- Quick Rise: Cover the tops of the rolls in the baking dish with a clean dish towel. Set the dish in a warm place to rise for about 20 minutes, or until the dough has noticeably doubled in size. A slightly warm oven (turned off, or just barely warmed) or a sunny spot on your counter can work wonders. While the rolls are rising, preheat your oven to 350°F (175°C).
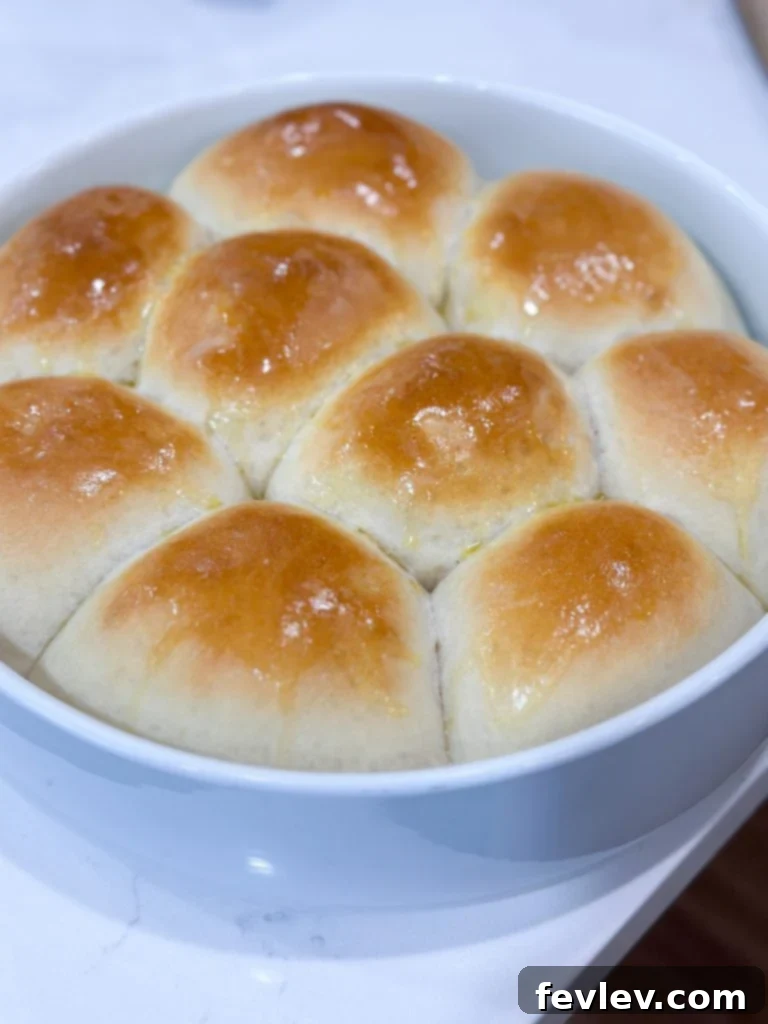
- Bake to Golden Perfection: Bake the risen rolls in the preheated oven for 15-18 minutes. They should turn a beautiful golden brown on top and be cooked through. Keep an eye on them, as oven temperatures can vary.
- Butter Finish: As soon as the rolls are out of the oven, brush their tops generously with melted butter. This not only adds an extra layer of rich flavor but also gives them a beautiful sheen and helps keep the crust soft.
- Serve and Enjoy: Let the rolls cool for a few minutes in the baking dish before serving. They are best enjoyed warm, straight from the oven. These fluffy dinner rolls are incredibly versatile and pair well with almost any meal.
Congratulations! You’ve just made a batch of the best homemade dinner rolls in just one hour. Enjoy the delicious results of your quick baking adventure!
Tips for Storing Leftover One-Hour Dinner Rolls
While these delicious one-hour dinner rolls are often devoured quickly, it’s helpful to know how to properly store any leftovers to maintain their freshness and flavor. Proper storage ensures you can enjoy these soft, buttery rolls for days to come or even weeks later!
Fridge Storage (1-2 Days Counter / 4-5 Days Fridge):
Once your rolls have cooled completely to room temperature, place any leftovers from this one-hour dinner rolls recipe into an airtight container or a resealable plastic bag. Leaving them exposed to air will quickly dry them out. They can be kept on the counter at room temperature for 1-2 days, remaining wonderfully soft. For extended freshness, especially in warmer climates or if you want them to last longer, store them in the refrigerator for up to 4-5 days. Refrigeration helps slow down the staling process, preserving their delightful texture and taste.
To reheat refrigerated rolls, you can warm them in a preheated oven at 300°F (150°C) for 5-10 minutes, or microwave them briefly for 15-30 seconds until warm and soft. Brushing them with a little melted butter before reheating can help restore their “freshly baked” feel.
Freezer Storage (Up to 1 Month):
For longer-term storage, freezing is an excellent option. Ensure the rolls are completely cooled to room temperature before freezing. Place the cooled, fluffy dinner rolls in a freezer bag or an airtight, freezer-safe container. This helps prevent freezer burn and preserves their quality. They can be stored in the freezer for up to 1 month. When you’re ready to enjoy them, simply pull them out of the freezer a few hours beforehand to let them thaw at room temperature. Once thawed, you can reheat them in the oven at 350°F (175°C) for 5-10 minutes, or until warmed through. A quick brush with melted butter before reheating will make them taste as good as new.
With these storage tips, you can always have delicious, homemade dinner rolls ready to go, whenever the craving strikes!
Expert Tips and Tricks for Perfect One-Hour Dinner Rolls
Mastering these quick dinner rolls is easy with a few insider tips. These suggestions will help you achieve consistently light, fluffy, and golden-brown results, making these the best dinner rolls you’ve ever made at home.
Choosing the Right Flour:
When preparing this family-favorite dinner roll recipe, I prefer to keep things simple and use all-purpose flour. It provides a tender crumb and a pleasant texture that is universally loved. However, if you happen to have bread flour on hand, you could certainly use it. Bread flour has a higher protein content, which can lead to a slightly chewier roll due to more gluten development. While it works, it’s genuinely not necessary to achieve delicious, fluffy dinner rolls with this particular recipe. The beauty of all-purpose flour here is its accessibility and its ability to create a wonderfully soft roll.
Ensuring Evenly Cooked Rolls:
For perfectly consistent and evenly cooked rolls, uniformity in size is key. The best method to ensure your rolls cook evenly is to use a food scale. After your dough is fully kneaded, weigh the total bread dough and then divide that amount by 15 (since the recipe yields 15 rolls). Then, as you break the dough into individual pieces, weigh each one to confirm they are approximately the same size. This meticulous step prevents some rolls from being undercooked while others are overdone, guaranteeing a delightful texture in every single bite.
The Art of Rolling Dinner Rolls:
Shaping your dinner rolls correctly contributes to their beautiful, uniform appearance and helps them rise evenly. To roll each piece of dough into a perfect ball: place a smaller piece of dough in the palm of your hand, then flip it over so the dough rests on your clean counter surface with your hand cupped firmly over the top. Now, using a light but consistent pressure, move your hand in a small, tight circular motion. This technique helps to pull the ends of the dough together underneath, creating surface tension on top of the ball. This tension results in a smoother, rounder roll with a tighter crumb. Once shaped, place the little piece of dough seam-side down in the baking dish.
Can You Make These Ahead?
Absolutely! These easy dinner rolls are fantastic for making ahead, offering incredible convenience. After baking, allow the rolls to cool completely to room temperature. Then, place them in an airtight container or a freezer-safe bag and store them in the freezer for up to a month. This makes them ideal for meal prepping or having a quick side ready for unexpected guests. When you’re ready to serve them, simply pull them out of the freezer a few hours before your meal to let them thaw completely at room temperature. If you prefer to serve them warm, which is highly recommended for the best experience, you can brush them with a little extra melted butter once they’re thawed and pop them into a preheated oven (around 300-350°F or 150-175°C) for a few minutes to warm them back up. They’ll taste almost as fresh as the day they were baked!
Yeast Activation Temperature:
The temperature of your liquid mixture (milk and water) is critical for yeast activation. It should be warm to the touch, like a baby’s bath, ideally between 105-115°F (40-46°C). Too cold, and the yeast won’t activate; too hot, and it will kill the yeast, preventing your rolls from rising. Using a kitchen thermometer can provide precise accuracy.
Creating a Warm Rising Environment:
For the quick 20-minute rise, a warm, draft-free spot is essential. Besides a sunny window, you can create a warm environment by preheating your oven to its lowest setting (or just turning it on for 1-2 minutes) then turning it off. Place the covered rolls inside the slightly warm, turned-off oven. The residual heat will encourage a quick and robust rise.
Flavor Variations:
While delicious on their own, don’t hesitate to customize your fluffy dinner rolls. After brushing with melted butter post-baking, sprinkle with garlic powder and dried herbs for a savory garlic herb roll. A pinch of grated Parmesan cheese can also be added for extra flavor. For a touch of sweetness, consider brushing with a honey-butter glaze instead of plain melted butter.
Troubleshooting Your Rise:
If your dough doesn’t rise, the most common culprits are inactive yeast or incorrect liquid temperature. Ensure your yeast is fresh and properly stored. If your yeast mixture didn’t get foamy after 10 minutes, your yeast might be dead, or the liquid was too hot or too cold. In such cases, it’s best to start over with new yeast and check your liquid temperature.
By incorporating these tips, your one-hour dinner rolls will consistently turn out light, tender, and absolutely perfect for any meal!
More Delicious Side Dish Recipes to Try
Looking for other fantastic sides to complement your meals? Here are some additional recipes from Julia Pacheco that are perfect for any occasion:
- Garlic & Herb Mashed Potatoes: A classic comfort food elevated with aromatic garlic and fresh herbs.
- One-Pot Mexican Quinoa: A flavorful and healthy side that’s quick to prepare and packed with nutrients.
- Avocado Corn Salad: A refreshing and vibrant salad, perfect for summer potlucks or as a light accompaniment.
- Doritos Taco Salad with Catalina Dressing: A fun, crunchy, and surprisingly delicious twist on taco night.
- Parmesan Zucchini Skillet: A simple yet elegant way to enjoy fresh zucchini, sautéed with savory Parmesan cheese.
Easy One Hour Dinner Rolls
Pin Recipe
Comment
Print Recipe
Ingredients
- ¾ cup milk
- ¾ cup water
- 4 tbsp butter, softened
- ¼ cup sugar
- 1 ½ tsp salt
- 3 ½-4 ½ cups all-purpose flour
- 2 tbsp rapid-rise yeast
Instructions
-
Add milk, water, butter, sugar, and salt in a small bowl and heat in the microwave for about 1 minute until warm (105-115°F). Stir well and pour into a stand mixer or large bowl. Whisk in yeast and let sit for 10 minutes until foamy. With a dough hook attachment, add about 3.5 cups flour and mix on medium speed. Add in additional flour incrementally until the dough is soft but not sticky. Mix for about 6 – 9 minutes.
-
Divide the dough into 15 even pieces and roll into balls. Place the dough balls in a greased 9×13 baking dish.
-
Cover with a clean dish towel and set it in a warm place to rise for about 20 minutes, or until doubled. While the rolls are still rising, preheat the oven to 350℉ (175°C).
-
Bake for 15 – 18 minutes until golden brown. After the rolls are finished baking, brush the tops with melted butter.
-
Let cool for a few minutes before serving. Enjoy your delicious one-hour dinner rolls!
Video
Nutrition
Nutrition information is automatically calculated, so should only be used as an approximation.
Tried this recipe?
Let us know how it was!
Quick Links for Making Dinner Easy and Delicious
In addition to these fantastic one-hour dinner rolls, here are some valuable resources to help you streamline your meal preparation and enjoy more stress-free dinners:
- Family meal plans: Discover structured meal plans designed to save you time and reduce cooking stress.
- Tools for the kitchen and more: Explore a curated list of essential kitchen tools and other helpful items that make cooking and baking a breeze.
- The best cookbook for family dinner recipes: Find an extensive collection of easy-to-follow recipes perfect for feeding your family delicious and wholesome meals.
- FREE budget meal plan: Get a complimentary meal plan tailored to help you eat well without breaking the bank.
- Cooking videos to watch: Learn visually with step-by-step cooking videos that guide you through new recipes and techniques.
If you give these easy one-hour dinner rolls or any of our other recipes a try, make sure to tag us on Instagram @julia.pacheco.cooking and let us know how much you loved the recipes! Your feedback and shared creations inspire us!