
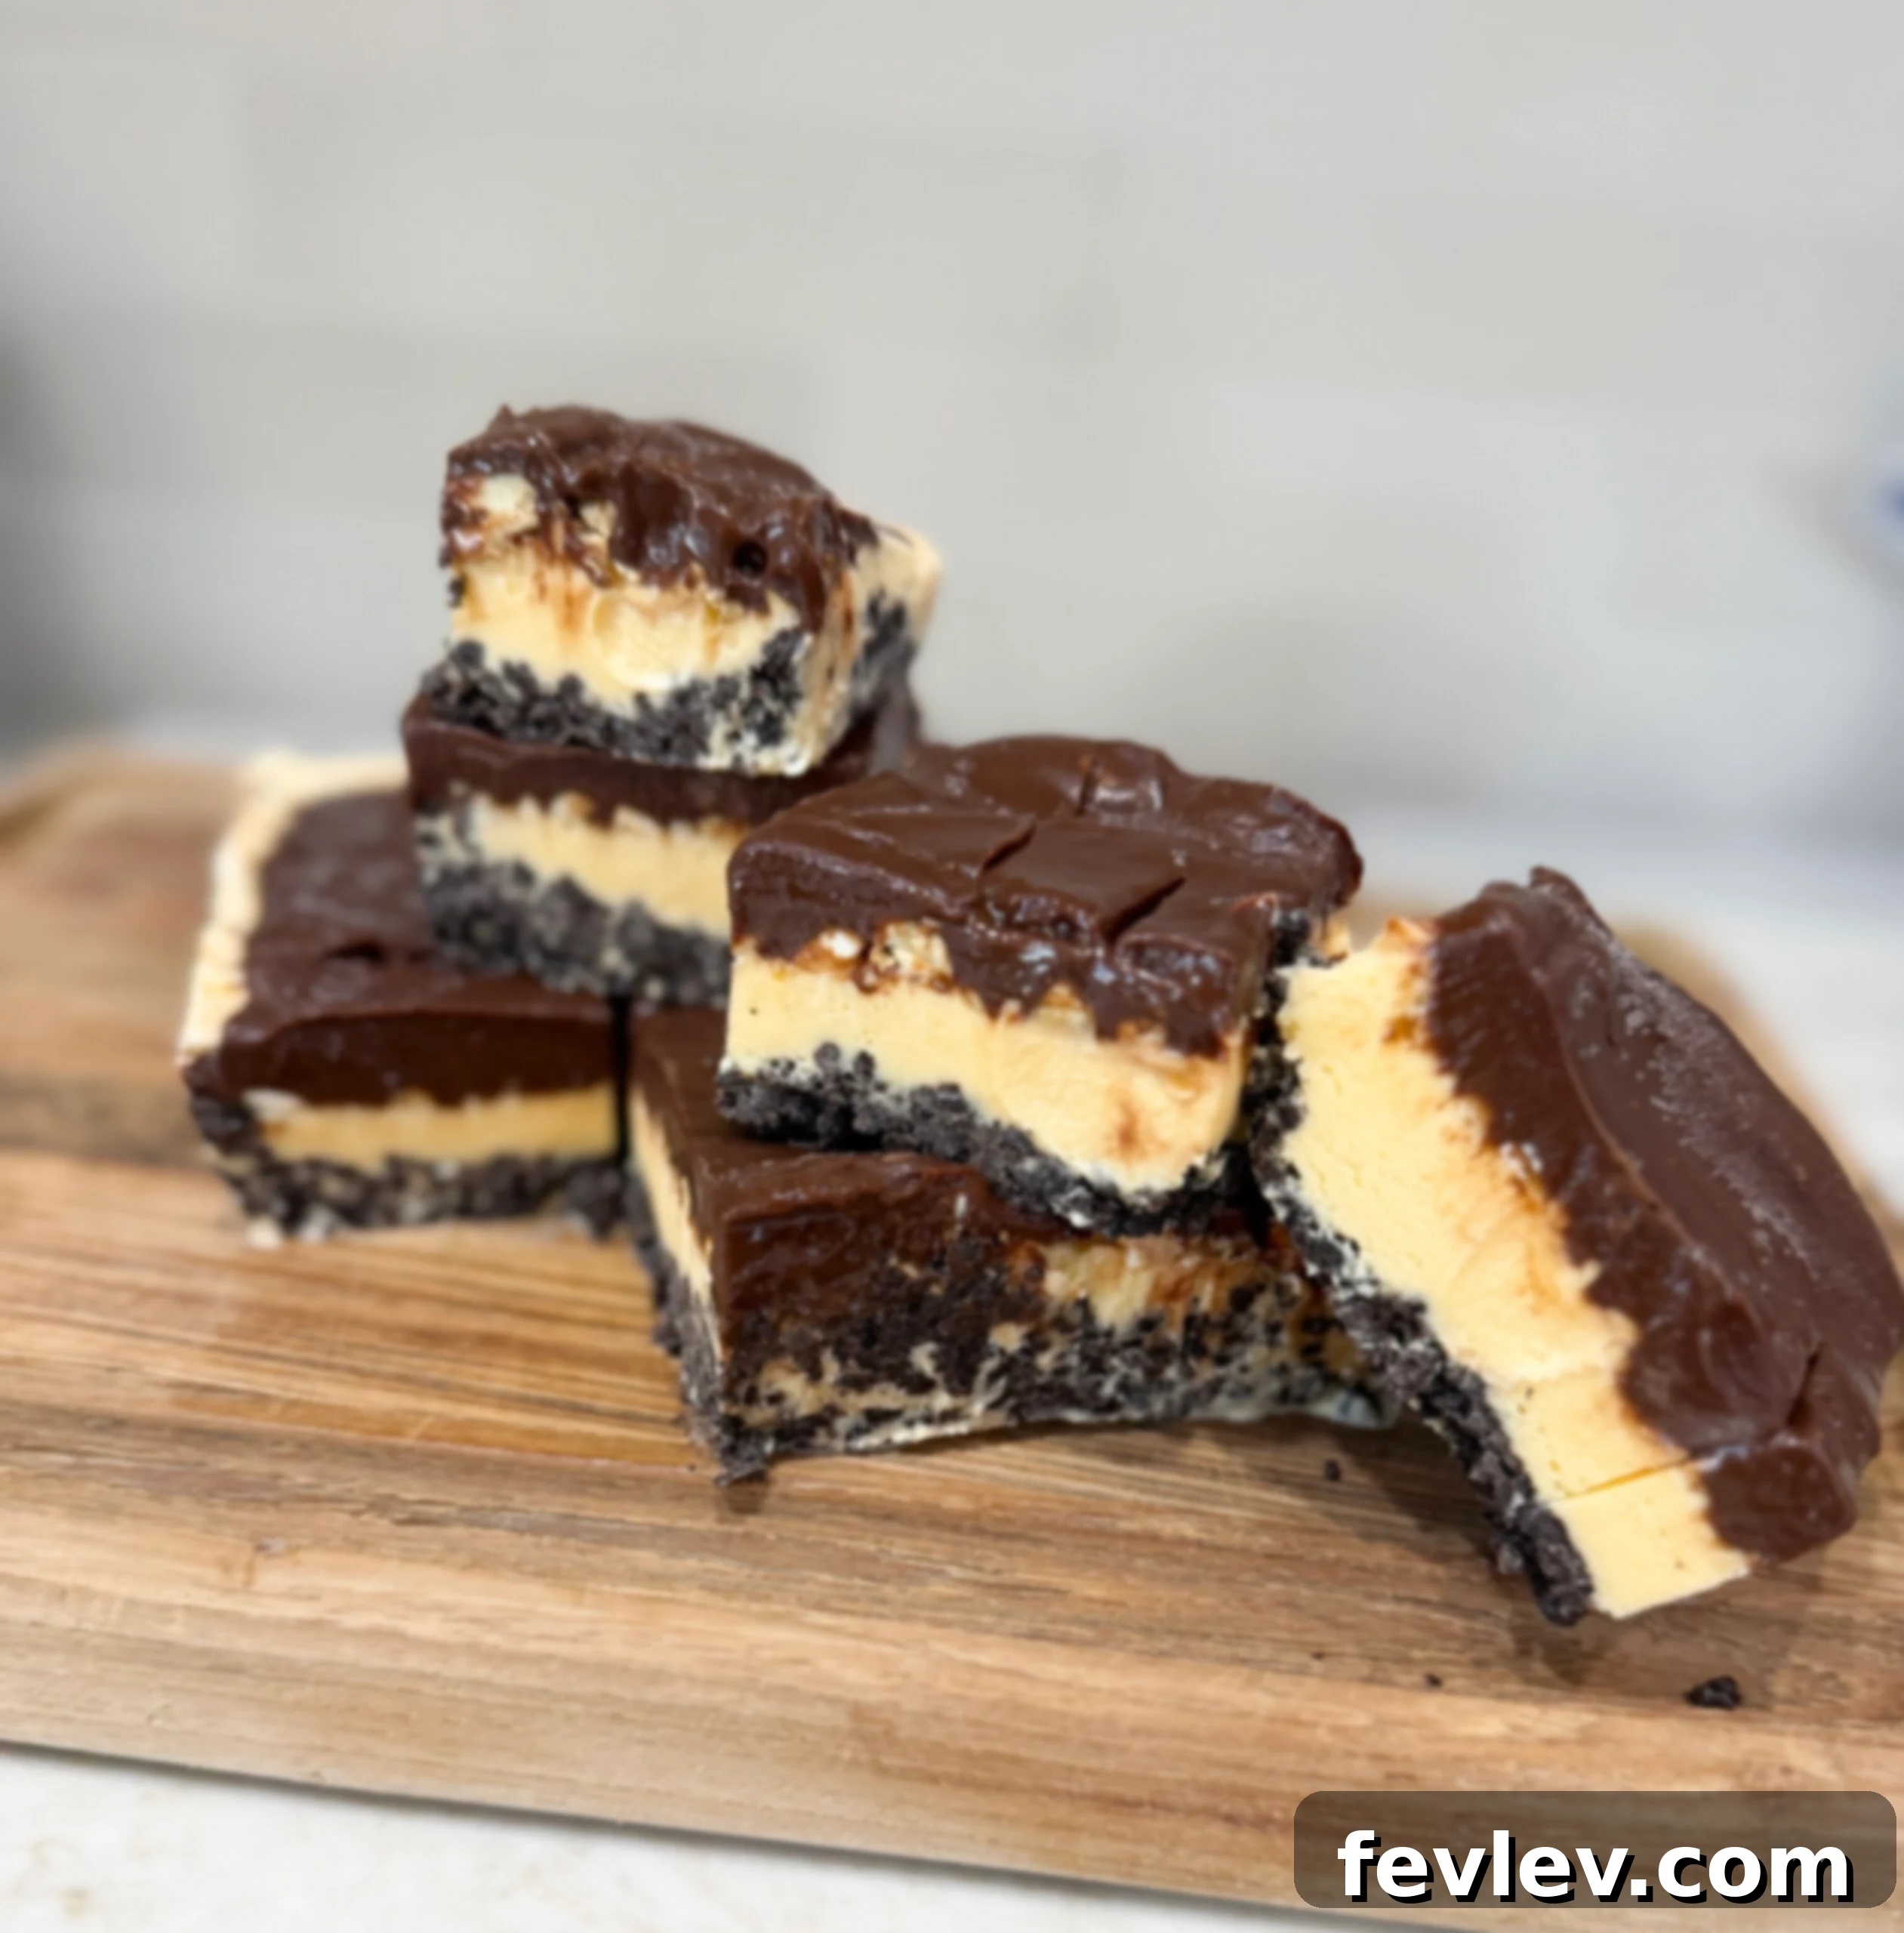
Prepare to delight your taste buds with the most incredible Buster Bar Ice Cream Cake, a quintessential summer dessert that promises to be the star of any gathering. This isn’t just an ice cream cake; it’s a symphony of textures and flavors, combining the creamy indulgence of vanilla ice cream with the rich sweetness of chocolate fudge and the satisfying crunch of salty peanuts, all built upon a decadent Oreo cookie crust. Imagine the classic Dairy Queen Buster Bar, elevated into a magnificent, easy-to-make cake you can enjoy right from your freezer.
There’s nothing quite like a chilled dessert to combat the summer heat, and this no-bake wonder is absolutely perfect for cooling down on a scorching day. Its delightful soft-serve-like texture, generously studded with all your favorite Dairy Queen Buster Bar elements, makes it a truly unique and irresistible creation. Whether you’re hosting a backyard barbecue, celebrating a special occasion, or simply craving a spectacular sweet treat, this Buster Bar Ice Cream Cake is designed to impress with minimal effort.
With its harmonious layers of rich fudge, smooth ice cream, and crunchy peanuts, this peanut Buster parfait-inspired ice cream cake is destined to become your new go-to no-bake dessert. It’s incredibly versatile, making it the perfect showstopper for any holiday celebration, family reunion, or casual summer get-together. Get ready to scoop into pure bliss!
Why You’ll Adore This Buster Bar Ice Cream Cake
Why this recipe will be your new favorite!
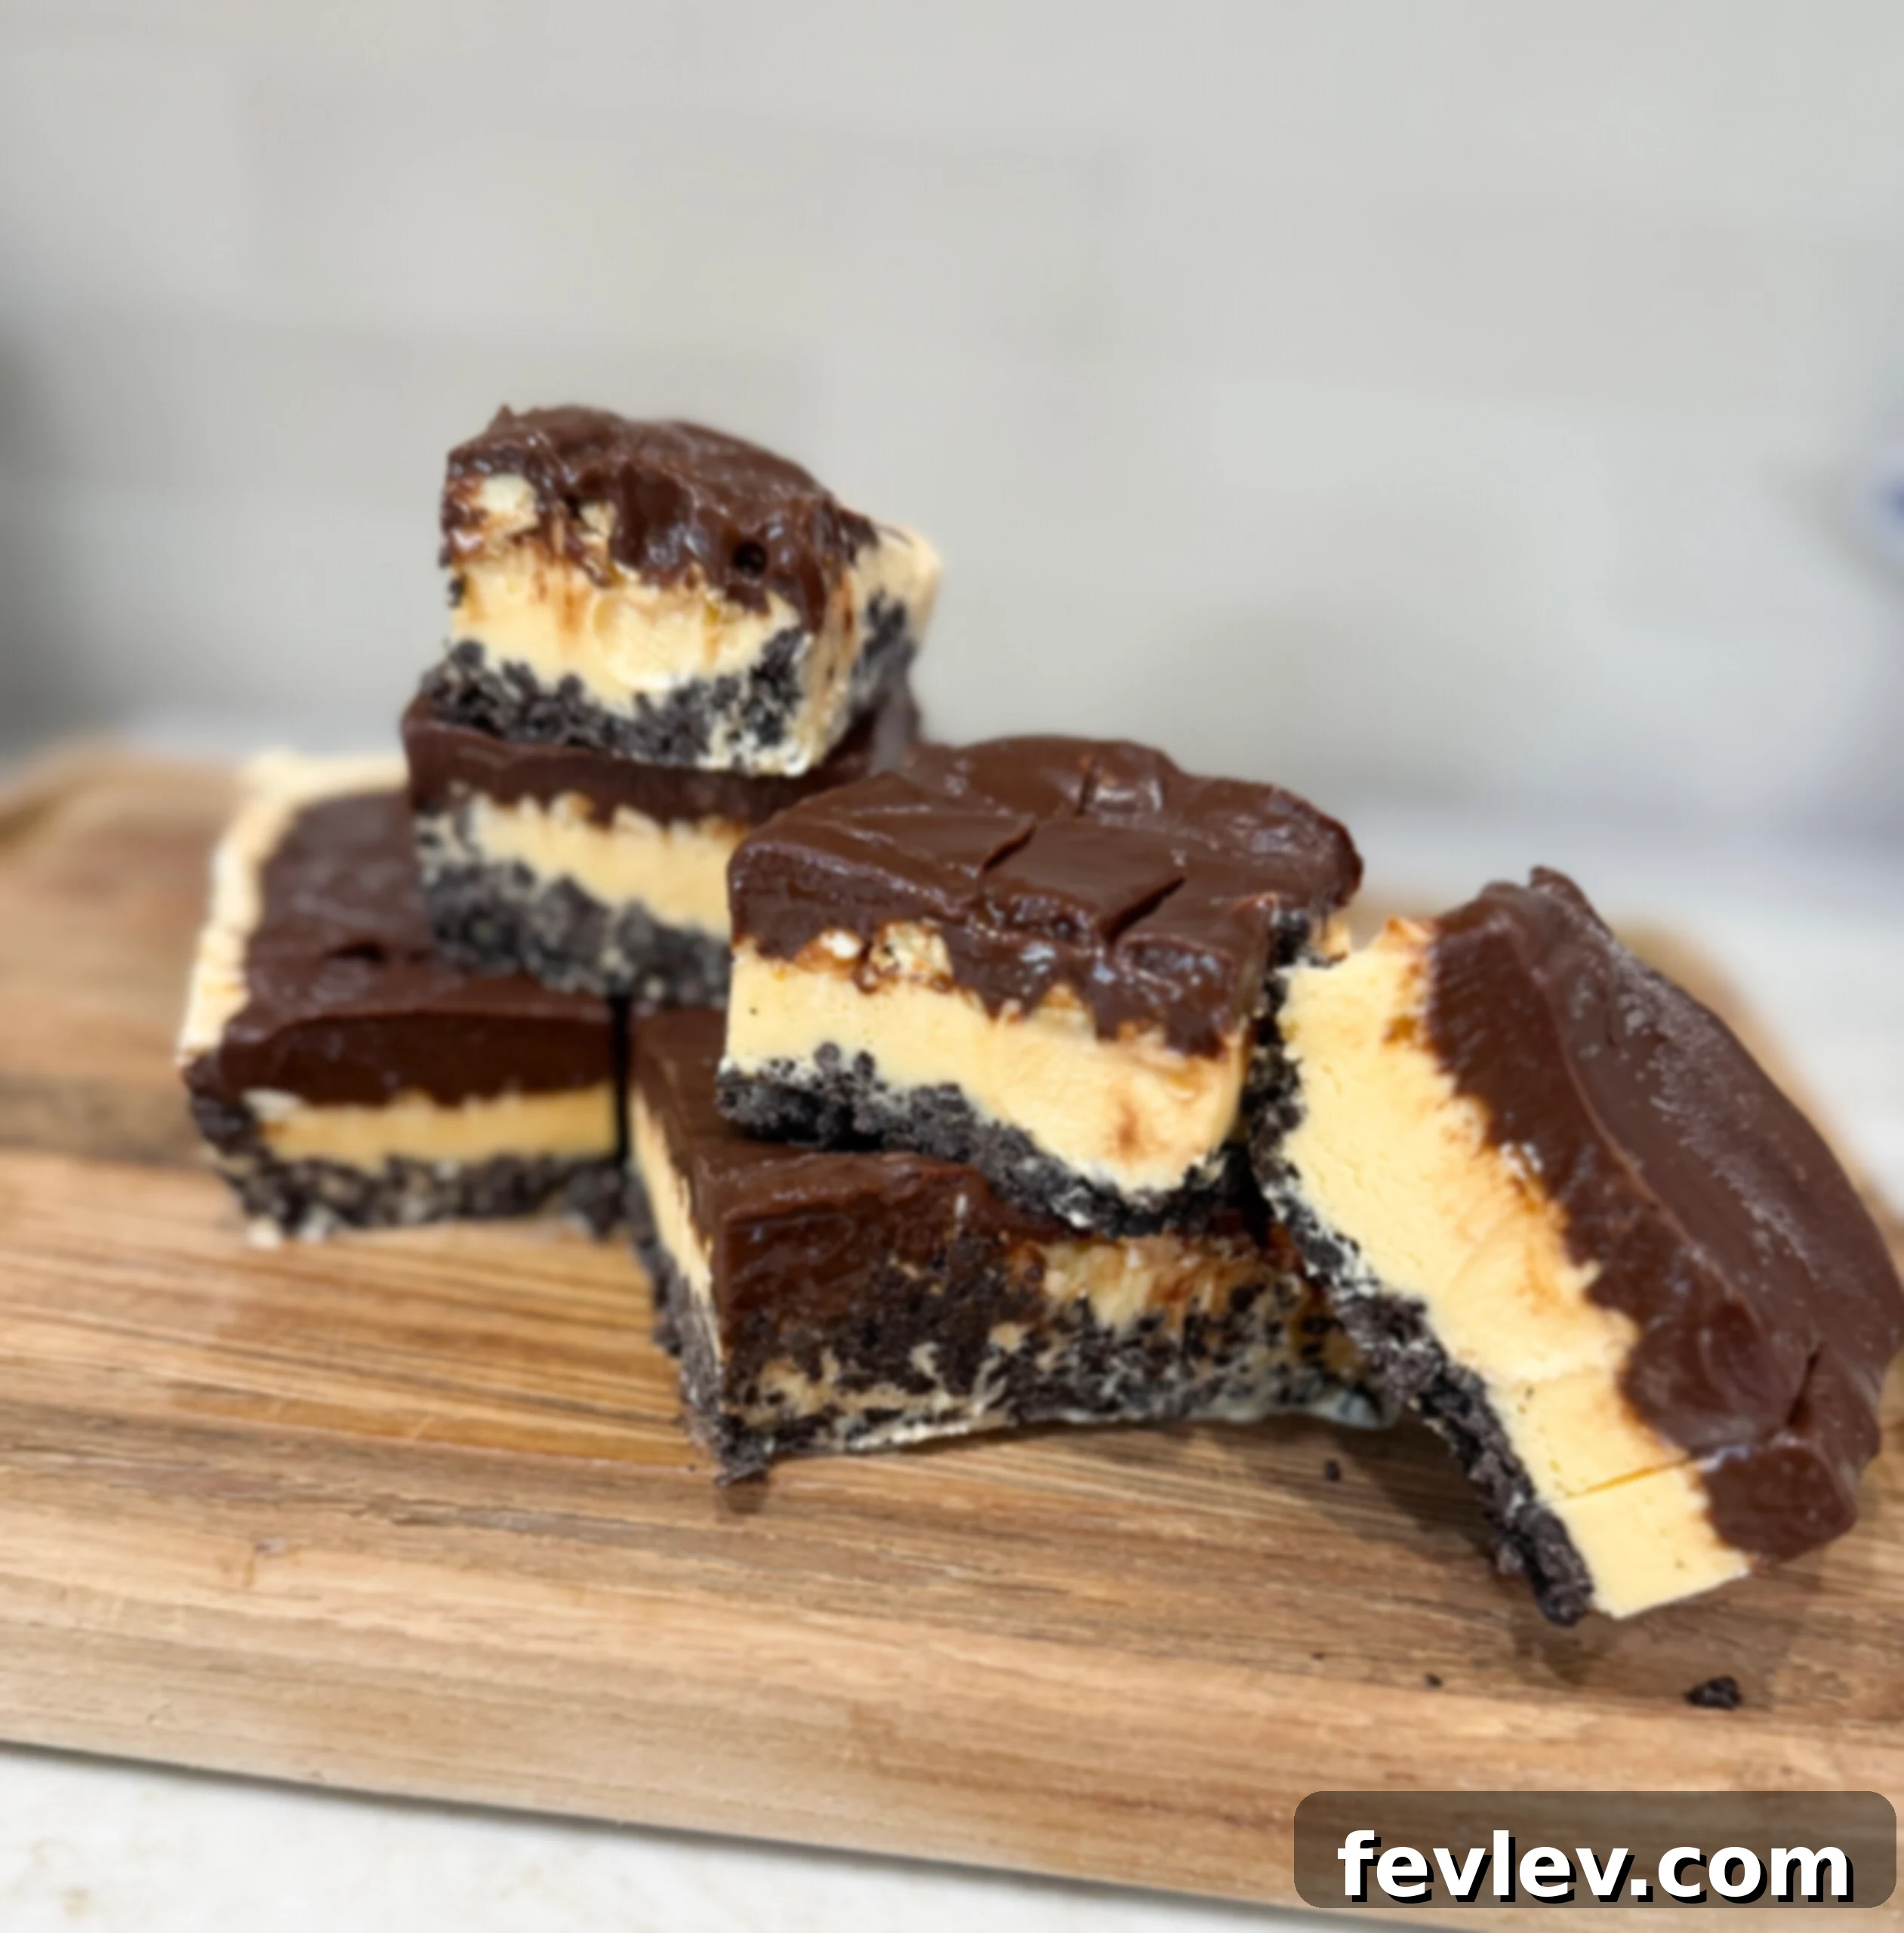
This sensational Buster Bar Ice Cream Cake isn’t just a dessert; it’s an experience. Here’s why it’s guaranteed to become a beloved classic in your household:
- Effortlessly Delicious: As a no-bake recipe, it eliminates the stress of oven temperatures and baking times, making it accessible to even beginner home cooks. The steps are straightforward, and the results are consistently spectacular.
- Perfect Balance of Flavors: Every bite offers a delightful contrast between sweet and savory. The intense chocolate fudge perfectly complements the creamy vanilla ice cream, while the salty crunch of peanuts cuts through the richness, creating an unforgettable taste sensation.
- Ideal for Summer: On hot days, nobody wants to turn on the oven. This chilled dessert is incredibly refreshing and serves as the ultimate cool-down treat, making it a staple for summer parties, picnics, and casual family meals.
- Crowd-Pleaser Guaranteed: Inspired by the iconic Dairy Queen Buster Bar, this cake taps into nostalgic flavors that everyone loves. Its impressive presentation and irresistible taste ensure it will be devoured by guests of all ages.
- Customizable Fun: While the classic combination is perfect, this recipe is incredibly adaptable. You can easily switch up ice cream flavors, add different toppings, or vary the crust to suit your personal preferences or dietary needs, making each creation uniquely yours.
Get ready to create the best ice cream cake with a flawless balance of sweet and savory notes. This simple recipe is not only easy to assemble but also promises to be a memorable addition to your summer celebrations.
Recipe Video:
Essential Ingredients for Your Buster Bar Ice Cream Cake:
Crafting this iconic dessert requires a few key ingredients, each playing a crucial role in achieving that perfect balance of flavor and texture. Here’s what you’ll need to gather:
- Oreo Cookies: For the ultimate crunchy crust, we highly recommend using crushed Oreo cookies. Their distinct chocolate flavor and crispy texture provide a fantastic base that holds up beautifully to the creamy layers. You’ll need about 16 cookies, which is roughly one standard sleeve.
- Melted Butter: Unsalted melted butter is essential for binding the cookie crumbs together, creating a firm and delicious cake crust. Using unsalted butter allows you to control the overall saltiness of the dessert.
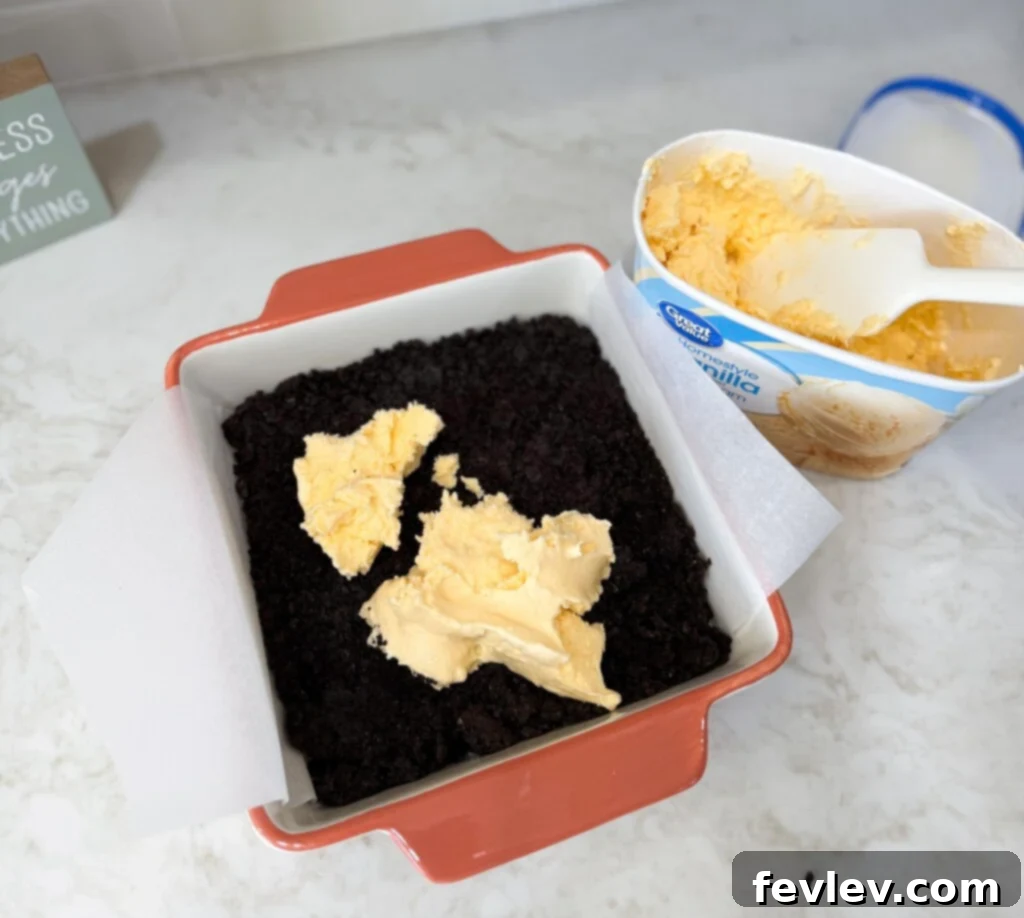
- Vanilla Ice Cream: To capture the authentic taste of a Buster Bar, creamy vanilla ice cream is the traditional choice. Ensure it’s softened before spreading to achieve a smooth, even layer without disturbing the crust. High-quality vanilla will truly shine here.
- Semi-Sweet Chocolate Chips: These are the base for our rich, homemade chocolate fudge sauce. Semi-sweet chips offer a balanced chocolate flavor that isn’t overly sugary, perfect for pairing with the ice cream.
- Butter (for Fudge): An additional quarter cup of butter will be melted with the chocolate chips. This is crucial for creating that luxurious, smooth, and slightly glossy chocolate fudge topping that’s a hallmark of the Buster Bar.
- Powdered Sugar: For the best results and a smooth, “magic shell”-like consistency in your fudge topping, powdered sugar is preferred over granulated sugar. It dissolves seamlessly, contributing to the creamy texture of the fudge.
- Evaporated Milk: This ingredient is key to the incredible creaminess and richness of the chocolate fudge sauce. Evaporated milk provides a concentrated dairy flavor and helps achieve the perfect pourable yet thick consistency for your topping.
- Dry Roasted Peanuts: To add that signature salty crunch, dry roasted peanuts are a must. Their robust flavor and satisfying texture create a wonderful contrast with the sweet chocolate and creamy ice cream, making every bite exciting.
How to Make the Ultimate Buster Bar Ice Cream Cake:
Creating this show-stopping dessert is simpler than you might imagine. Follow these detailed steps to assemble your masterpiece:
Step 1: Prepare the Oreo Cookie Crust Layer
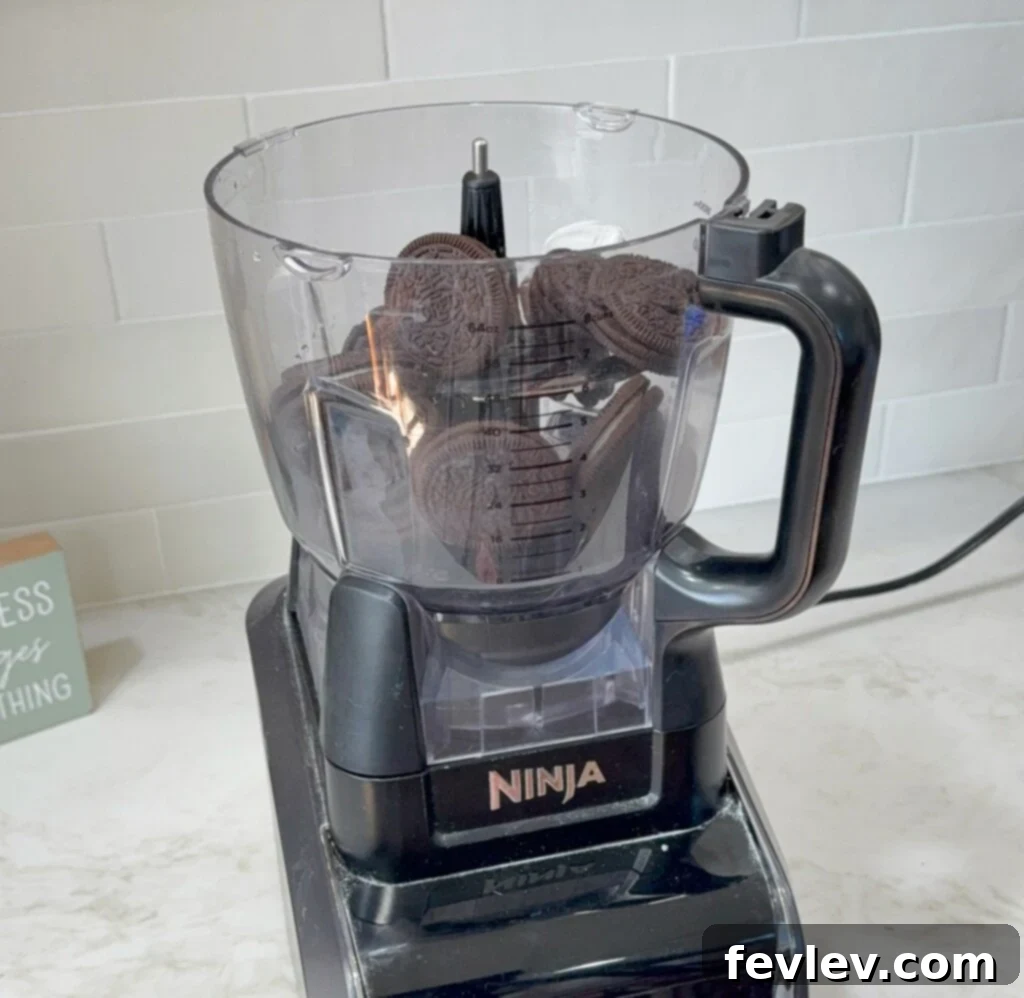
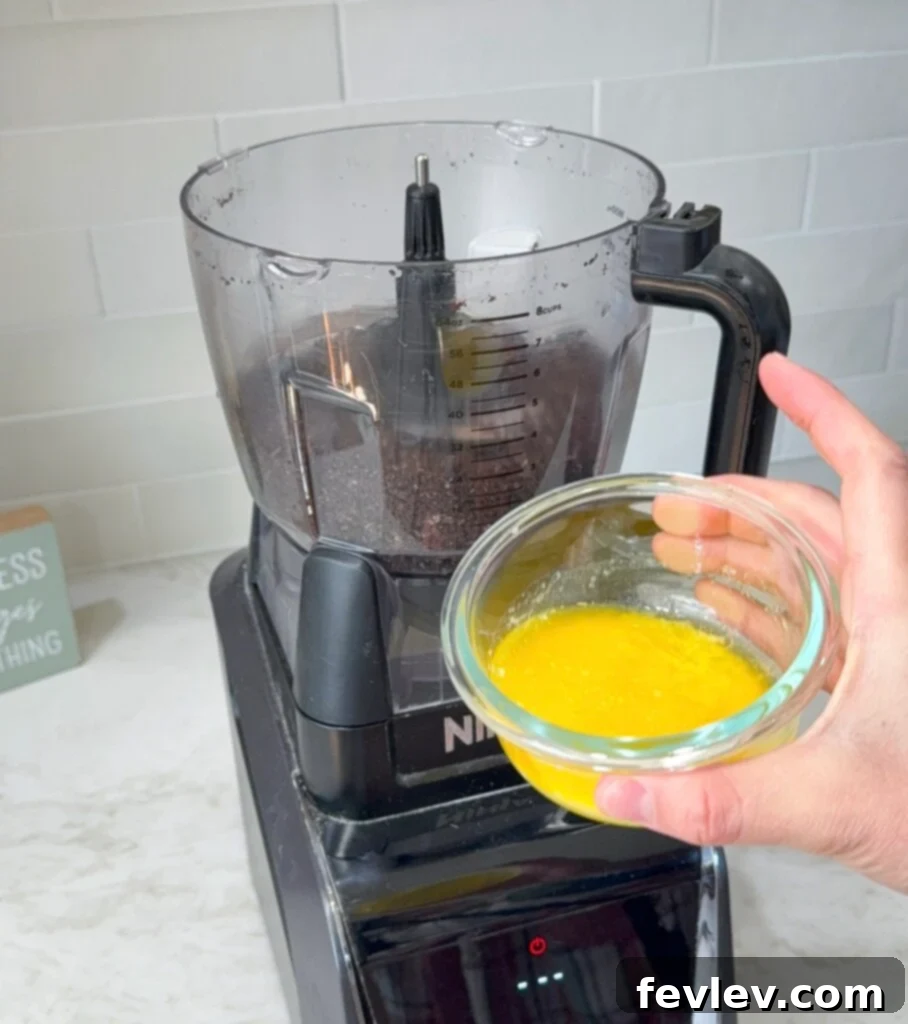
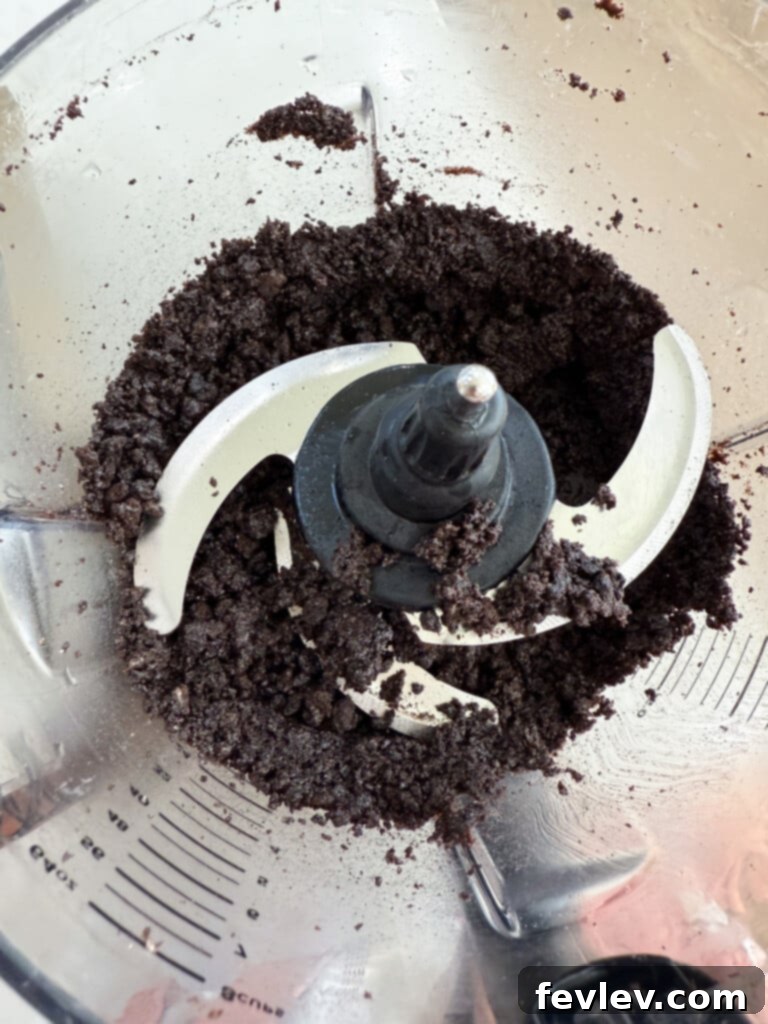
- Start by finely crushing your Oreo cookies. You can do this easily in a food processor for a fine, uniform crumb, or place them in a zip-top bag and crush them with a rolling pin for a slightly coarser texture. The goal is fine pieces, ensuring a solid crust.
- Once crushed, transfer the Oreo crumbs to a medium bowl and pour in 1/4 cup of melted unsalted butter. Mix thoroughly until all the cookie crumbs are moistened and resemble wet sand. This ensures the crust will hold together.
- Evenly press the buttered Oreo mixture onto the bottom of a 9-inch pie pan or an 8×8 inch baking dish. Use the back of a spoon or the bottom of a flat glass to firmly compact the crust, creating a solid base.
Step 2: Add the Softened Ice Cream Layer
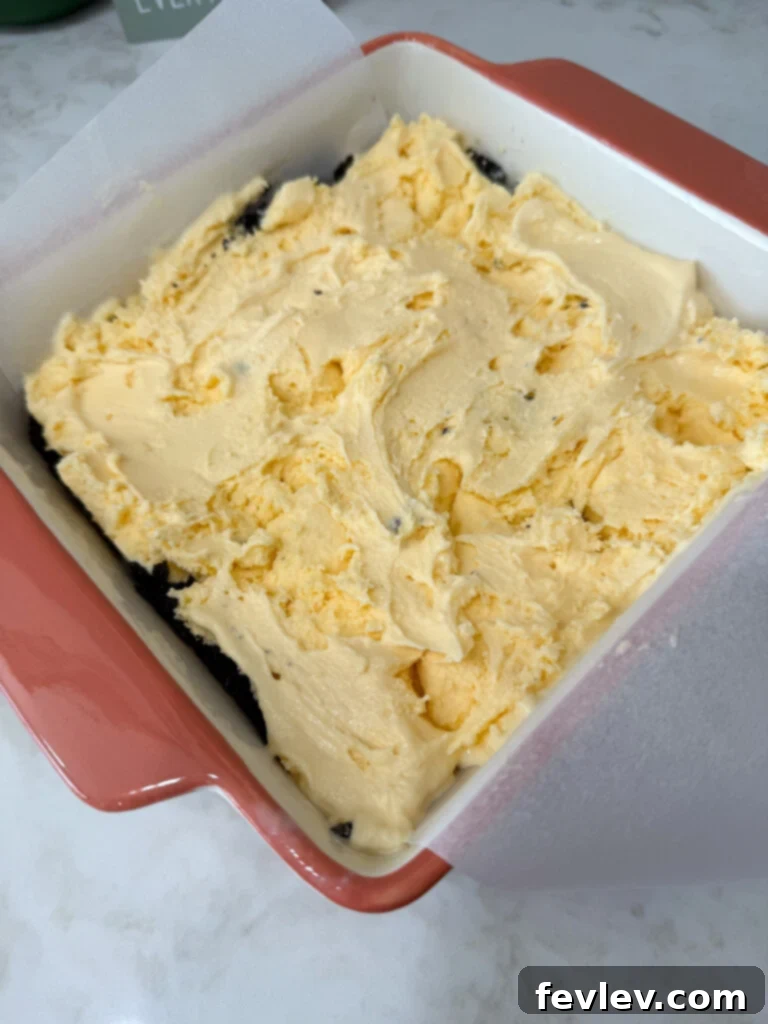
- Allow your vanilla ice cream to soften slightly at room temperature for about 10-15 minutes before this step. It should be soft enough to spread easily but not completely melted. This ensures it doesn’t break apart your delicate Oreo crust.
- Carefully spread the softened ice cream evenly over the compacted Oreo crust. Work gently to avoid mixing the ice cream into the crust. A flexible spatula works best for this.
- Once the ice cream layer is smooth, place the dish into the freezer immediately. This step is crucial to firm up the ice cream before adding the next layers, preventing everything from melding together.
Step 3: Craft the Rich Chocolate Fudge Topping
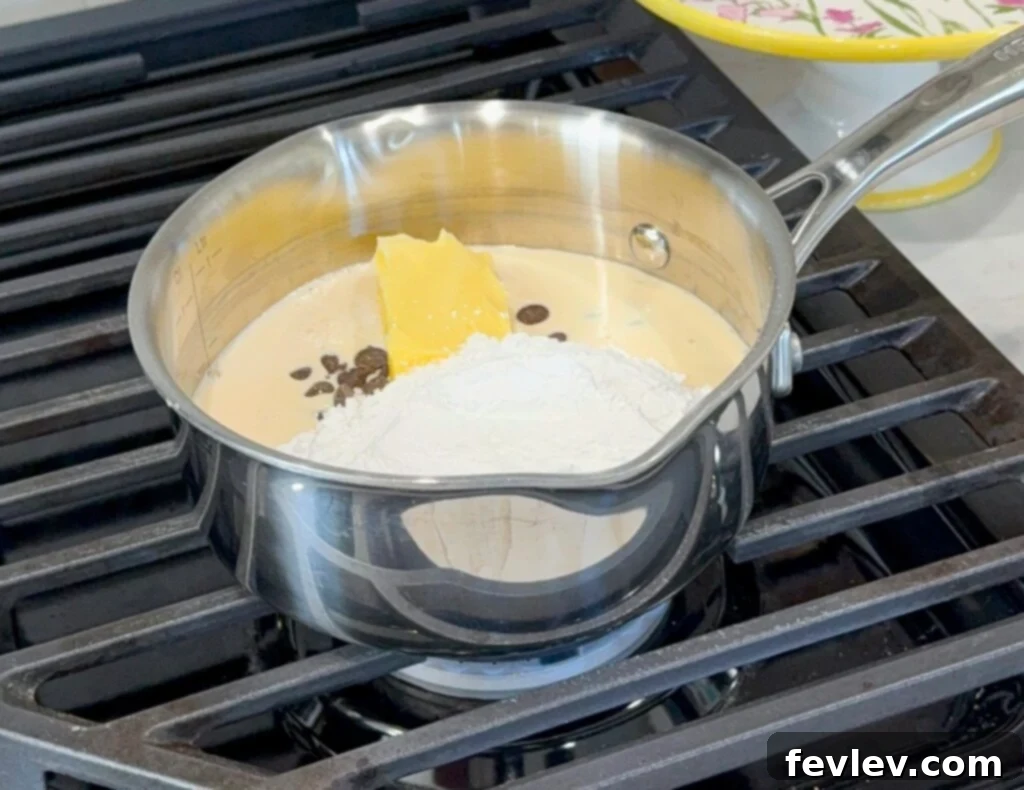
- For the luscious chocolate fudge sauce, combine the semi-sweet chocolate chips, 1/4 cup of butter, powdered sugar, and evaporated milk in a small saucepan over low to medium heat.
- Whisk the mixture frequently and gently as the ingredients melt and combine. Continue whisking until the sauce is completely smooth, glossy, and free of any lumps. Be careful not to scorch the chocolate.
- Once smooth, remove the pot from the stove. It is essential to let the fudge sauce cool down completely before layering it onto the ice cream. This cooling process takes approximately 1 hour at room temperature, allowing it to thicken slightly and prevent melting the ice cream.
Step 4: Layer the Buster Bar Dessert for Assembly
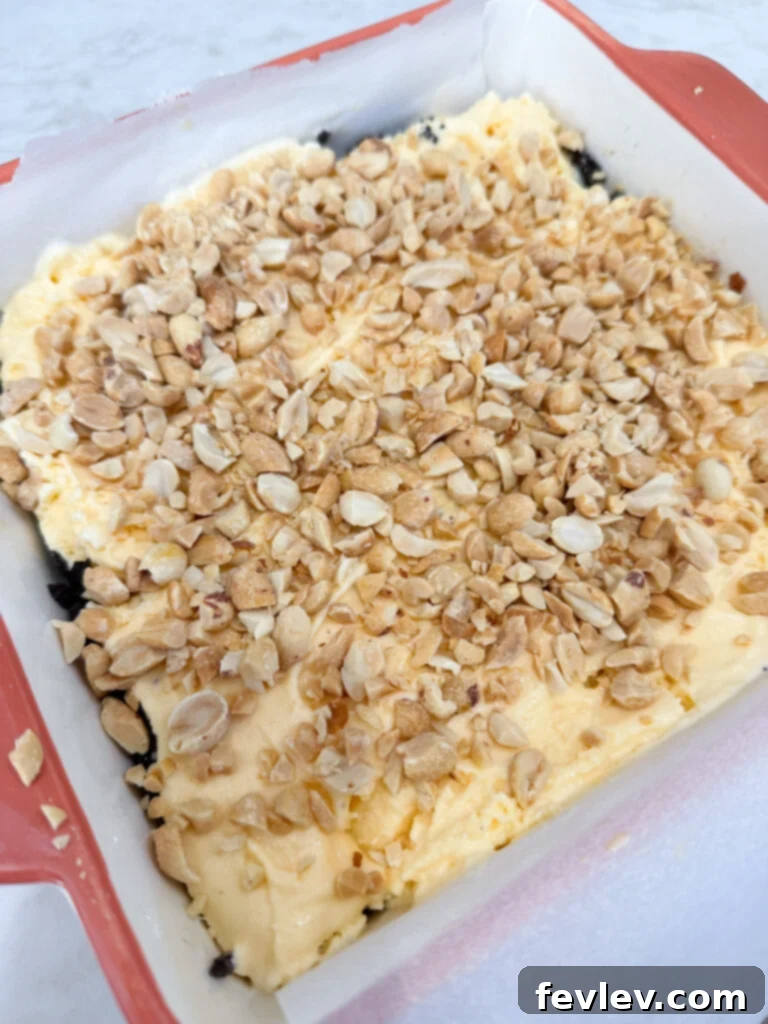
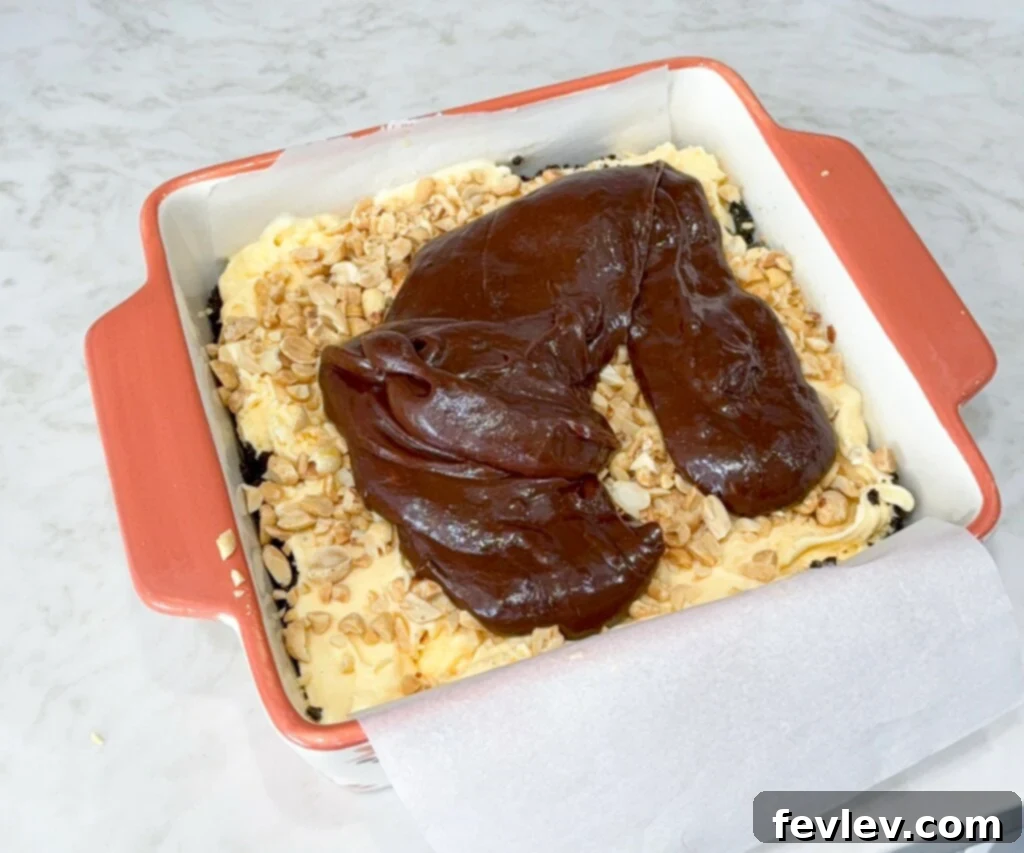
- Once the ice cream layer is firm from the freezer, retrieve the dish. Generously sprinkle the dry roasted peanuts evenly over the entire surface of the ice cream layer. Don’t be shy – the peanuts are a key component!
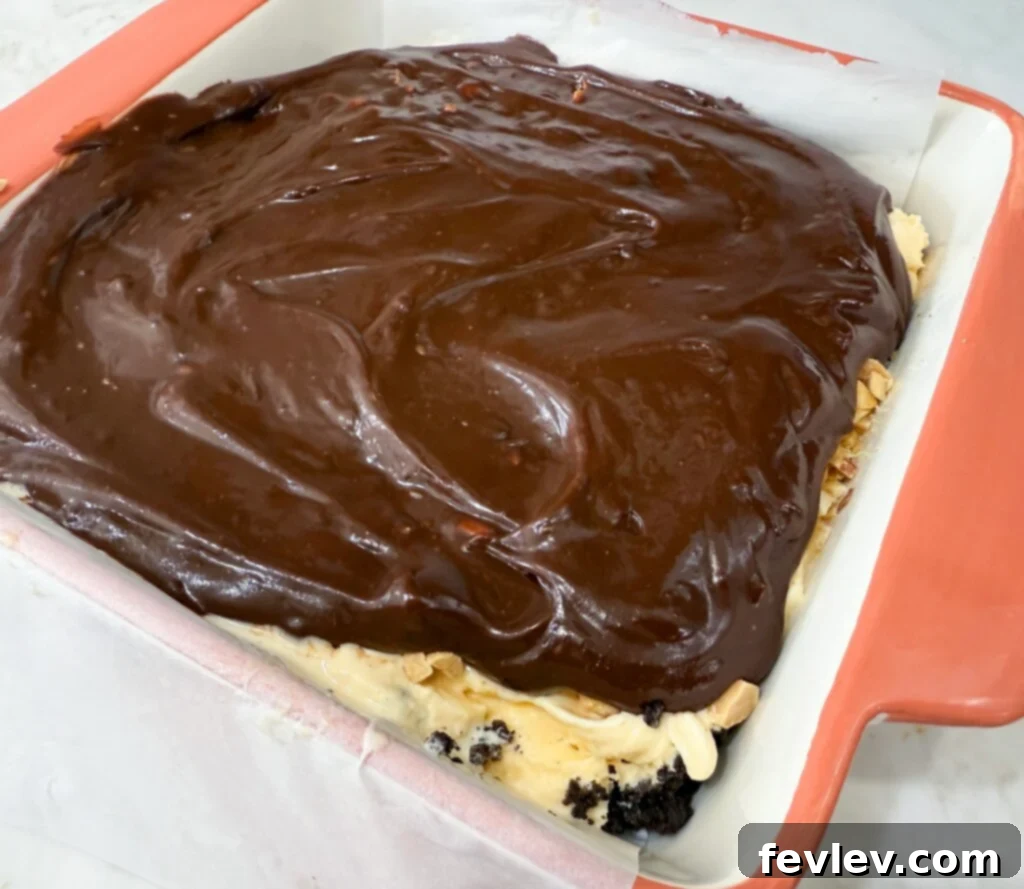
- Next, take your completely cooled chocolate fudge sauce and drizzle it over the peanut layer. You can either gently spread it with a spatula for an even coating or leave it slightly artfully drizzled for a more rustic look. Ensure the peanuts are well-covered.
- Return the dessert to the freezer for at least 1 hour, or until all layers are thoroughly chilled and firm. This final freeze allows everything to set perfectly, making it easy to slice and serve.
- Once fully set, slice into generous portions and enjoy your magnificent homemade Buster Bar Ice Cream Cake!
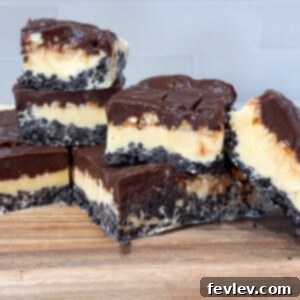
Buster Bar Ice Cream Cake
Julia Pacheco
5 mins
10 mins
2 hrs 15 mins
6
Equipment
-
8×8 baking dish or pie pan
-
Small pot
-
Whisk
Ingredients
- 16 Oreo Cookies
- ¼ Cup Melted Butter
- 5 Cups Vanilla Ice Cream, Softened
- 6 oz Semi-Sweet Chocolate Chips
- ¼ Cup Butter (for fudge)
- 1 Cup Powdered Sugar
- 6 oz Evaporated Milk
- 1 Cup Dry Roasted Peanuts
Instructions
Make Oreo crust layer:
-
Crush the Oreos into fine pieces, then combine with 1/4 cup of melted butter.
-
Press the Oreo mixture onto the bottom of a 9-inch pie pan or an 8×8 baking dish.
Add softened ice cream:
-
Carefully spread the softened vanilla ice cream over the Oreo layer.
-
Place into the freezer to set.
Create rich chocolate fudge topping:
-
In a small pot, combine chocolate chips, 1/4 cup butter, powdered sugar, and evaporated milk. Whisk frequently over low heat until smooth.
-
Remove from heat and let the sauce cool completely (about 1 hour).
Layer Buster Bar dessert:
-
Sprinkle the dry roasted peanuts over the firm ice cream layer.
-
Drizzle the cooled chocolate fudge sauce evenly over the peanuts.
-
Freeze for at least 1 hour until firm.
-
Slice and enjoy!
Nutrition
Carbohydrates: 92g |
Protein: 15g |
Fat: 59g |
Saturated Fat: 28g |
Polyunsaturated Fat: 5g |
Monounsaturated Fat: 21g |
Trans Fat: 1g |
Cholesterol: 99mg |
Sodium: 470mg |
Potassium: 704mg |
Fiber: 6g |
Sugar: 70g |
Vitamin A: 1018IU |
Vitamin C: 1mg |
Calcium: 258mg |
Iron: 6mg
Nutrition information is automatically calculated and should only be used as an approximation.
Storing Your Buster Bar Ice Cream Cake:
One of the best things about this Buster Bar Ice Cream Cake is how well it stores, making it an ideal make-ahead dessert for any occasion. Proper storage ensures its layers remain distinct and delicious for weeks.
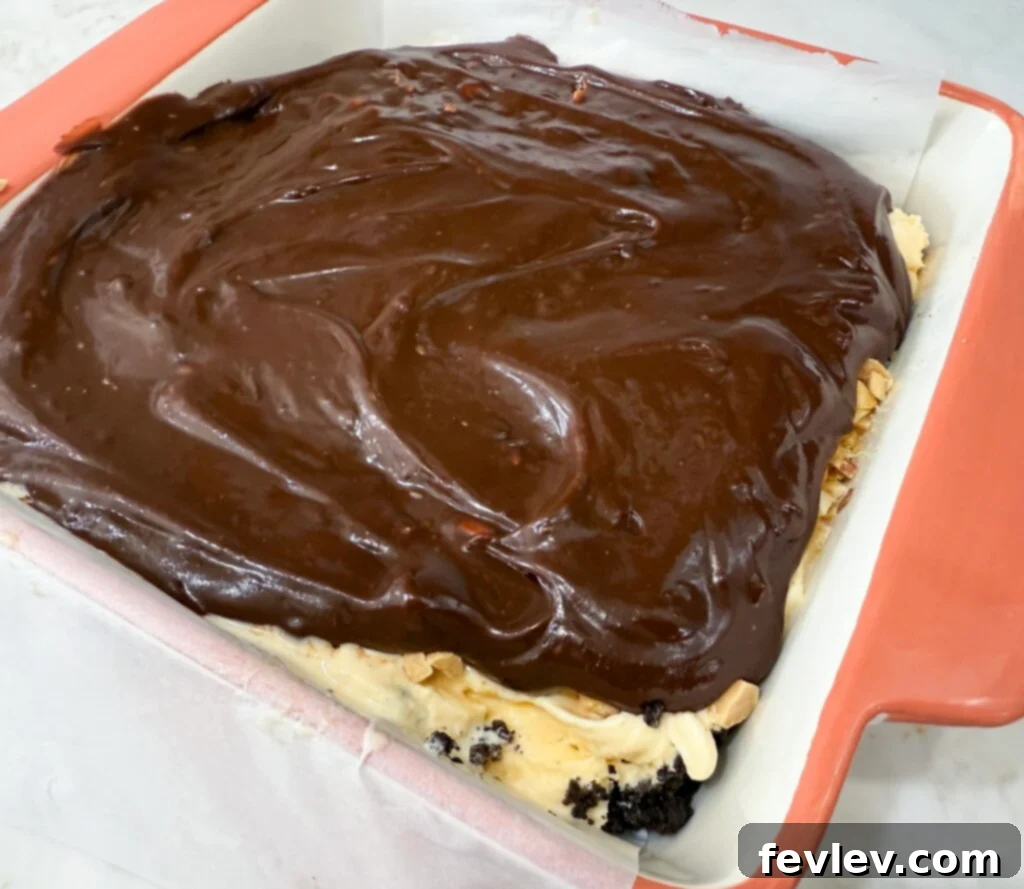
Freezer Storage: To store your Buster Bar Ice Cream Cake, simply cover the 8×8 baking dish tightly. For optimal freshness and to prevent freezer burn, first use a layer of plastic wrap pressed directly onto the surface of the cake, then cover the entire dish with aluminum foil. This double layer of protection keeps the cake tasting fresh and prevents ice crystals from forming.
You can freeze this delicious dessert for up to 2 months! When you’re ready to enjoy it, simply remove it from the freezer about 10-15 minutes before serving to allow it to soften slightly, making it easier to slice. This makes it a fantastic option for meal prepping desserts or having a sweet treat ready for unexpected guests.
Pro Tips and Tricks for a Perfect Ice Cream Cake:
Even though this is an easy no-bake recipe, a few clever tips can elevate your Buster Bar Ice Cream Cake from great to absolutely legendary:
Essential Recipe Tip: Soft Ice Cream is Key!
My Pro Tip
Essential Recipe Tip
Always ensure your ice cream is adequately softened before you attempt to spread it over the Oreo crust. If the ice cream is too hard, you’ll struggle to spread it evenly and risk tearing or lifting the tasty cookie layer from the bottom of your dish. A slightly melty consistency allows for smooth spreading and a beautiful, intact crust.
Experiment with Ice Cream Flavors:
While traditional vanilla ice cream perfectly emulates the classic Buster Bar, feel free to unleash your creativity! This recipe is incredibly adaptable to different ice cream flavors, allowing you to personalize it to your family’s favorites or seasonal tastes. Consider these delicious alternatives:
- Peanut Butter Ice Cream: For an extra nutty kick that doubles down on the peanut flavor, peanut butter ice cream is a fantastic choice.
- Chocolate Ice Cream: If you’re a true chocoholic, a layer of chocolate ice cream will intensify the richness and create an even more decadent experience.
- Cookie Dough Ice Cream: For a playful twist, cookie dough ice cream adds extra chunks and sweetness, complementing the Oreo crust beautifully.
- Caramel Swirl Ice Cream: Introduce another layer of luscious sweetness with a caramel swirl ice cream, enhancing the overall dessert profile.
Creative Add-ins and Toppings:
Beyond the classic peanuts and fudge, there are many ways to customize your ice cream cake with additional mix-ins and toppings:
- Sprinkles: Add a festive touch for birthday celebrations or holidays with colorful sprinkles on top of the fudge layer.
- Extra Oreo Pieces: For an additional textural contrast, crumble some leftover Oreo pieces and sprinkle them along with the peanuts for an extra crunch.
- Chopped Candy Bars: Crush your favorite chocolate candy bars (like Snickers or Butterfinger) and sprinkle them over the fudge for a truly indulgent treat.
- Caramel Drizzle: A light drizzle of extra caramel sauce over the top before freezing can add another layer of sweetness and visual appeal.
- Whipped Cream: Serve each slice with a dollop of fresh whipped cream for an extra touch of creamy goodness.
- Chocolate Shavings: Garnish with elegant chocolate shavings for a more sophisticated presentation.
Frequently Asked Questions (FAQs)
We’ve gathered answers to some common questions you might have about making this Buster Bar Ice Cream Cake:
- Can I make this Buster Bar Ice Cream Cake ahead of time?
Absolutely! This is an ideal make-ahead dessert. You can prepare it up to 2 months in advance and store it tightly wrapped in the freezer. This makes it perfect for holiday entertaining or preparing for parties with ease. - What if I don’t have a 9-inch pie pan or 8×8 baking dish?
You can use any similar-sized freezer-safe dish, such as a loaf pan for a smaller, rectangular cake, or even individual ramekins for single servings. Adjust the ingredient quantities slightly if your dish is significantly larger or smaller. - Can I use different nuts instead of peanuts?
Certainly! While peanuts are traditional for the “Buster Bar” experience, you can substitute them with chopped walnuts, pecans, almonds, or even a mix of nuts for a different flavor profile. Just make sure they are dry roasted for the best crunch. - My fudge sauce is too thick/thin. How can I fix it?
If your fudge sauce is too thick after cooling, you can gently warm it again over low heat and add a tiny splash (1-2 teaspoons) of milk or evaporated milk, stirring until it reaches your desired consistency. If it’s too thin, you might need to add a small amount of additional powdered sugar, but this is less common with the recipe’s proportions. - How do I get clean slices?
For perfectly clean slices, ensure the cake is thoroughly frozen. Briefly run a sharp knife under hot water, wipe it dry, and then make your cut. Repeat this process for each slice to prevent sticking and ensure a neat presentation. - Is this recipe gluten-free?
As written, no, due to the Oreo cookies. However, you can easily make it gluten-free by using gluten-free chocolate sandwich cookies for the crust. Ensure all other ingredients are certified gluten-free.
More Irresistible Dessert Recipes:
If you loved this easy and delicious ice cream cake, be sure to explore more of our fantastic dessert creations!
- Homemade Oreos
- Apple Dump Cake
- Strawberry Cheesecake Dump Cake
- Texas Sheet Cake Cookies
Handy Resources for Easy Meal Planning & Cooking:
Beyond desserts, we’re here to help make your entire meal planning and cooking journey simpler and more enjoyable. Check out these valuable resources:
- Family meal plans: Discover stress-free meal ideas tailored for busy families.
- Essential kitchen tools and more: Curated selections of my favorite kitchen gadgets and pantry staples.
- The best cookbook for family dinner recipes: Your go-to guide for delicious, wholesome family meals.
- FREE budget meal plan: Unlock smart ways to eat well without breaking the bank.
- Cooking videos to watch: Visual guides and inspiration to help you in the kitchen.
If you give any of these recipes a try, we’d love to hear from you! Make sure to tag us on Instagram @julia.pacheco.cooking and let us know how much you loved your culinary creations!