
Product links may contain affiliate links. As an Amazon Associate, I earn from qualifying purchases.
Jump to Recipe
Delicious Berry Cheesecake Hand Pies: Your Go-To Quick Dessert
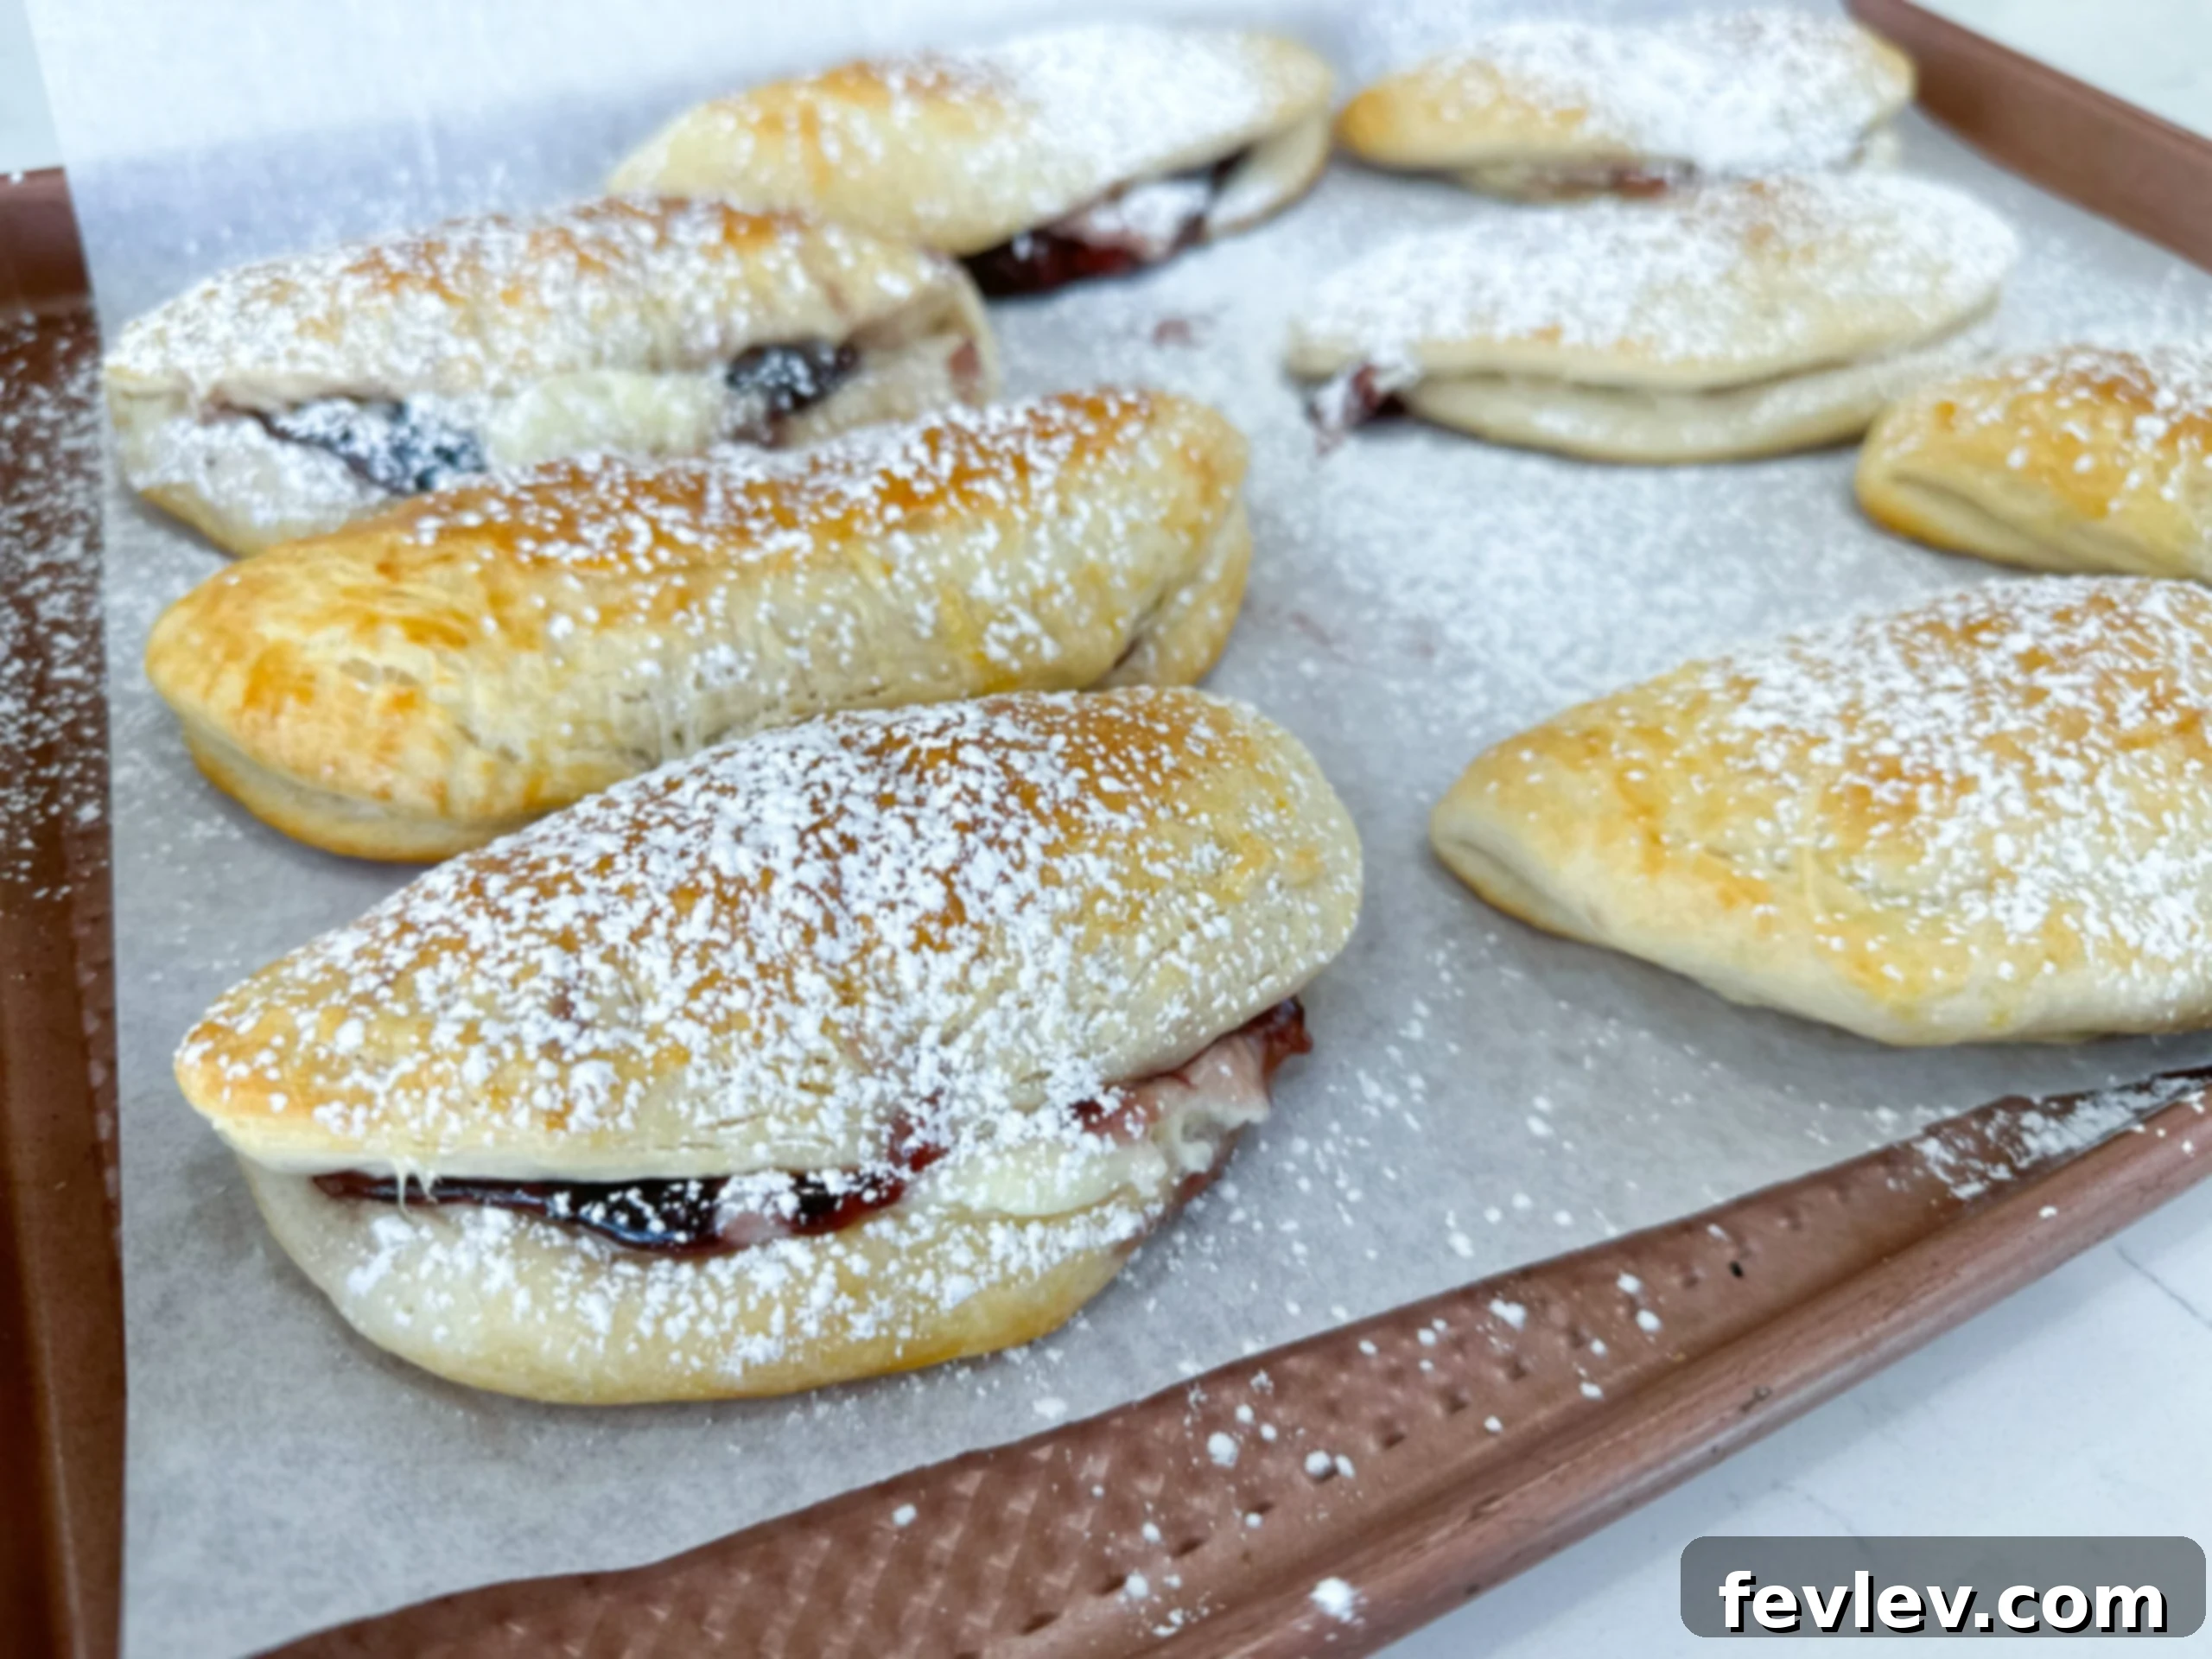
Prepare to fall in love with these delightful Berry Cheesecake Hand Pies! Imagine fluffy, golden-brown biscuit dough generously filled with a luscious, creamy cheesecake mixture and bursts of sweet, vibrant berries. This recipe is a game-changer for anyone craving a truly decadent treat without spending hours in the kitchen. In just about 30 minutes, you can create these individual, portable pies that are perfect for breakfast, brunch, a quick dessert, or even a delightful snack. They offer the perfect balance of tangy berries and rich cheesecake, all encased in a tender, slightly sweet biscuit crust.
Whether you’re looking for a simple yet impressive dessert for guests or a satisfying sweet escape for yourself, these hand pies are incredibly versatile and easy to customize. Forget complicated pastry techniques; we’re using readily available refrigerated biscuit dough to make this recipe as approachable as possible. Get ready to bake a batch of pure happiness that will surely become a family favorite!
Essential Ingredients for Berry Hand Pies
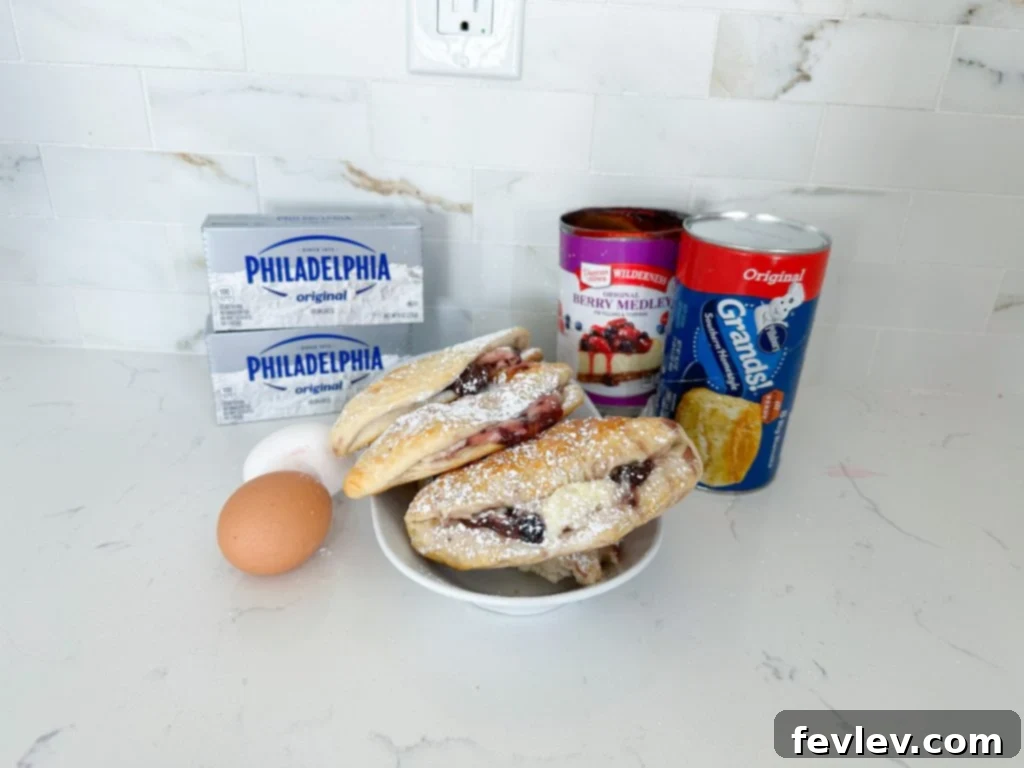
Crafting these delectable hand pies requires a handful of simple ingredients, many of which you likely already have on hand. The beauty of this recipe lies in its straightforward components, which come together to create a surprisingly complex and satisfying flavor profile. Here’s what you’ll need to gather:
- Cream Cheese: Opt for full-fat cream cheese, softened to room temperature, for the creamiest and richest cheesecake filling. This provides the signature tangy and smooth texture.
- Powdered Sugar: Also known as confectioners’ sugar, this fine sugar blends seamlessly into the cream cheese, ensuring a silky-smooth filling without any grainy texture.
- Vanilla Extract: A touch of pure vanilla extract enhances the sweetness and adds a warm, aromatic depth to the cheesecake mixture.
- Refrigerated Biscuits: The true star of convenience! Any brand of large, flaky refrigerated biscuit dough will work beautifully. They provide a quick, ready-made pastry crust that bakes up light and airy.
- Berry Pie Filling: This is where the vibrant fruit flavor comes in. While we recommend a mixed berry pie filling for a classic taste, feel free to explore other flavors like cherry, apple, or peach. You can use store-bought or your favorite homemade variety.
- Egg: Used for an egg wash, which gives the hand pies that beautiful, glossy golden-brown finish and helps create a crispy crust.
- Milk: A small amount of milk mixed with the egg for the egg wash helps thin it slightly, making it easier to brush evenly over the biscuit dough.
Equipment You’ll Need:
To make your baking process smooth and enjoyable, ensure you have these basic kitchen tools ready:
- Large baking sheet (greased or lined with parchment paper)
- Mixing bowls (medium and small)
- Hand mixer or stand mixer (optional, but highly recommended for the cheesecake filling)
- Rolling pin
- Fork (for sealing edges)
- Pastry brush (for egg wash)
- Measuring cups and spoons
Step-by-Step Guide: How to Make Berry Cheesecake Hand Pies
Making these hand pies is surprisingly simple and comes together quickly, making it an ideal recipe for both novice and experienced bakers. Follow these easy steps to create your own batch of deliciousness.
Step 1: Prepare the Irresistible Cheesecake Filling Mixture
First, in a medium-sized mixing bowl, combine the softened cream cheese, powdered sugar, and vanilla extract. Using a hand mixer or a stand mixer fitted with a paddle attachment, beat the ingredients together on medium speed until the mixture is completely smooth and well combined. There should be no lumps of cream cheese, and the texture should be light and airy. This usually takes about 2-3 minutes. Once perfect, set this delightful cheesecake filling aside while you prepare the biscuit dough.
Step 2: Gently Shape the Biscuit Dough
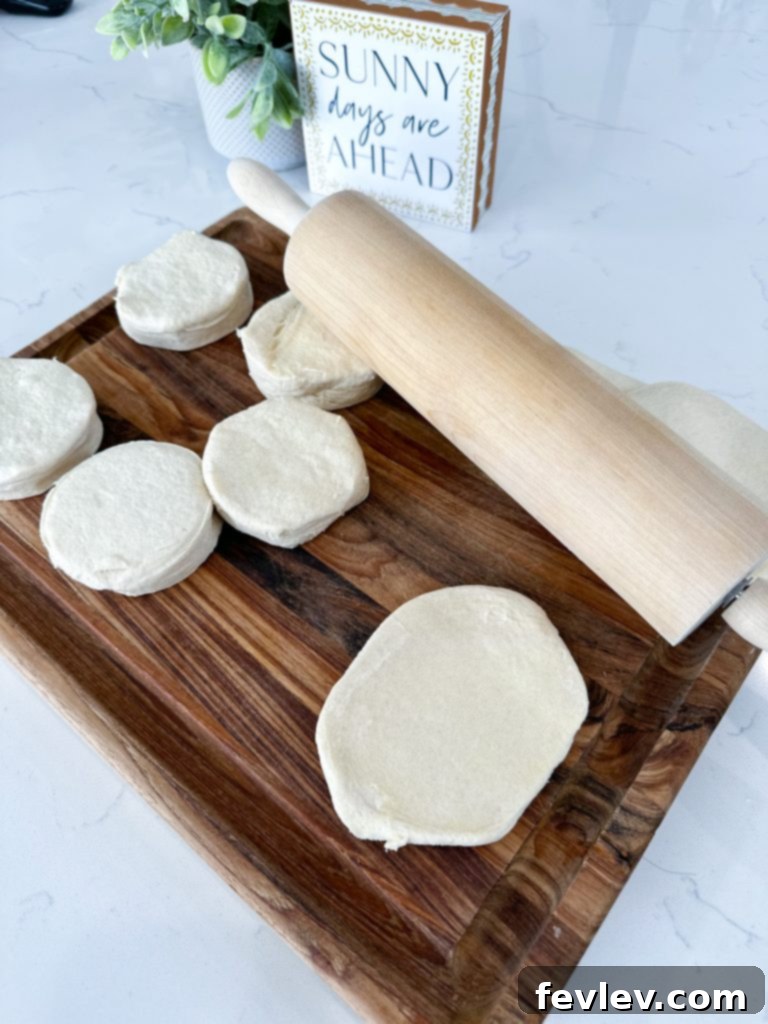
Carefully remove the refrigerated biscuits from their package and separate them. Place each biscuit onto a lightly floured large surface, such as a clean countertop or a large cutting board. Using a rolling pin, gently roll out each biscuit until it is significantly larger and thinner than its original size. Aim for an oval or circular shape, roughly 4-5 inches in diameter, ensuring the dough is thin enough to fold easily but not so thin that it tears. This step is crucial for creating enough surface area to hold the generous filling.
Step 3: Fill and Artfully Seal Your Hand Pies
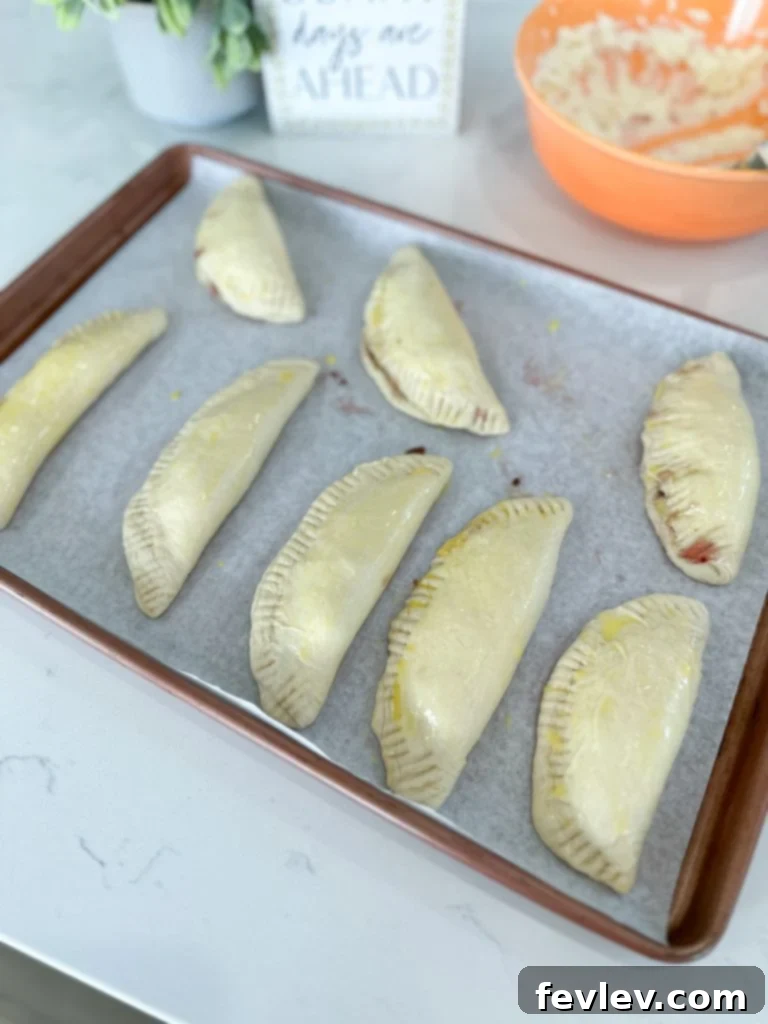
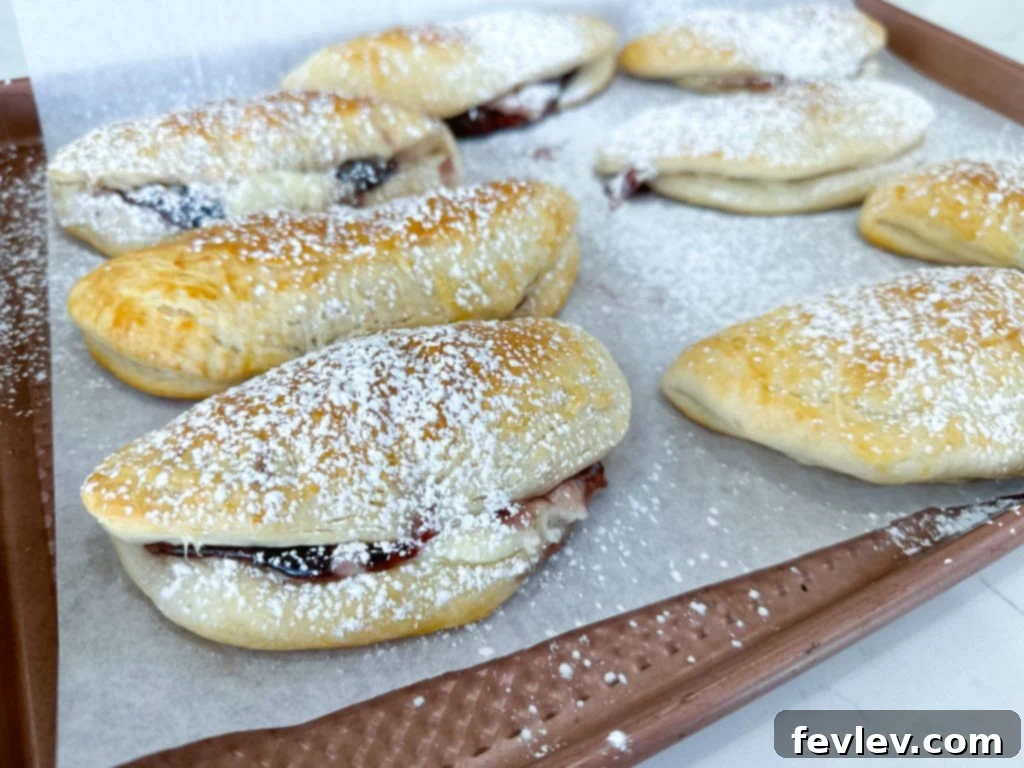
Now for the exciting part – filling the hand pies! Take approximately 2 tablespoons of the prepared cheesecake mixture and place it slightly off-center on one half of each rolled-out biscuit. Next, add about 2 tablespoons of your chosen berry pie filling right on top of or next to the cheesecake mixture. Be careful not to overfill, as this can make sealing difficult. Gently fold the other half of the biscuit dough over the filling, creating a half-moon shape. Press down firmly along the edges with your fingers to seal the pie. For an extra secure seal and a beautiful, classic hand pie design, use the tines of a fork to press down along the entire curved edge of each pie. This not only crimps the edges shut but also adds a charming decorative touch. Once filled and sealed, carefully transfer the pies to a sheet pan that has been greased or lined with parchment paper, leaving some space between each pie.
Step 4: Brush for Brilliance and Bake to Perfection
In a small bowl, whisk together one egg and 2 tablespoons of milk until thoroughly combined. This mixture forms your egg wash. Using a pastry brush, gently brush the egg wash over the top of each hand pie. This step is key to achieving that beautiful, glossy golden-brown crust and helps the hand pies crisp up perfectly in the oven. Preheat your oven to 350°F (175°C). Once preheated, place the sheet pan with the hand pies into the oven and bake for 15-18 minutes, or until the crust is puffed, golden brown, and cooked through. Keep an eye on them towards the end of the baking time, as oven temperatures can vary.
Step 5: The Grand Finale – Serve and Indulge!
Once baked to a perfect golden hue, carefully remove the hand pies from the oven. Allow them to cool on the baking sheet for a few minutes before transferring them to a wire rack to cool slightly further. While still warm, for an extra touch of sweetness and presentation, dust them generously with a sprinkle of powdered sugar. Serve these Berry Cheesecake Hand Pies warm, and prepare to devour them! They are truly best enjoyed fresh from the oven, when the filling is warm and gooey, and the crust is tender yet crisp.
Pro Tips and Recipe Variations
While this recipe is straightforward, a few tips and tricks can elevate your Berry Cheesecake Hand Pies even further. Plus, don’t be afraid to experiment with variations to suit your taste!
- Customizing Your Pie Filling: The beauty of hand pies lies in their versatility. While mixed berry pie filling offers a classic, delightful taste, don’t limit yourself! Consider using other fruit pie fillings like:
- Apple: For a comforting, autumnal flavor.
- Cherry: For a tart and sweet burst.
- Peach: Perfect for summer gatherings.
- Lemon Curd: For a brighter, zesty twist.
- Chocolate Hazelnut Spread: For a truly decadent, non-fruit option.
You can use store-bought fillings for convenience or make your own from scratch for an extra personal touch.
- Choosing Your Biscuit Dough: The quality of your refrigerated biscuit dough can significantly impact the final texture of your hand pies. We highly recommend using a brand like Pillsbury Grands because they tend to be larger, have a richer, buttery flavor, and rise beautifully, creating a wonderfully flaky and tender crust. However, any standard refrigerated biscuit dough will work well if Grands aren’t available. Ensure the dough is fresh and within its expiration date for optimal results.
- Storage and Reheating: If you happen to have any Berry Cheesecake Hand Pies left over (a rare occurrence!), store them in an airtight container at room temperature for up to 2 days, or in the refrigerator for up to 4 days. To reheat, pop them in a toaster oven or conventional oven at 300°F (150°C) for 5-10 minutes until warmed through and the crust is crisp again. Avoid microwaving, as it can make the crust soggy.
- Make-Ahead Option: You can prepare the cheesecake filling a day in advance and store it in an airtight container in the refrigerator. This cuts down on prep time on baking day. You can also assemble the pies, brush them with egg wash, and then refrigerate them on the baking sheet for up to an hour before baking if you need to pause.
- Freezing Instructions: These hand pies freeze beautifully! Once baked and completely cooled, arrange them in a single layer on a baking sheet and freeze until solid (about 2-3 hours). Then transfer them to a freezer-safe bag or container, separating layers with parchment paper, for up to 1 month. To reheat from frozen, bake at 350°F (175°C) for 15-20 minutes, or until warmed through.
- Serving Suggestions: While delicious on their own, these hand pies can be elevated further. Serve them warm with a scoop of vanilla ice cream, a dollop of whipped cream, or a drizzle of chocolate sauce for an extra special treat. They also pair wonderfully with a cup of coffee or tea.
Explore More Easy Dessert Recipes
If you loved the simplicity and deliciousness of these Berry Cheesecake Hand Pies, you’re in for a treat! We have a wide array of other easy-to-make dessert recipes that are perfect for satisfying your sweet tooth without requiring expert baking skills. Here are a few more favorites from our kitchen:
Caramel Apple Dump Cake: An incredibly simple, comforting dessert that combines sweet apples with a rich caramel topping, baked to perfection.
Caramel Butter Bars: Layers of buttery shortbread crust, gooey caramel, and a sweet crumble topping make these bars utterly irresistible and perfect for sharing.
Chocolate Peanut Butter Cake Mix Cookies: A fantastic shortcut recipe using a cake mix to create soft, chewy cookies bursting with the classic combination of chocolate and peanut butter.

Berry Hand Pies
Julia Pacheco
15 mins
15 mins
30 mins
4 servings
Want to save this recipe? Get it sent to your inbox, plus receive new recipes from us every week!
Click here to subscribe!
Ingredients
- 6 oz cream cheese, softened
- ½ cup powdered sugar
- 1 tsp vanilla extract
- 1 16.3 oz can refrigerated biscuits
- ⅓ cup berry pie filling (or any pie filling you’d like to use)
- 1 egg
- 2 tbsp milk
Instructions
- Preheat oven to 350℉ (175°C).
- In a medium-sized bowl, beat together the cream cheese, powdered sugar, and vanilla until well combined. Set aside. Place the biscuits onto a large surface and roll them out so they are larger and thinner (about 4-5 inches in diameter).
- Place 2 tbsp of the cream cheese mixture in the center of each biscuit, along with 2 tablespoons of the berry pie filling. Fold the biscuits over and press the seams down with your fingers or the back of a fork to seal. Place onto a greased or parchment-lined sheet pan.
- In a small bowl, whisk together the egg and milk until well combined. Brush this egg wash on each biscuit. Bake for 15-18 minutes, or until golden brown. Dust with powdered sugar and enjoy!
Video
Nutrition
Carbohydrates: 28g |
Protein: 4g |
Fat: 16g |
Saturated Fat: 9g |
Polyunsaturated Fat: 1g |
Monounsaturated Fat: 4g |
Trans Fat: 0.01g |
Cholesterol: 85mg |
Sodium: 157mg |
Potassium: 110mg |
Fiber: 1g |
Sugar: 25g |
Vitamin A: 647IU |
Vitamin C: 0.2mg |
Calcium: 63mg |
Iron: 0.4mg
Nutrition information is automatically calculated, so should only be used as an approximation.