
Product links may contain affiliate links. As an Amazon Associate, I earn from qualifying purchases.
Irresistible No-Bake Oreo Balls: The Ultimate Easy Dessert Recipe
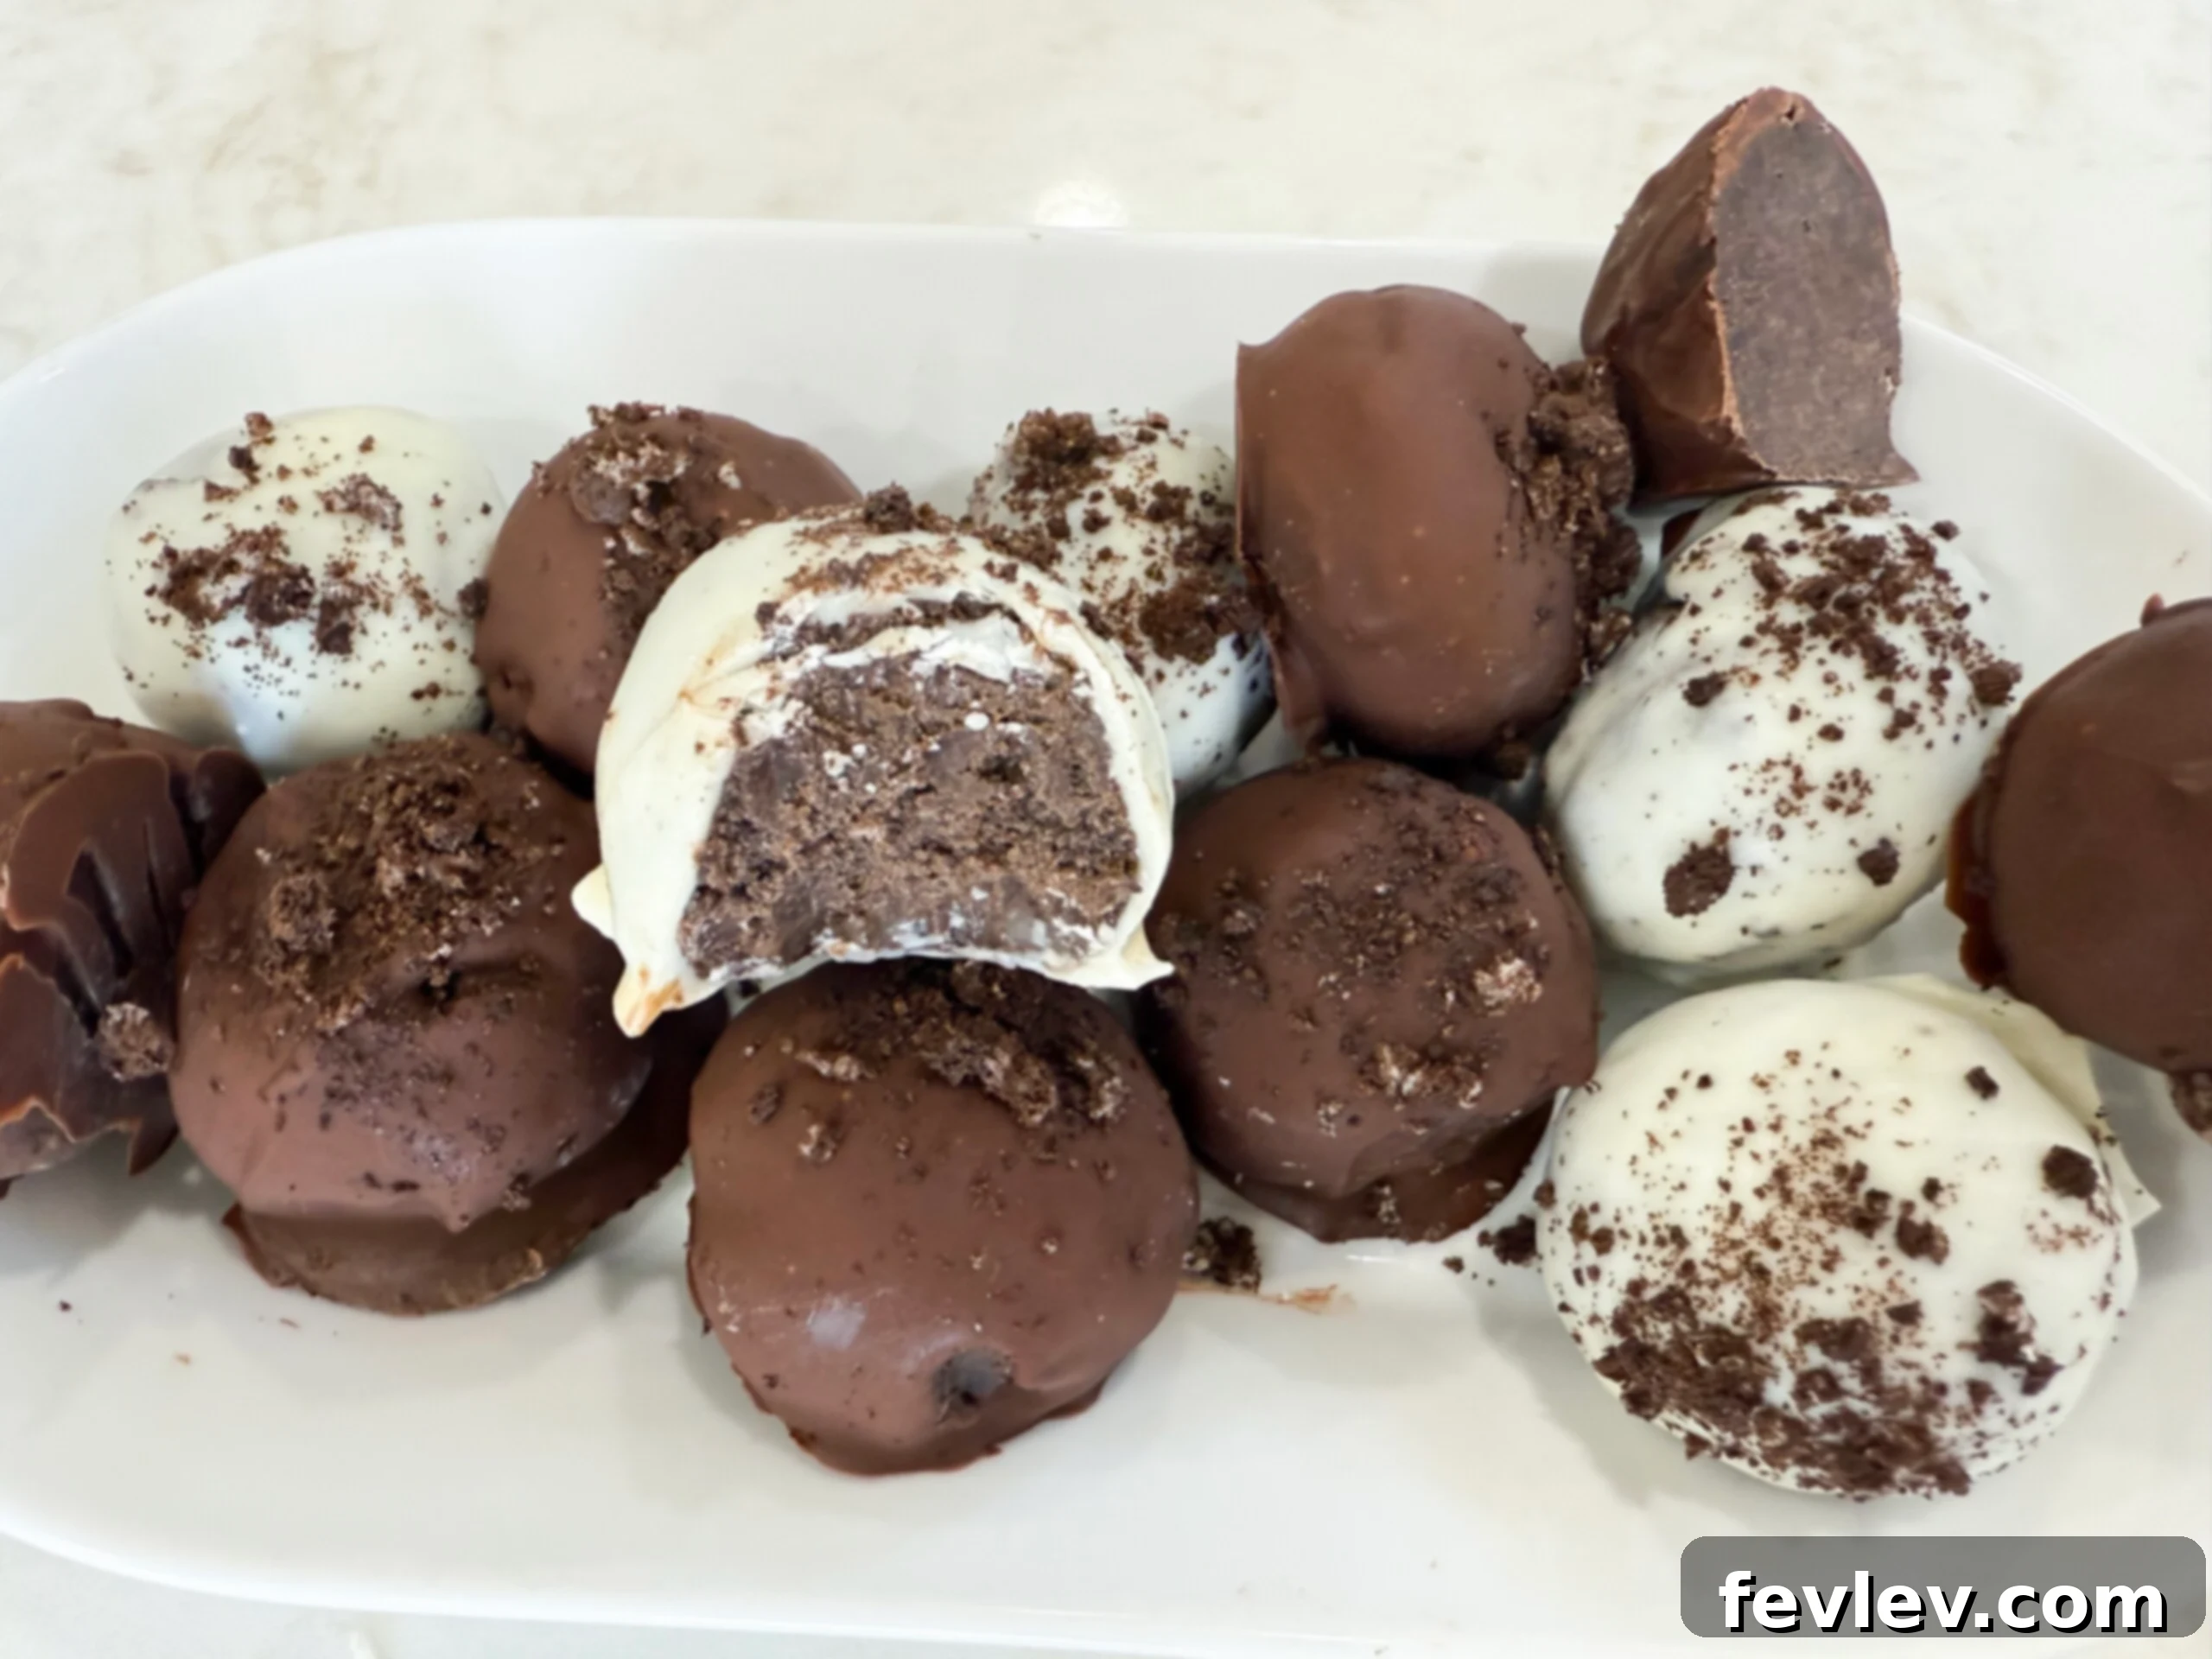
Welcome to the world of effortless indulgence! Oreo balls are a timeless classic, renowned for their incredible simplicity and irresistible flavor. This no-bake dessert recipe uses just a handful of everyday ingredients to create dozens of decadent cream cheese truffles. Whether you’re a seasoned baker or a kitchen novice, you’ll find these Oreo truffles incredibly easy to prepare and an absolute joy to devour.
These delightful treats are perfect for virtually any occasion. Imagine serving them at a bustling bake sale, as a charming addition to a birthday party spread, or bringing them to a festive Christmas gathering or a cozy cookie exchange. They are guaranteed to be a crowd-pleaser and the first to disappear from any dessert table. With minimal effort and maximum flavor, you’re just a few steps away from crafting the best Oreo cream cheese balls that will quickly become your new favorite treat, if they aren’t already!
What makes these Oreo balls truly stand out is their “no-bake” nature. Forget about preheating ovens, complicated techniques, or extensive cooling times. This recipe streamlines the dessert-making process, allowing you to create impressive and delicious treats without any baking required. It’s the ideal solution when you need a quick dessert, especially during busy holidays or warm summer months when you’d rather keep your kitchen cool.
Dive into this simple guide, and you’ll soon master the art of making perfectly smooth, rich, and chocolate-covered Oreo truffles that are as fun to make as they are to eat. Get ready to impress your friends and family with these melt-in-your-mouth delights!
Essential Ingredients for Perfect Oreo Balls
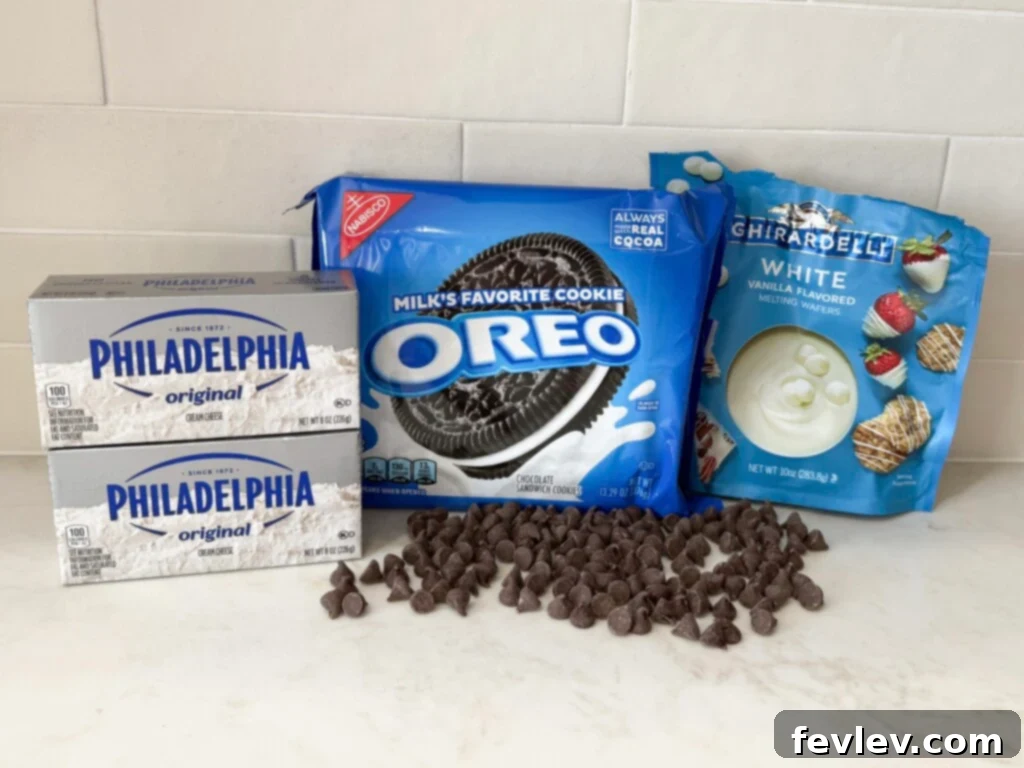
Crafting the perfect batch of Oreo balls requires just a few key ingredients, each playing a vital role in achieving that signature creamy texture and rich flavor. Here’s a detailed look at what you’ll need:
- Oreo Cookies: The star of our show! You’ll need a full package of regular Oreos for these chocolate truffles. It’s crucial to use the entire cookie, including the cream filling. The filling adds a unique sweetness and contributes significantly to the final texture of the cookie mixture, ensuring your Oreo balls are moist and hold their shape beautifully. While crushed Oreo crumbs are available, using whole cookies yields the best results.
- Cream Cheese: To achieve the wonderfully smooth and decadent consistency of these Oreo cookie balls, softened cream cheese is a must. Make sure your cream cheese is at room temperature before you begin, as this allows it to blend seamlessly with the crushed Oreos, creating a uniform, pliable dough. Full-fat cream cheese is recommended for the richest flavor and best texture, though low-fat can also work in a pinch.
- Chocolate for Coating: For dipping and decorating your delicious cookie balls, I highly recommend a combination of semi-sweet chocolate chips and white chocolate chips. Semi-sweet chocolate provides a classic, rich dark chocolate flavor that beautifully complements the Oreos. White chocolate, on the other hand, offers a sweet contrast and allows for vibrant decorative drizzles or colorful sprinkles. You can also experiment with milk chocolate, dark chocolate, or even flavored candy melts to customize your truffles.
- Coconut Oil or Vegetable Oil: This essential ingredient is added to your melted chocolate. Using a small amount of coconut oil or vegetable oil thins out the melted chocolate, creating a smoother, glossier coating that is easier to dip your Oreo balls into. It also helps the chocolate set more evenly, giving your truffles a professional, polished finish.
Step-by-Step Guide: How to Make Oreo Balls
Making these no-bake Oreo truffles is incredibly straightforward. Follow these simple steps for a flawless batch:
Step 1: Crush the Oreos
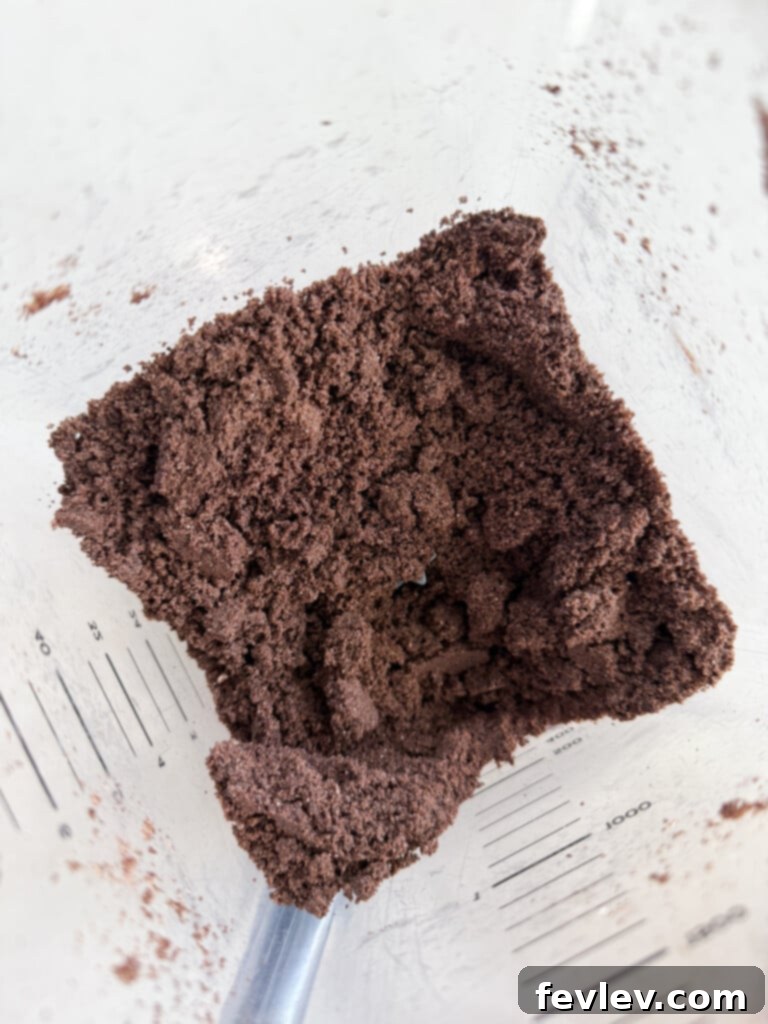
Start by crushing your Oreo cookies into fine crumbs. You have a couple of easy options for this: you can use a high-powered blender or food processor for a super fine consistency, or place the Oreos in a sturdy Ziploc bag and crush them with a rolling pin. The goal is to achieve fine crumbs, almost like sand, without large chunks of cookie remaining. This ensures a smooth and consistent base for your truffles.
Step 2: Combine Oreos and Cream Cheese
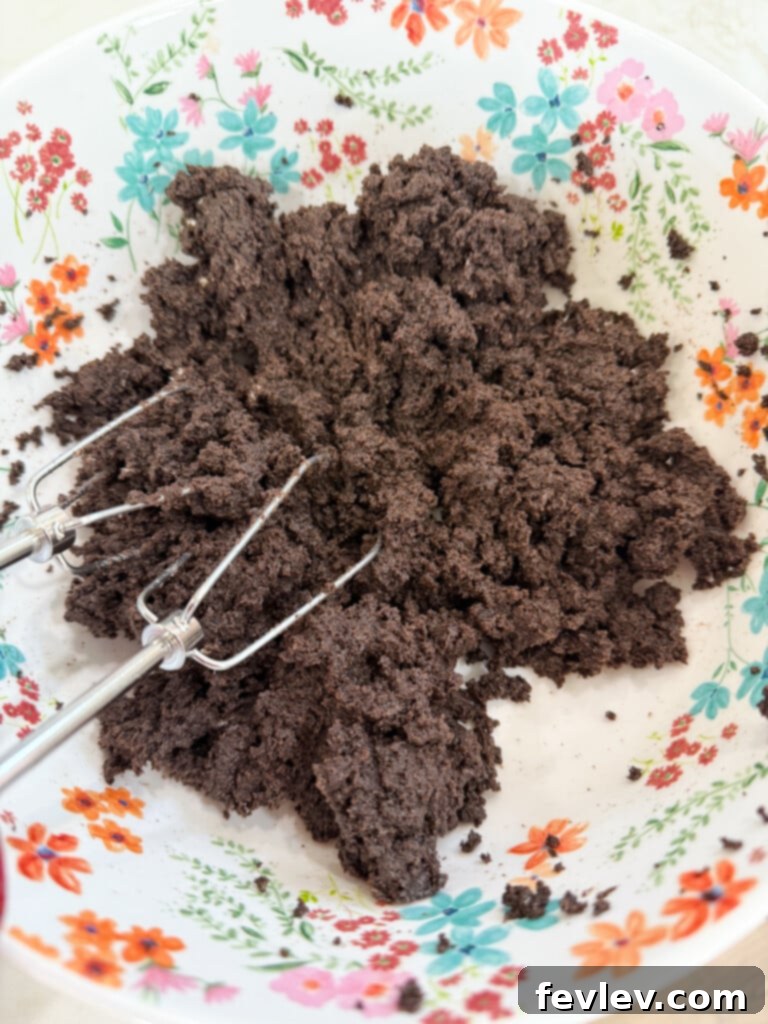
In a medium-sized mixing bowl, or the bowl of your stand mixer fitted with the paddle attachment, add the finely crushed Oreos and the softened cream cheese. Mix these two ingredients together until they are thoroughly combined. The mixture should come together to form a thick, uniform dough that pulls away from the sides of the bowl. Ensure there are no streaks of unmixed cream cheese or dry cookie crumbs.
Step 3: Form and Chill the Balls
Line a large sheet pan with parchment paper or wax paper. This prevents the Oreo balls from sticking. Take small portions of the Oreo mixture and roll them into smooth, golf ball-sized spheres. A small cookie scoop or a melon baller can be incredibly helpful for portioning the mixture evenly, ensuring all your truffles are uniform in size. Once all the balls are formed, place them onto the prepared sheet pan. Transfer the pan to the refrigerator and chill for at least 30 minutes. This chilling step is crucial as it helps the balls firm up, making them much easier to dip in chocolate without falling apart.
Step 4: Melt the Chocolate Coating
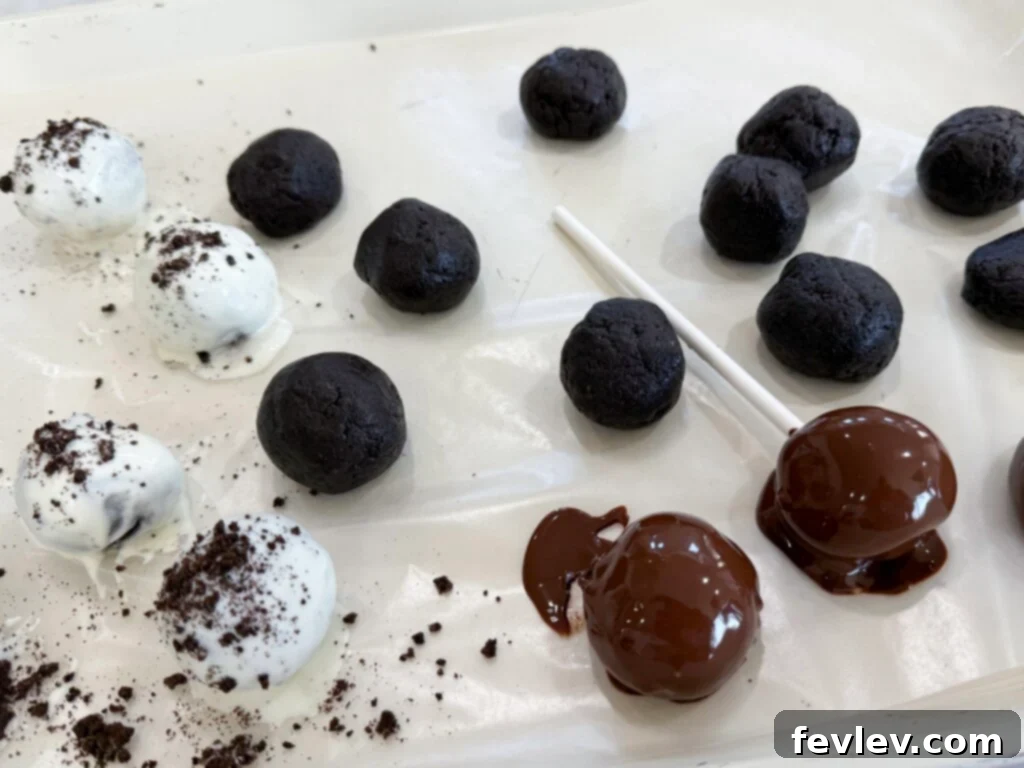
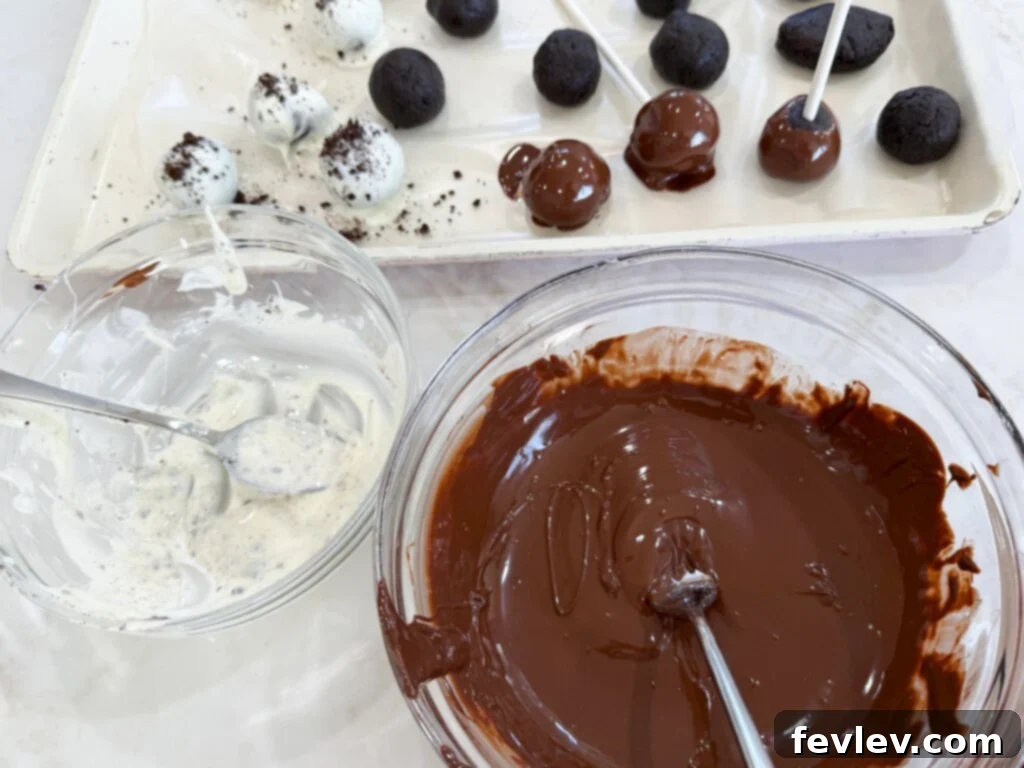
While your Oreo balls are chilling, prepare your chocolate coating. In two separate small, microwave-safe bowls, add your semi-sweet chocolate chips to one and white chocolate chips to the other. To each bowl, add 1 tablespoon of coconut oil (or vegetable oil). Microwave the chocolate in 15-30 second increments, stirring well after each interval, until the chocolate is completely melted and smooth. Be careful not to overheat the chocolate, as it can seize or burn. The oil helps create a perfectly fluid consistency for dipping.
Step 5: Dip and Final Chill
Remove the chilled Oreo balls from the refrigerator. Using a fork or a dipping tool, gently dip each ball into the melted chocolate, ensuring it’s fully coated. Lift the ball, allowing any excess chocolate to drip off, then carefully place it back onto a fresh sheet of wax paper or parchment paper on a shallow pan. If desired, drizzle with contrasting melted chocolate or sprinkle with toppings immediately after dipping. Once all the balls are dipped, return the pan to the fridge for another 30 minutes, or until the chocolate coating is completely set and firm. This final chill locks in the flavor and gives your Oreo truffles their appealing, professional finish.
Storing Your Easy Oreo Balls Recipe
Proper storage is key to keeping your delicious Oreo cream cheese truffles fresh and enjoyable. Here’s how to store them:
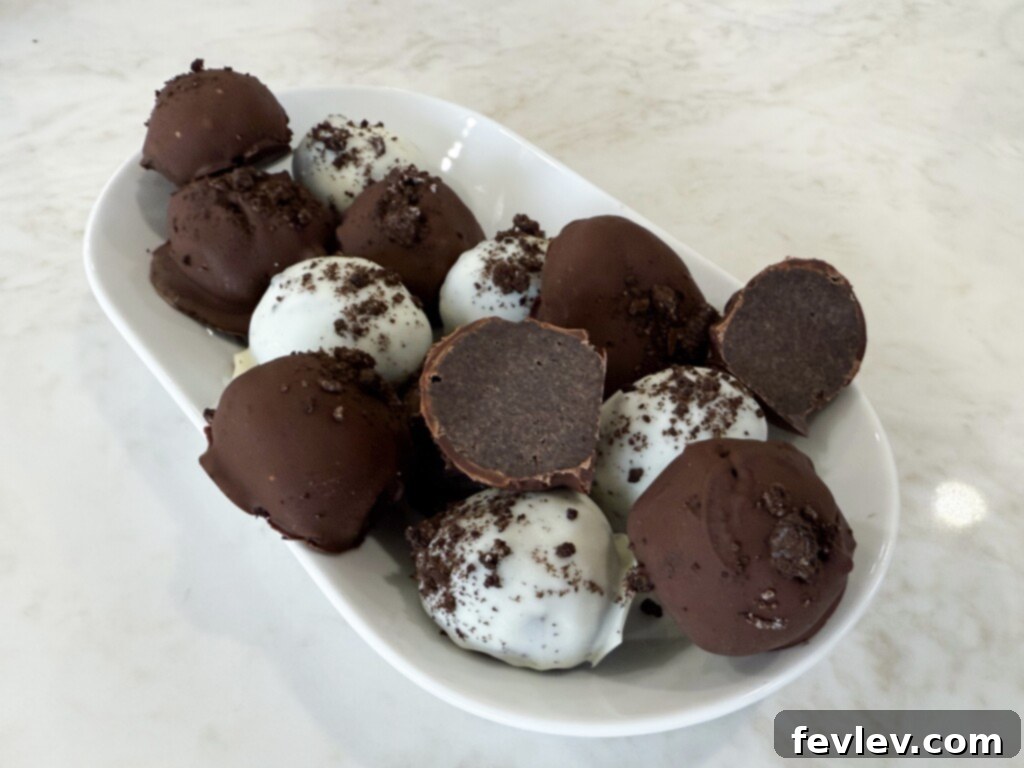
Refrigerator: Once the chocolate coating has fully set, transfer all the dipped Oreo balls into an airtight container. Layer them carefully, with parchment paper between layers if stacking, to prevent them from sticking together. Store them in the refrigerator for up to 2 weeks. They are best enjoyed chilled, as the flavors and textures are most appealing when cool.
Freezer: For longer storage, Oreo truffles freeze beautifully. Place the finished Oreo balls in a single layer on a parchment-lined tray and freeze until firm (about 1-2 hours). Once firm, transfer them to a freezer-safe airtight container or a heavy-duty freezer bag, again using parchment paper between layers to prevent sticking. They can be stored in the freezer for up to 2 months. To enjoy, simply transfer them to the refrigerator for a few hours to thaw, or let them sit at room temperature for about 15-20 minutes before serving for a slightly softer texture.
Expert Tips and Tricks for Your No-Bake Oreo Ball Recipe
Elevate your Oreo ball game with these helpful tips and creative variations:
Can I Use Pre-Crushed Oreo Crumbs?
While convenient, I strongly advise against using pre-crushed Oreo crumbs for this recipe. The white cream center of whole Oreos is integral to the unique sweetness and, more importantly, the moist, pliable texture of these dark chocolate cookie truffles. It helps bind the mixture perfectly with the cream cheese. For the best, most authentic results, stick to using the whole cookie and crushing them yourself. This ensures you get all the delicious components of an Oreo in every bite.
Get Creative with Flavor Variations
One of the best aspects of this recipe is how easily you can customize the flavor by simply changing the type of Oreo cookie you use. Here are some fantastic and fun flavors to try, along with topping ideas:
- Mint Oreos: Perfect for holidays or a refreshing twist. Dip in dark chocolate and drizzle with green candy melts or sprinkle with crushed peppermint candies.
- Peanut Butter Oreos: For a rich, nutty flavor, these are a dream. Coat in milk chocolate and top with a sprinkle of chopped peanuts or a peanut butter drizzle.
- Golden Oreos: A delightful vanilla base that pairs wonderfully with white chocolate. Add colorful sprinkles or lemon zest for a bright, cheerful treat.
- Java Chip Oreos: A must-try for coffee lovers. Dip in dark chocolate and sprinkle with finely ground coffee beans or mini chocolate chips.
- Peppermint Bark Oreos: Ideal for Christmas! Coat in white chocolate and add a little peppermint extract to the melted chocolate for an extra kick, then sprinkle with crushed candy canes.
- Lemon Oreos: A tangy and bright option for spring or summer. Dip in white chocolate and garnish with a tiny bit of lemon zest for an extra burst of citrus.
- Red Velvet Oreos: Create a visually stunning treat by dipping these in white chocolate and decorating with a few red sprinkles or chocolate curls.
Transform Them into Cake Pops!
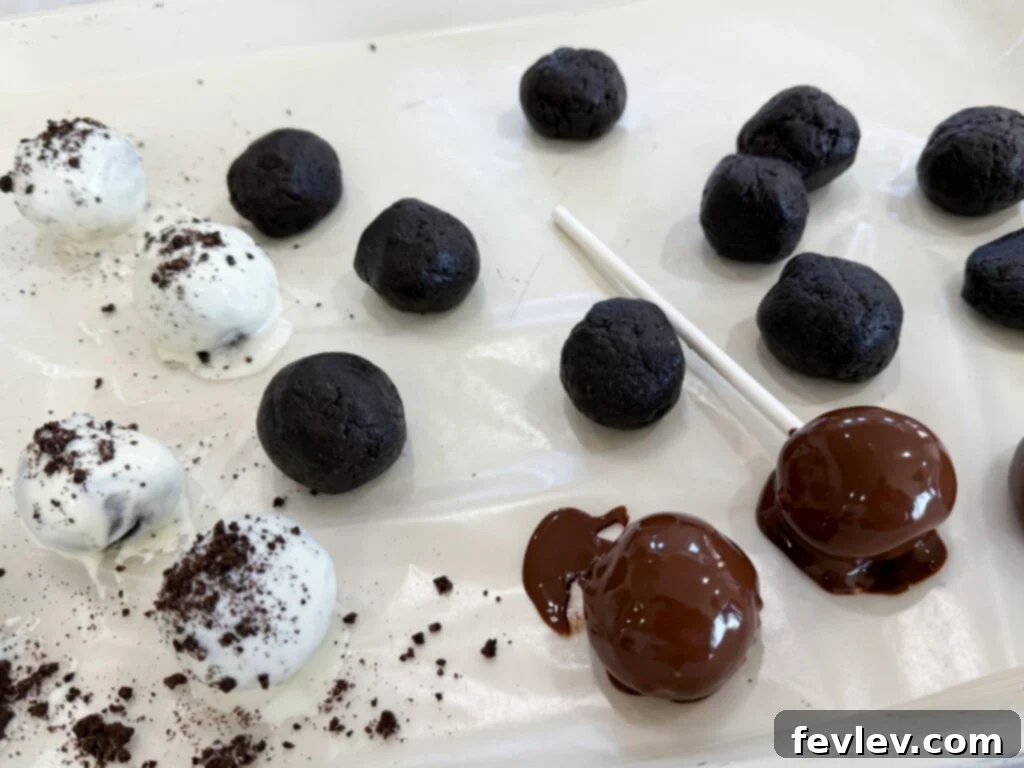
Absolutely! Oreo balls make fantastic cake pops. To transform them, you’ll need cake pop sticks and some melted chocolate. Before assembling, dip the tip of each cake pop stick into a bit of melted chocolate, then carefully insert the chocolate-coated tip into the center of an Oreo ball. This chocolate acts as a “glue” to secure the stick. Once all sticks are in place, arrange them on a parchment-lined tray and chill for about 15-20 minutes to set the chocolate glue. Then, you can proceed with dipping the entire ball (on the stick) into your melted chocolate and decorating as desired. Prop them up in a foam block or tall glass while the chocolate sets.
Decoration Ideas
The fun doesn’t stop at dipping! Once your truffles are dipped, get creative with decorations. Before the chocolate sets, sprinkle with anything from classic rainbow sprinkles to crushed nuts, toasted coconut flakes, or even a dusting of cocoa powder. For an elegant look, drizzle a contrasting color of melted chocolate over the set coating using a piping bag or a fork. Crushed freeze-dried raspberries or edible glitter can also add a touch of sophistication.
Gift-Giving Made Easy
Oreo balls are a fantastic homemade gift! Arrange them in a decorative box, small cellophane bags tied with ribbon, or on a festive platter. They’re always appreciated during the holidays, as a hostess gift, or for any special occasion. Just be sure to include a note about keeping them refrigerated.
Scaling the Recipe
This recipe is incredibly versatile for scaling. If you need to make a large batch for a big party or a bake sale, simply double or triple the ingredients. Ensure you have enough large bowls and sheet pans. For smaller batches, you can halve the recipe. Always maintain the 1 package of Oreos to 8 oz cream cheese ratio for the perfect consistency.
Troubleshooting Common Issues
Mixture too sticky? If your Oreo and cream cheese mixture is too sticky to roll, add a tablespoon or two of extra crushed Oreos until it’s more manageable. Ensure your cream cheese was fully softened, but not warm.
Chocolate seizing? If your melted chocolate becomes thick or clumpy, it might have been overheated or had a tiny bit of water introduced. Try stirring in a teaspoon of vegetable oil or shortening at a time until it smooths out, or start with a fresh batch.
Discover More Delicious Dessert Recipes
If you loved these no-bake Oreo balls, you’re sure to enjoy these other delightful dessert recipes from our collection:
- Irresistible Biscoff White Chocolate Chip Cookies – The Ultimate Sweet & Crunchy Treat!
- Easy Blueberry Crumble Cake
- Better Than Anything Cake
- Homemade Oreo Cookies
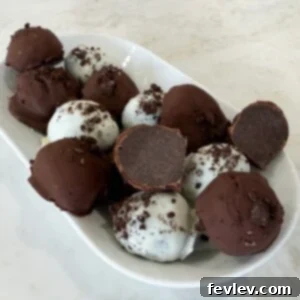
Oreo Balls
By: Julia Pacheco
Easy to make, even easier to devour, these no-bake Oreo Balls are always a hit when served at parties or for special occasions. Perfect for sharing or a sweet personal indulgence.
Prep Time: 10 mins
Chill Time: 1 hr
Total Time: 1 hr 10 mins
Servings: 8 (approximately 36 balls)
Print Recipe
Equipment
- Zip lock bag or food processor
- Stand mixer (optional, for mixing)
- 2 Small mixing bowls (microwave safe)
- Sheet pan
- Parchment paper or wax paper
- Small cookie scoop (optional, for portioning)
Ingredients
- 36 Oreo cookies (1 standard package)
- 8 oz cream cheese, softened to room temperature
- 1 cup semi-sweet chocolate chips
- 1 cup white chocolate chips
- 2 tablespoons coconut oil (or vegetable oil), divided
Instructions
- In a blender or food processor, or by placing in a Ziploc bag and crushing with a rolling pin, blend or crush the whole Oreo cookies into fine crumbs.
- In a medium-sized bowl or the bowl of a stand mixer, add the Oreo crumbs and softened cream cheese. Mix together until thoroughly combined and a uniform dough forms.
- Line a sheet pan with parchment paper or wax paper. Roll the mixture into approximately golf ball-sized balls (a small cookie scoop can help for even portions). Place the balls on the prepared sheet pan.
- Place the sheet pan with the Oreo balls into the refrigerator and chill for at least 30 minutes to firm up.
- In two separate small microwave-safe bowls, add 1 cup of semi-sweet chocolate chips to one and 1 cup of white chocolate chips to the other. Add 1 tablespoon of coconut oil to each bowl. Microwave in 15-30 second increments, stirring after each, until the chocolate is completely melted and smooth.
- Dip each chilled Oreo ball into the melted chocolate, allowing excess to drip off. Place the dipped balls back onto the wax paper-lined pan. If desired, drizzle with contrasting melted chocolate or add sprinkles immediately.
- Return the pan with the dipped Oreo balls to the refrigerator for another 30 minutes, or until the chocolate coating is completely set. Serve chilled and enjoy!
Nutrition
Nutrition information is an approximation per serving (based on 8 servings from 36 balls):
- Calories: 630 kcal
- Carbohydrates: 65g
- Protein: 7g
- Fat: 39g
- Saturated Fat: 21g
- Polyunsaturated Fat: 3g
- Monounsaturated Fat: 12g
- Trans Fat: 0.05g
- Cholesterol: 35mg
- Sodium: 321mg
- Potassium: 356mg
- Fiber: 3g
- Sugar: 45g
- Vitamin A: 400IU
- Vitamin C: 0.1mg
- Calcium: 98mg
- Iron: 8mg
Nutrition information is automatically calculated, so should only be used as an approximation. Individual results may vary.
Tried this recipe? Let us know how it was! Your feedback helps us improve and inspire other home cooks.
Quick Links for Making Mealtime Easy
Looking for more culinary inspiration or tools to streamline your kitchen routine? Check out these helpful resources:
- Simple and Stress-Free Family Meal Plans
- Essential Kitchen Tools and More from My Amazon Shop
- Discover the Best Cookbook for Family Dinner Recipes
- Download Your FREE Budget-Friendly Meal Plan
- Watch My Latest Cooking Videos on YouTube
We absolutely love seeing your culinary creations! If you give any of our recipes a try, including these amazing Oreo balls, please make sure to tag us on Instagram @julia.pacheco.cooking. Share your photos and let us know how much you liked the recipes and what your favorite variations were. Happy cooking!