
Product links may contain affiliate links. As an Amazon Associate, I earn from qualifying purchases.
Indulge in Guilt-Free Goodness: Easy No-Bake Peanut Butter Oatmeal Cups
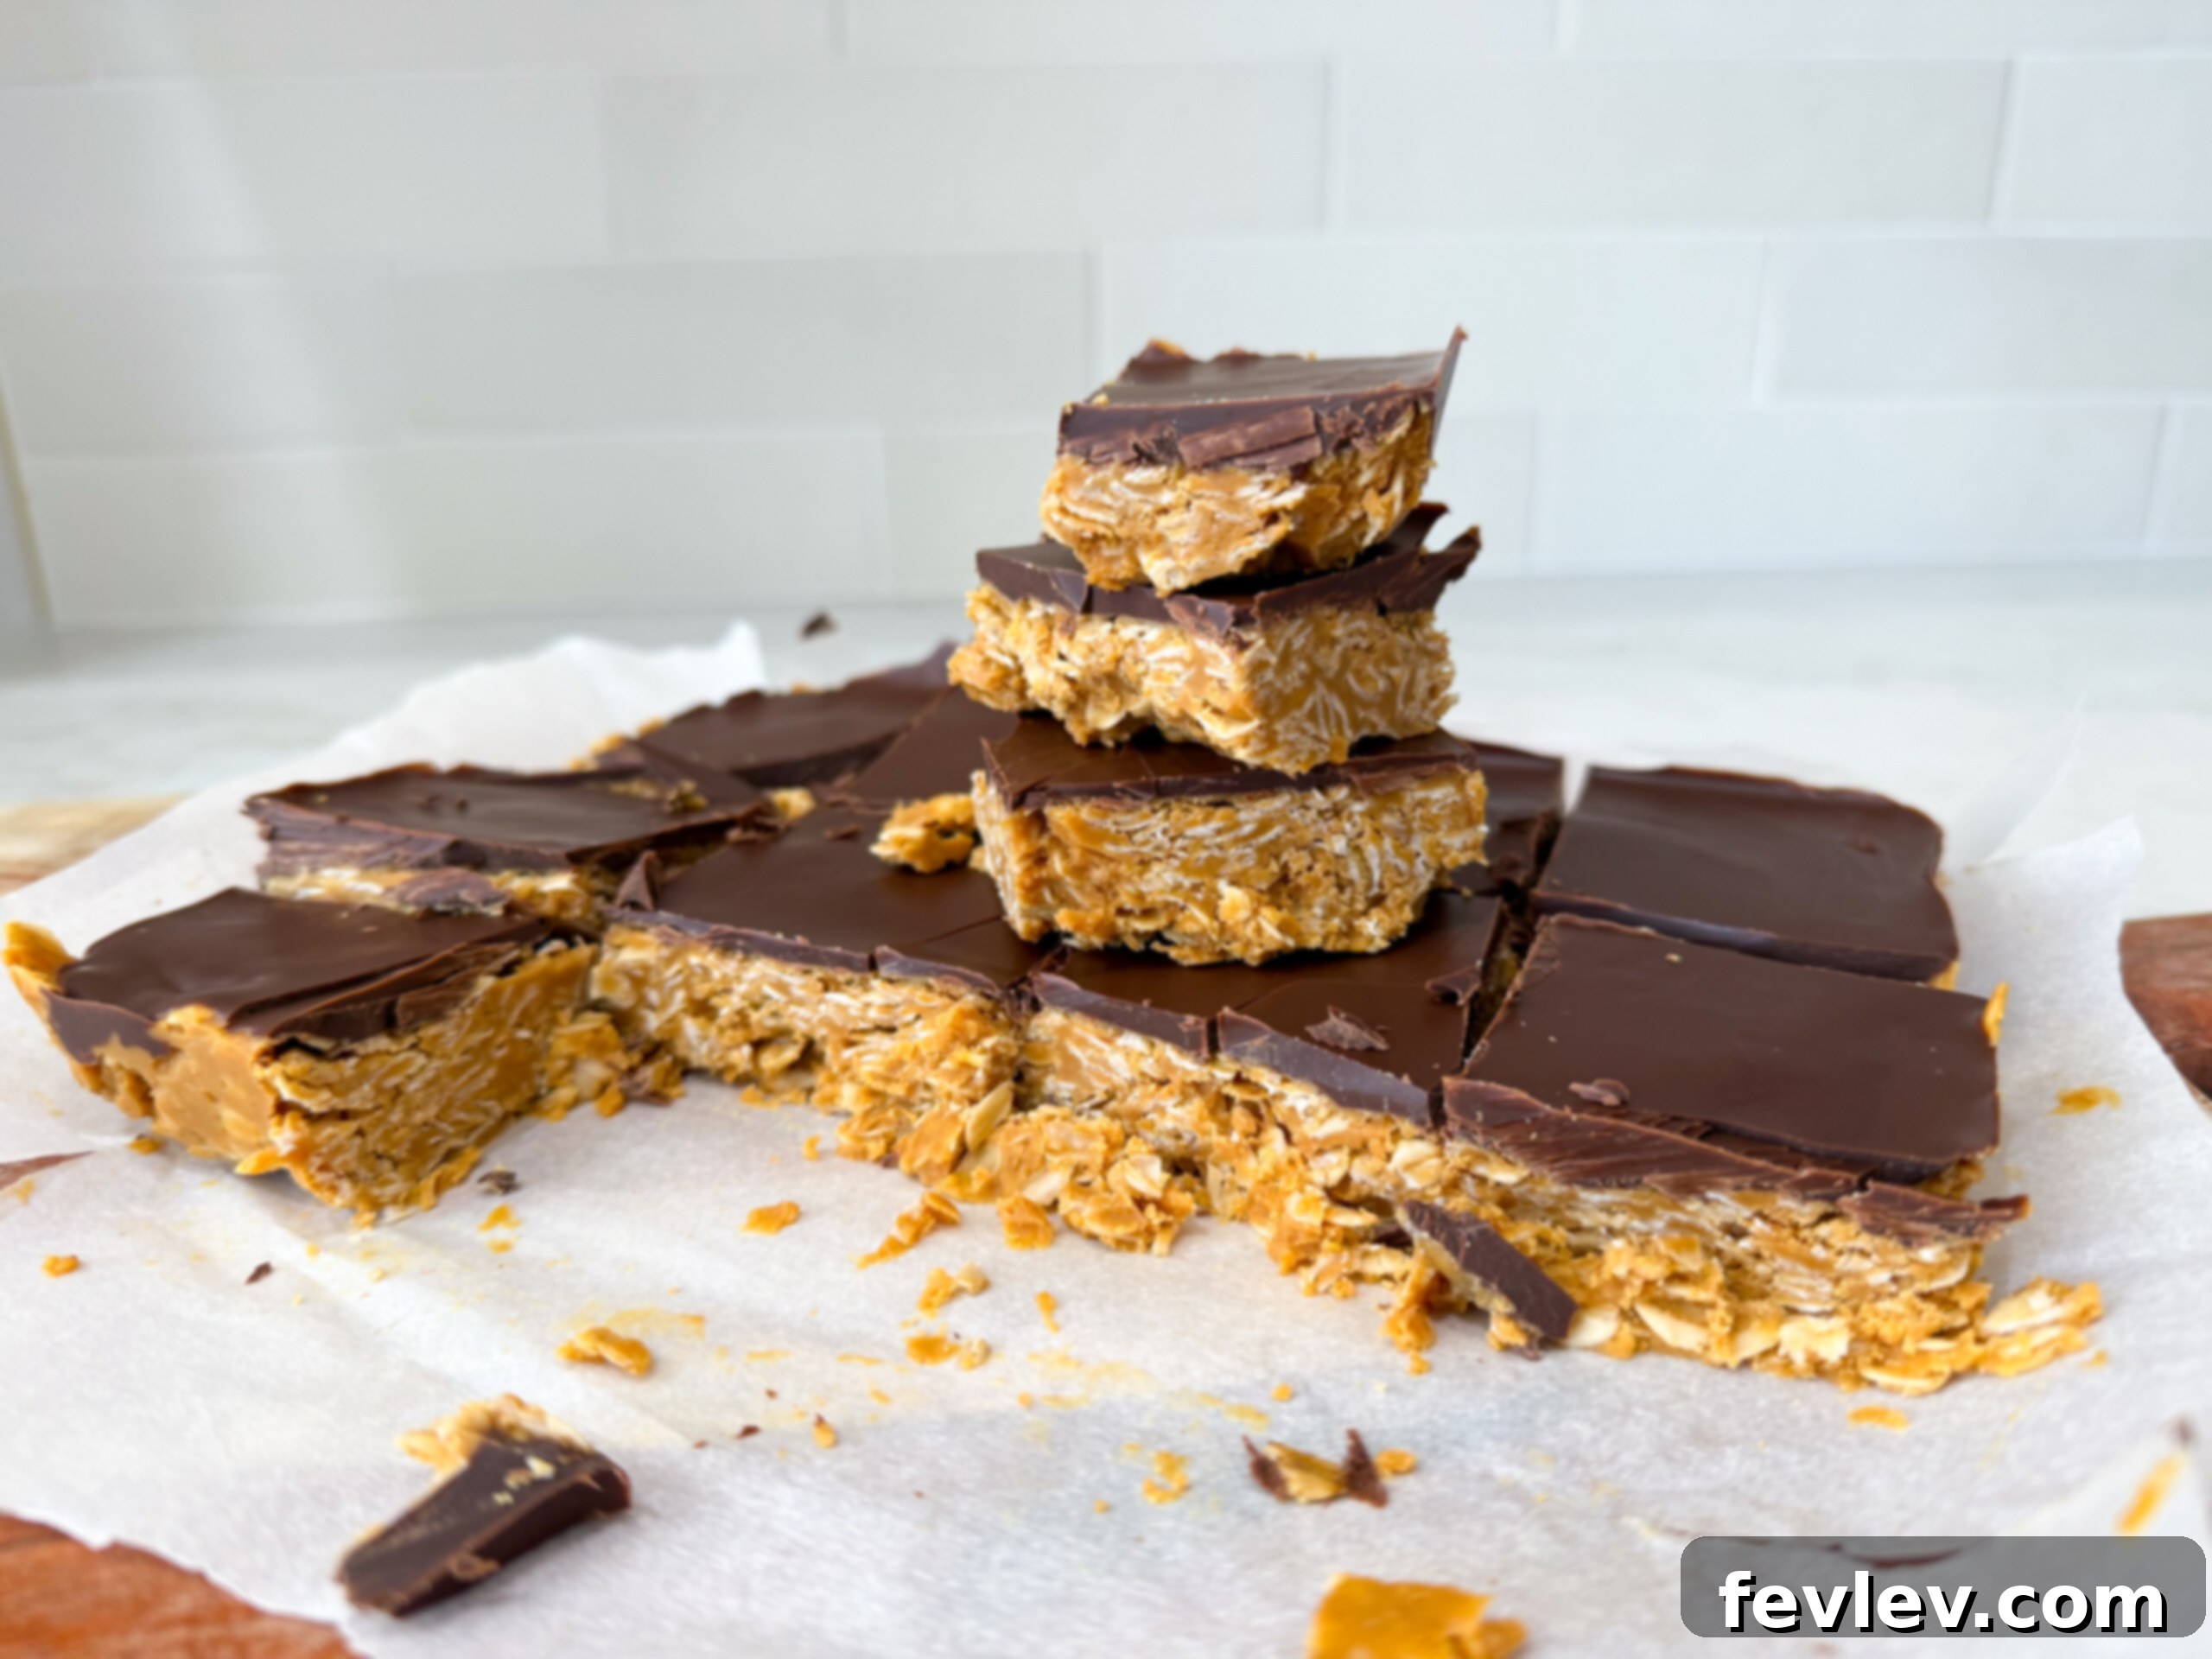
For all my fellow peanut butter enthusiasts, get ready to discover your new favorite sweet treat! These incredible Peanut Butter Oatmeal Cups are not only irresistibly delicious but also incredibly simple to make, requiring just three staple ingredients. Perfect for satisfying those sweet cravings without the fuss of baking, they’re a wholesome addition to any dessert lineup.
Imagine a healthy alternative to your favorite chocolate peanut butter cups. With just two additional ingredients, you can easily transform these oat cups into a decadent chocolate peanut butter delight. This versatile, easy recipe ensures you can whip up a delightful treat that the whole family will adore, earning a permanent spot on your list of go-to no-bake desserts.
These delightful cups also serve as an excellent snack, ideal for when you’ve just finished a satisfying dinner recipe but still crave something sweet and wholesome. They strike the perfect balance between indulgence and health, making them a smart choice for any time of day.
Why You’ll Love These Peanut Butter Oatmeal Cups
These no-bake peanut butter oatmeal cups are more than just a dessert; they’re a convenient, delicious, and healthier option for anyone seeking a quick sweet fix. Here’s why they’ll become a staple in your kitchen:
- Effortlessly Simple: With only three core ingredients, this recipe minimizes shopping and prep time.
- No Baking Required: Keep your kitchen cool! Perfect for hot days or when you want a treat without turning on the oven.
- Wholesome Goodness: Packed with fiber from oats and protein from peanut butter, they offer sustained energy.
- Customizable: Easily adapt the flavors with various toppings or nut butters to suit your preference.
- Family Favorite: Kids and adults alike will fall in love with the classic peanut butter and oat combination.
- Quick to Prepare: From start to finish, you can have these delicious treats ready in under an hour, with minimal active time.
- Budget-Friendly: Made with common pantry items, this recipe is economical and accessible.
The Magic of No-Bake Desserts
No-bake desserts are a revelation, especially for those with busy schedules or a desire for quick gratification. They eliminate the need for preheating, baking, and cooling times associated with traditional desserts, offering a streamlined approach to sweet indulgence. This particular recipe for Peanut Butter Oatmeal Cups exemplifies the beauty of no-bake simplicity. It’s perfect for summer months when you want to avoid heating up your home, or for those impromptu moments when a sweet craving strikes. The setting process in the freezer or fridge is quick and efficient, making it possible to enjoy a freshly made dessert in less than an hour. Beyond convenience, no-bake recipes often retain more of the raw nutritional benefits of their ingredients, providing a fresher, more vibrant flavor profile. They are also incredibly forgiving, making them ideal for beginner cooks or for involving children in the kitchen.
Essential Ingredients for Your Peanut Butter Oatmeal Cups
Crafting these delectable no-bake treats starts with selecting a few quality ingredients. Here’s a closer look at what you’ll need and why each component is crucial:
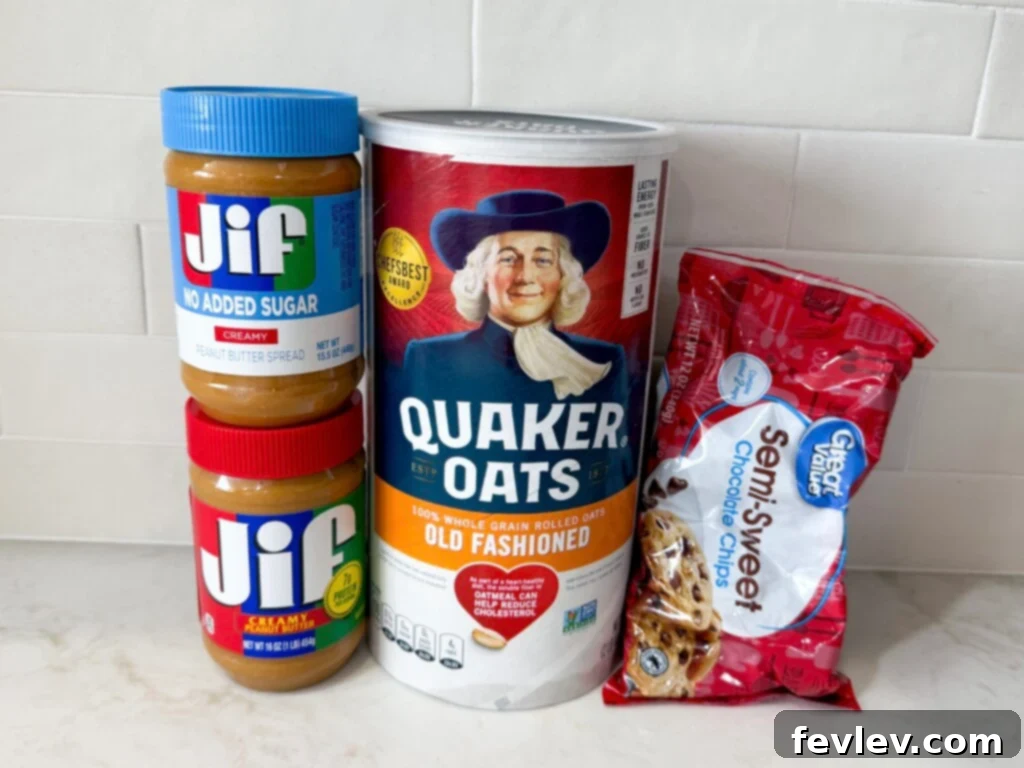
- Peanut Butter: The star of the show! Use your favorite creamy peanut butter. Whether it’s a classic, smooth variety or a natural, unsweetened option, any creamy peanut butter will work wonders here, providing rich flavor and acting as a primary binder. For an added textural dimension, crunchy peanut butter can be a delightful substitute.
- Maple Syrup: This natural sweetener does more than just add sweetness; it also helps bind the ingredients together, contributing to the perfect texture of your oatmeal cups. Pure maple syrup is recommended for its distinct flavor profile, but you can also use honey or agave nectar as alternatives. Find it in the breakfast aisle of any grocery store.
- Old-Fashioned Oats: For the absolute best results, old-fashioned rolled oats are preferred. Their robust texture holds up well, creating a satisfying chewiness in each bite. While quick-cooking oats can be used in a pinch, they might result in a slightly softer texture. Steel-cut oats are not suitable for this no-bake recipe as they require cooking.
- Optional Chocolate Topping: To elevate these cups to chocolate peanut butter perfection, you’ll need either semi-sweet or dark chocolate chips. The addition of a small amount of virgin coconut oil will help create a smooth, pourable ganache-like topping that sets beautifully.
Step-by-Step: Crafting Your No-Bake Peanut Butter Oatmeal Cups
Follow these simple instructions to create your delightful peanut butter oat cups:
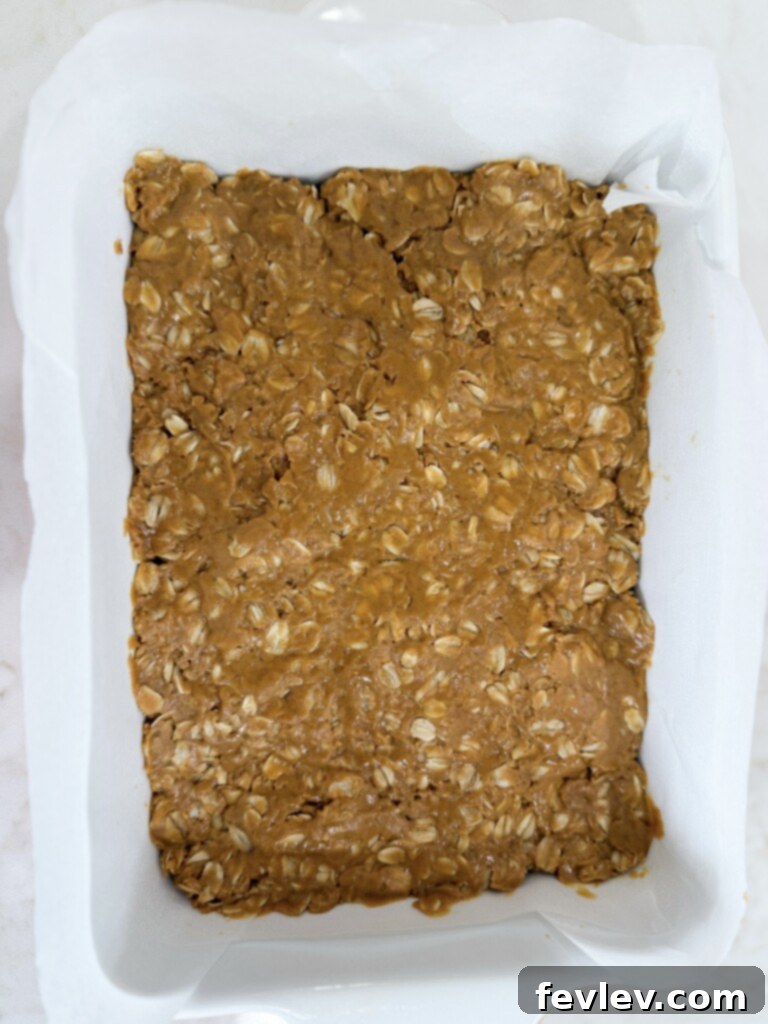
- Prepare the Dish: Begin by lining an 8×8 inch baking dish with parchment paper. This crucial step ensures easy removal of your chilled oatmeal cups and makes cleanup a breeze. Allow the parchment paper to overhang on the sides to create convenient “handles.”
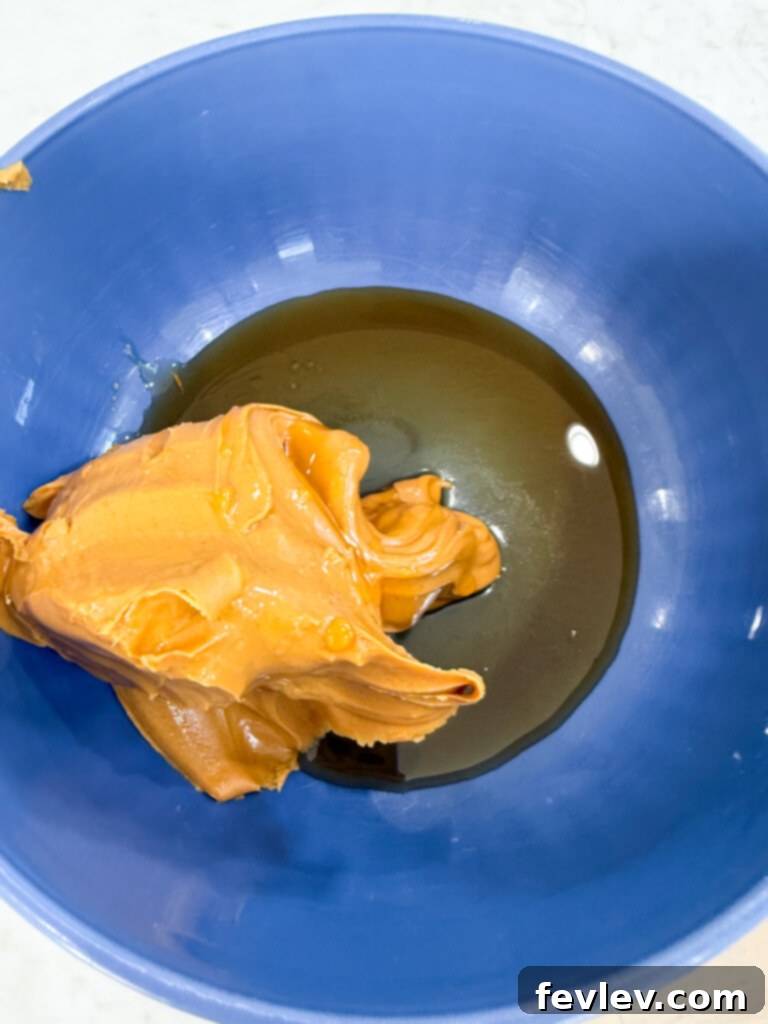
- Create the Peanut Butter Mixture: In a large microwave-safe bowl, combine your chosen peanut butter and maple syrup. Microwave the mixture in 20-second increments, stirring thoroughly after each interval, until it becomes smooth and easily whisked. This gentle heating helps the ingredients combine seamlessly.
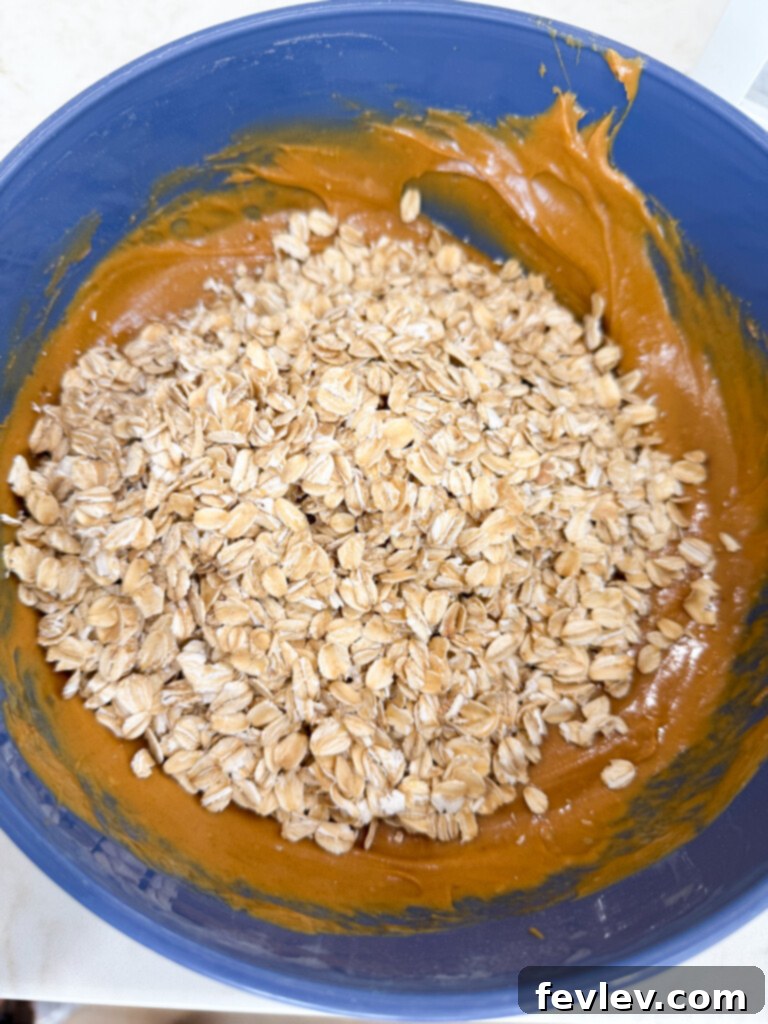
- Incorporate the Oats: Once your peanut butter and syrup mixture is smooth, stir in the old-fashioned oats. Mix diligently until all the oats are thoroughly coated with the sticky peanut butter mixture. This ensures every bite is flavorful and well-bound.
- Press into Dish and Chill: Transfer the oat mixture into your prepared baking dish. Using the back of a spoon or your hands (lightly greased if sticking), press the mixture firmly and evenly into the bottom of the dish. A compact base is key for well-formed cups. Place the dish in the freezer for 10 minutes to allow it to set quickly.
- Optional Chocolate Topping: If you’re adding chocolate, now’s the time!
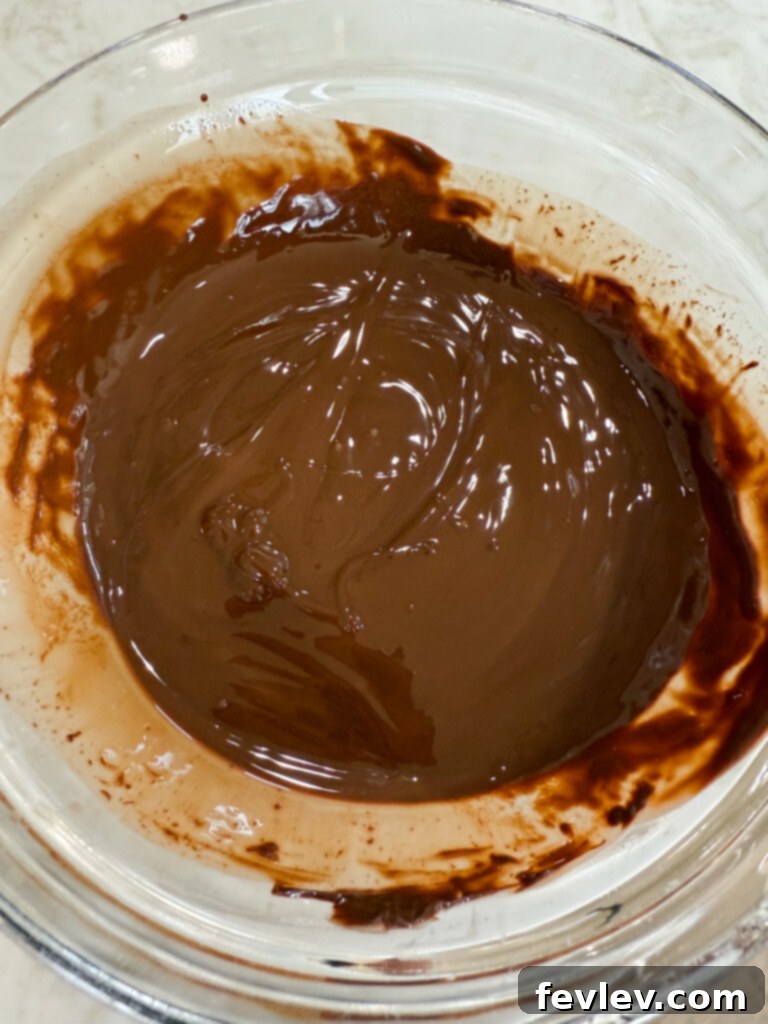
- In a separate small bowl, combine the chocolate chips and coconut oil.
- Microwave in 30-second intervals, stirring after each time, until the mixture is completely smooth and glossy.
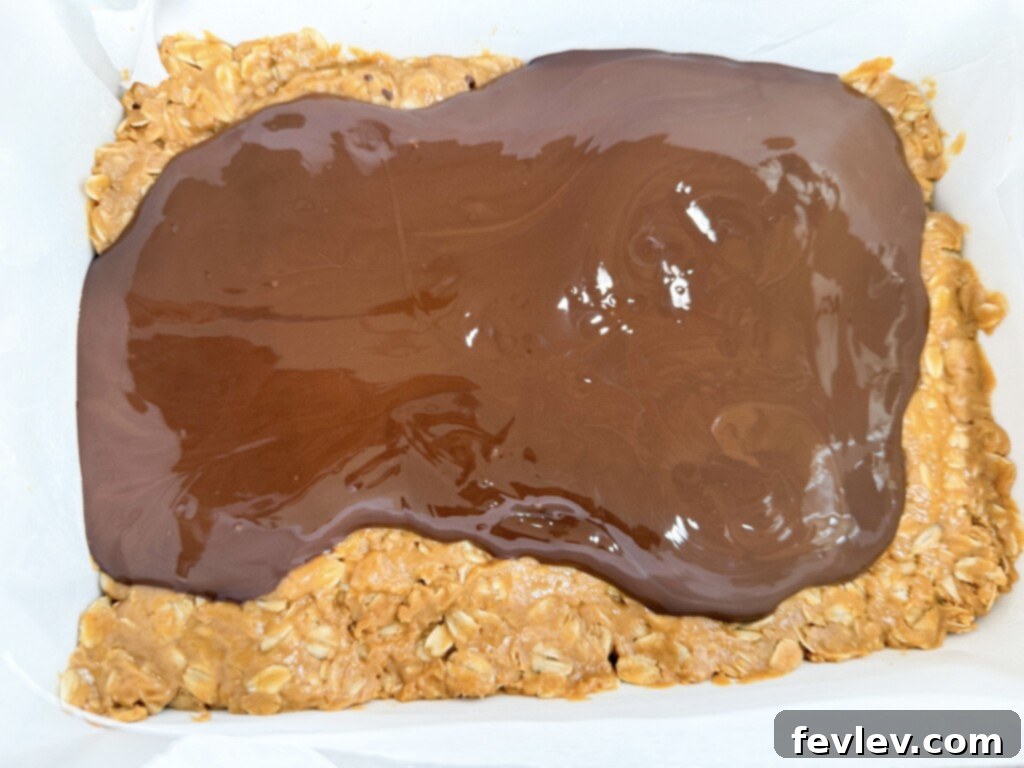
- Carefully drizzle the melted chocolate evenly over the chilled oat mixture in the baking dish.
- Final Chill: Transfer the dish back to the fridge and allow it to chill for an additional 20 minutes, or until the chocolate topping (if used) is fully set and the entire mixture is firm.
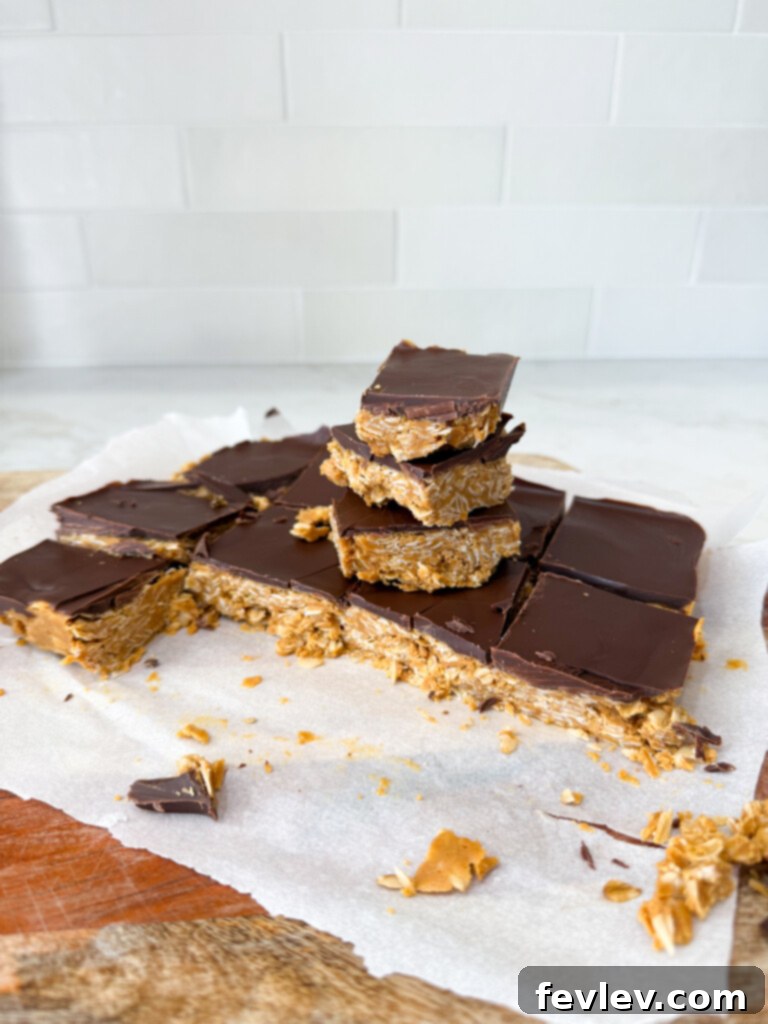
- Slice and Serve: Once completely chilled and firm, use the parchment paper overhang to lift the entire slab from the dish. Place it on a cutting board and slice into individual squares or bars of your desired size. Store any remaining peanut butter oatmeal cups in the fridge for continued freshness.
Storing Your No-Bake Peanut Butter Oatmeal Cups
Proper storage is key to maintaining the freshness and deliciousness of these no-bake treats. Once sliced, place your peanut butter oatmeal cups in an airtight container. They will keep well at room temperature for up to 4 days, especially if your home is cool. For extended freshness and a firmer texture, store them in the refrigerator for up to 7 days. You can also freeze these cups for longer storage; simply place them in a freezer-safe container or bag for up to 2-3 months. Thaw them slightly before enjoying for the best texture.
Tips, Tricks, and Customization for Your No-Bake Peanut Butter Oatmeal Cups
While the basic recipe is incredibly satisfying, these peanut butter oatmeal cups are wonderfully versatile. Here are some ideas to make them truly your own:
Choosing Your Peanut Butter
Feel free to use any peanut butter you have readily available. Creamy peanut butter yields a smooth, classic texture, while natural peanut butter (the kind that separates) can also be used, though you might need to adjust the amount slightly if it’s very oily. For those who love a bit of bite, crunchy peanut butter adds a fantastic textural element to these no-bake treats.
If you’re looking to explore different flavors or have dietary restrictions, this recipe is incredibly adaptable. You can easily substitute peanut butter with other nut or seed butters such as almond butter, cashew butter, or even sunflower seed butter for a nut-free option. Each will impart its unique flavor while maintaining the creamy consistency required for binding the oats.
Creative Toppings and Add-ins for Peanut Butter Cups
This no-bake snack is a blank canvas for your creativity! Adding toppings can truly make these treats unique. Here are a few suggestions to inspire you:
- Peanut Butter & Jelly Twist: Spread a thin layer of your favorite jelly or jam over the peanut butter layer before chilling to create delightful peanut butter and jelly oatmeal cups.
- Salty-Sweet Perfection: If you opt for the chocolate topping, a pinch of flaky sea salt sprinkled on top immediately after drizzling the chocolate enhances both the chocolate and peanut butter flavors beautifully.
- Fun & Colorful: Mini M&Ms or other small candy-coated chocolates can add a playful crunch and pop of color.
- Nutty Texture: Finely chopped nuts like peanuts, almonds, or walnuts sprinkled on top provide extra crunch and richness.
- Tropical Flair: Toasted shredded coconut adds a delightful aroma and chewy texture.
- Sweet Spice: A dash of cinnamon or a few drops of vanilla extract can be mixed into the peanut butter base for an extra layer of flavor.
- Dried Fruit: Small pieces of dried cranberries, raisins, or chopped apricots can add a pleasant chewiness and a touch of fruitiness.
- Pretzel Crunch: Crushed pretzels layered on top of the peanut butter base (before the chocolate layer, if using) offer a wonderful salty crunch.
Optimal Oat Choice
While old-fashioned rolled oats are highly recommended for this recipe due to their ability to maintain shape and contribute a satisfying chewiness when mixed with the peanut butter, quick-cooking oats can also be used. Quick oats will absorb moisture more rapidly, potentially resulting in a slightly softer or denser cup. Avoid steel-cut oats, as they require significant cooking time and will not work in a no-bake recipe.
Making Mini Oatmeal Cups for Portion Control
For perfect portion control or delightful bite-sized treats, consider making mini oatmeal cups instead of bars. Simply line a mini muffin tin with paper liners. Press a small amount of the oat mixture into the bottom of each liner, ensuring it’s compact. Then, proceed with the rest of the recipe as written, including the optional chocolate topping. This method is great for gatherings or packing in lunchboxes.
Explore More No-Bake Dessert Recipes:
If you loved the simplicity and deliciousness of these peanut butter oatmeal cups, you’re in for a treat! Discover more fantastic no-bake recipes that are perfect for any occasion and require minimal effort:
- Peanut Butter Chocolate Pie No-Bake
- Eclair No-Bake Cake
- No-Bake Hershey’s Chocolate Pie
- Monster No-Bake Cookie Bars
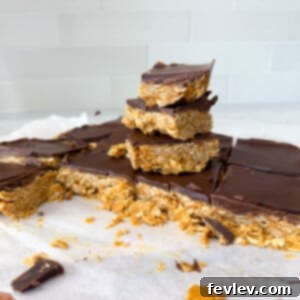
Peanut Butter Oatmeal Cups
Julia Pacheco
10 minutes
40 minutes
7
Comment
Print Recipe
Equipment
-
8×8 baking dish
-
Large mixing bowl
-
Small mixing bowl
Ingredients
- 1 cup creamy peanut butter
- ¼ cup maple syrup
- 1 ¾ cup old fashioned oats
Optional chocolate topping:
- 1 cup semisweet or dark chocolate chips
- 2 tbsp coconut oil
Instructions
-
Prepare the dish: Line an 8×8 baking dish with parchment paper.
-
Make the peanut butter mixture: In a large microwave-safe bowl, add peanut butter and maple syrup. Microwave in 20-second intervals, whisking after each time until smooth.
-
Add oats: Stir in the oats and mix to coat the oats in the peanut butter mixture.
-
Press into dish: Press the oat mixture into the prepared baking dish and freeze for 10 minutes.
Optional chocolate topping:
-
In a separate bowl, combine chocolate chips and coconut oil.
-
Microwave in 30-second intervals, stirring after each time until the mixture is smooth.
-
Drizzle the melted chocolate over the chilled oat mixture.
-
Chill: Place the dish in the fridge and chill for 20 more minutes.
-
Slice and serve: Once chilled, slice into pieces and store in the fridge.
Nutrition
Nutrition information is automatically calculated, so should only be used as an approximation.
Tried this recipe?
Let us know how it was!
Frequently Asked Questions (FAQ)
Got questions about making these irresistible Peanut Butter Oatmeal Cups? Here are answers to some common inquiries:
- Can I use natural peanut butter that needs stirring? Yes, absolutely! Just make sure to stir it very well before measuring to ensure the oils are fully incorporated. If your natural peanut butter is extra runny, you might need to add a touch more oats to achieve the desired consistency.
- What if I don’t have maple syrup? Honey or agave nectar are excellent substitutes for maple syrup in this recipe. They will provide similar sweetness and binding properties.
- Are these gluten-free? If you use certified gluten-free oats, then yes, these cups can be entirely gluten-free! Always check your peanut butter and other ingredients to ensure they are also gluten-free if this is a concern.
- Can I make them vegan? Yes! This recipe is naturally vegan as long as you use a plant-based peanut butter (most are), pure maple syrup, and any chocolate chips that are dairy-free (many dark chocolate chips are).
- How long do these last? Stored in an airtight container, they will last about 4 days at room temperature or up to 7 days in the refrigerator. They can also be frozen for up to 2-3 months.
- Can I add protein powder? While not tested, you could try adding a small scoop (1-2 tablespoons) of unflavored or vanilla protein powder to the peanut butter mixture. You may need to add a touch more maple syrup or a splash of plant-based milk to maintain the right consistency.
- My mixture is too sticky/dry. What should I do? If it’s too sticky, gradually add a tablespoon or two more oats until it’s workable. If it’s too dry and crumbly, add a teaspoon more maple syrup or a very small amount of melted coconut oil until it comes together.
Quick Links for Making Mealtime Easy:
Beyond delicious desserts, we’re dedicated to simplifying your entire cooking journey. Explore these helpful resources for effortless meal planning and kitchen essentials:
- Discover our stress-free family meal plans
- Browse essential tools for the kitchen and more
- Get your copy of the best cookbook for family dinner recipes
- Download your FREE budget-friendly meal plan
- Watch our helpful cooking videos on YouTube
We absolutely love seeing your culinary creations! If you give these delightful Peanut Butter Oatmeal Cups or any of our other recipes a try, be sure to tag us on Instagram @julia.pacheco.cooking and let us know how much you enjoyed them! Your feedback and shared photos inspire us every day.